
PART 2
Send the batch, then connect the API key.
Here I finish the outbound send and watch it land in SmarterContact. Then I go back into settings in REI Sift and copy the data in API key. I paste it into SmarterContact and start building the labels I want to use.
Send the contacts and paste the key.
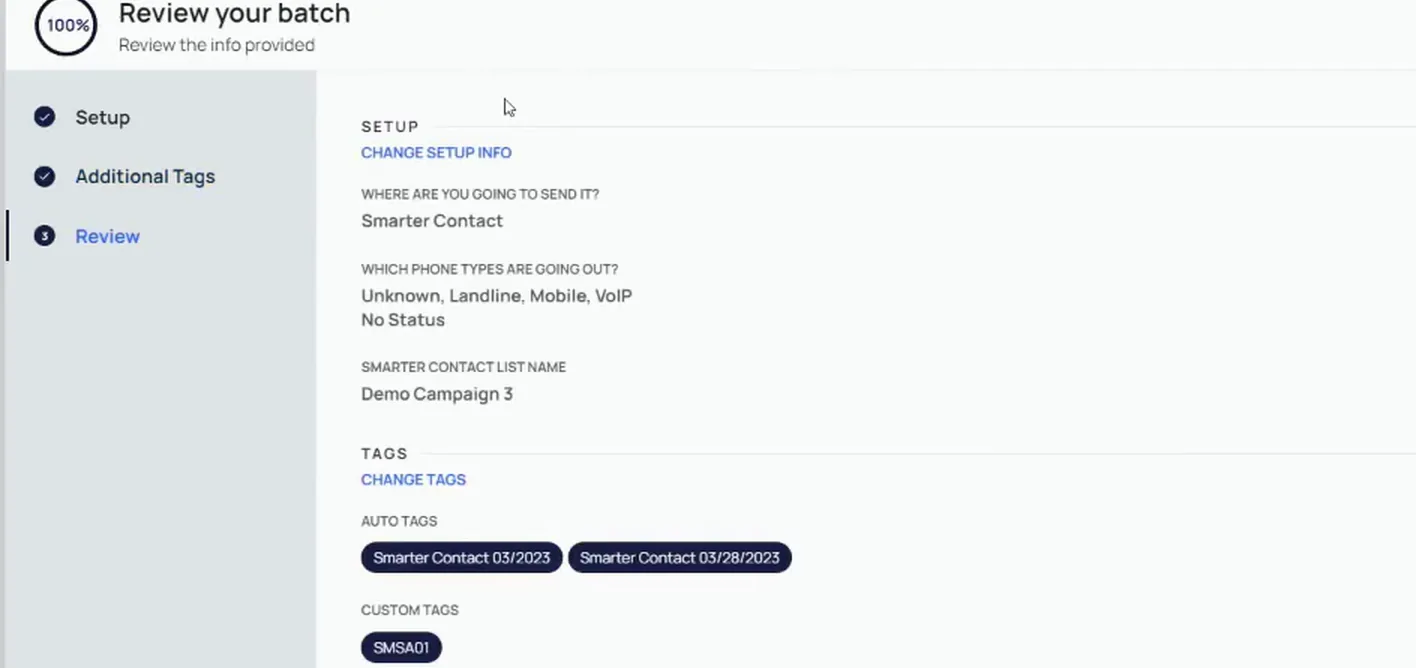
Add a tag, then review the batch before sending.
This screen lays out the setup details, the phone types, the list name and the tags. Make sure everything is correct here. Once you're ready, click send contacts.
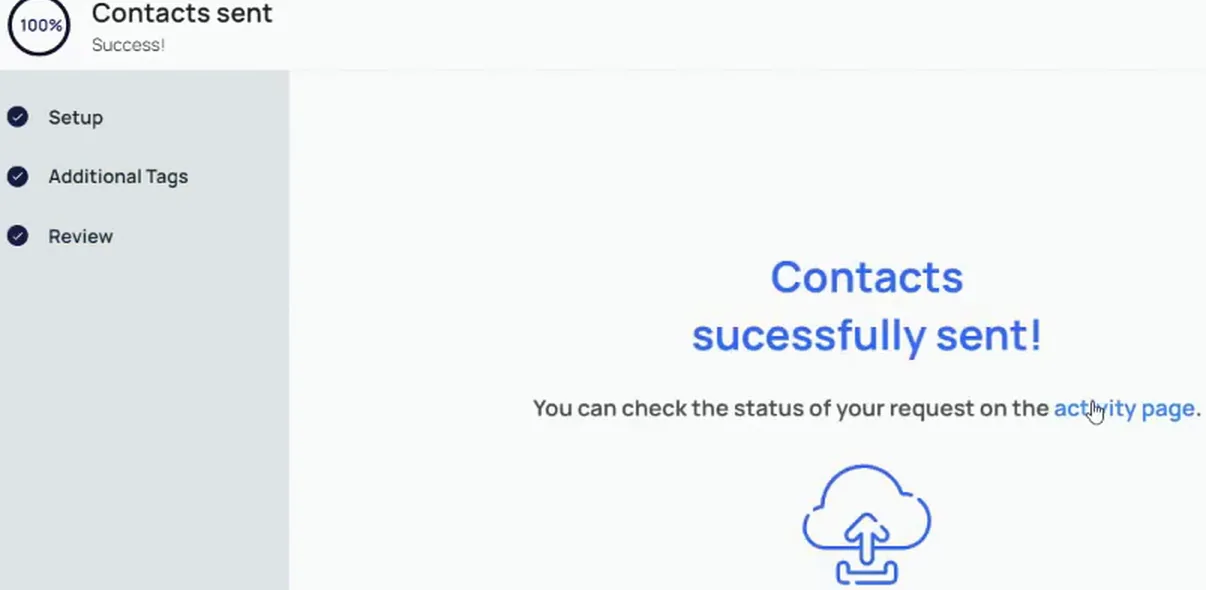
Click the activity page link on the confirmation screen.
Contacts successfully sent comes up once the batch has gone out. You can track the progress of the transfer from the activity page, and the link is right there on this screen.
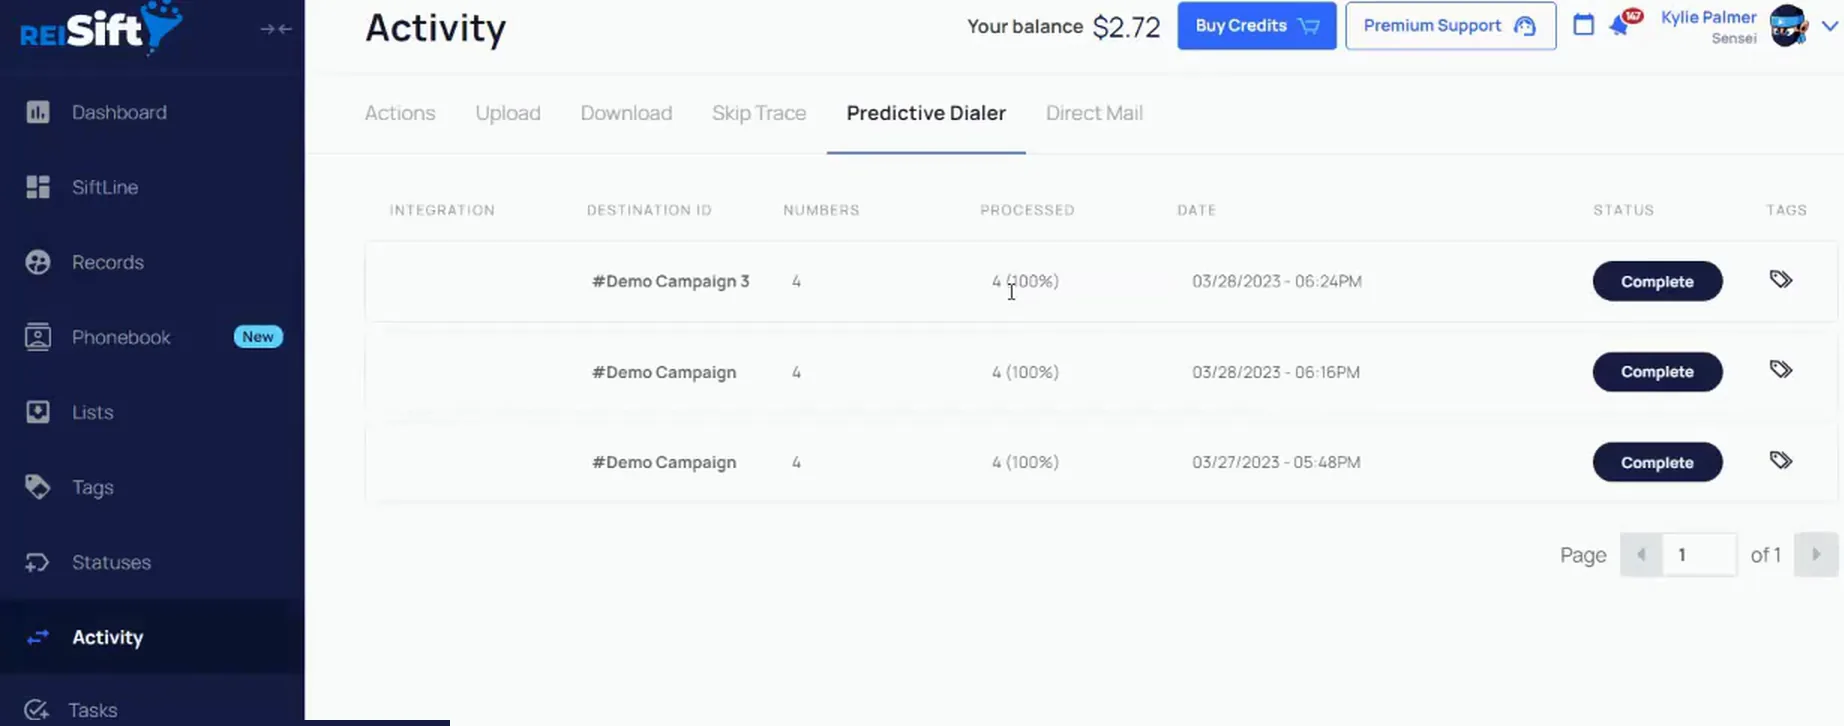
Check the transfer status on the Activity page.
Here we can see the list name and the numbers that were sent, and the status is complete. The transfers sit under the tab for the campaign you sent, so you can come back to this page any time a send is running.
Open your SmarterContact account and go to Contacts.
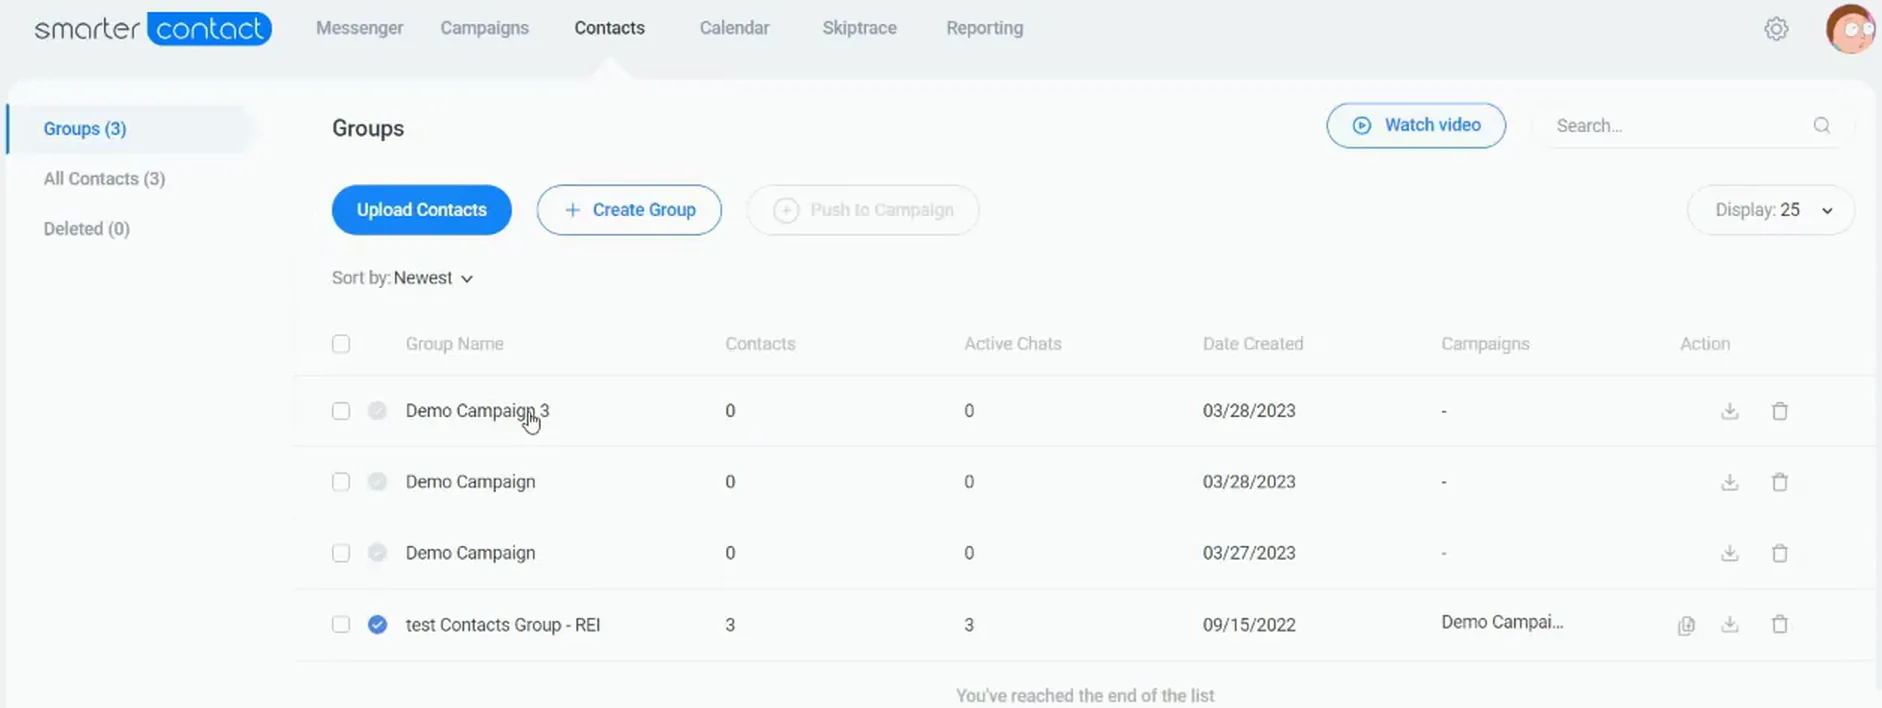
Now if I go to my SmarterContact account, we can see the records I just transferred. The contacts sit under the campaign with their phone numbers, so you can confirm the send arrived before you text anyone.
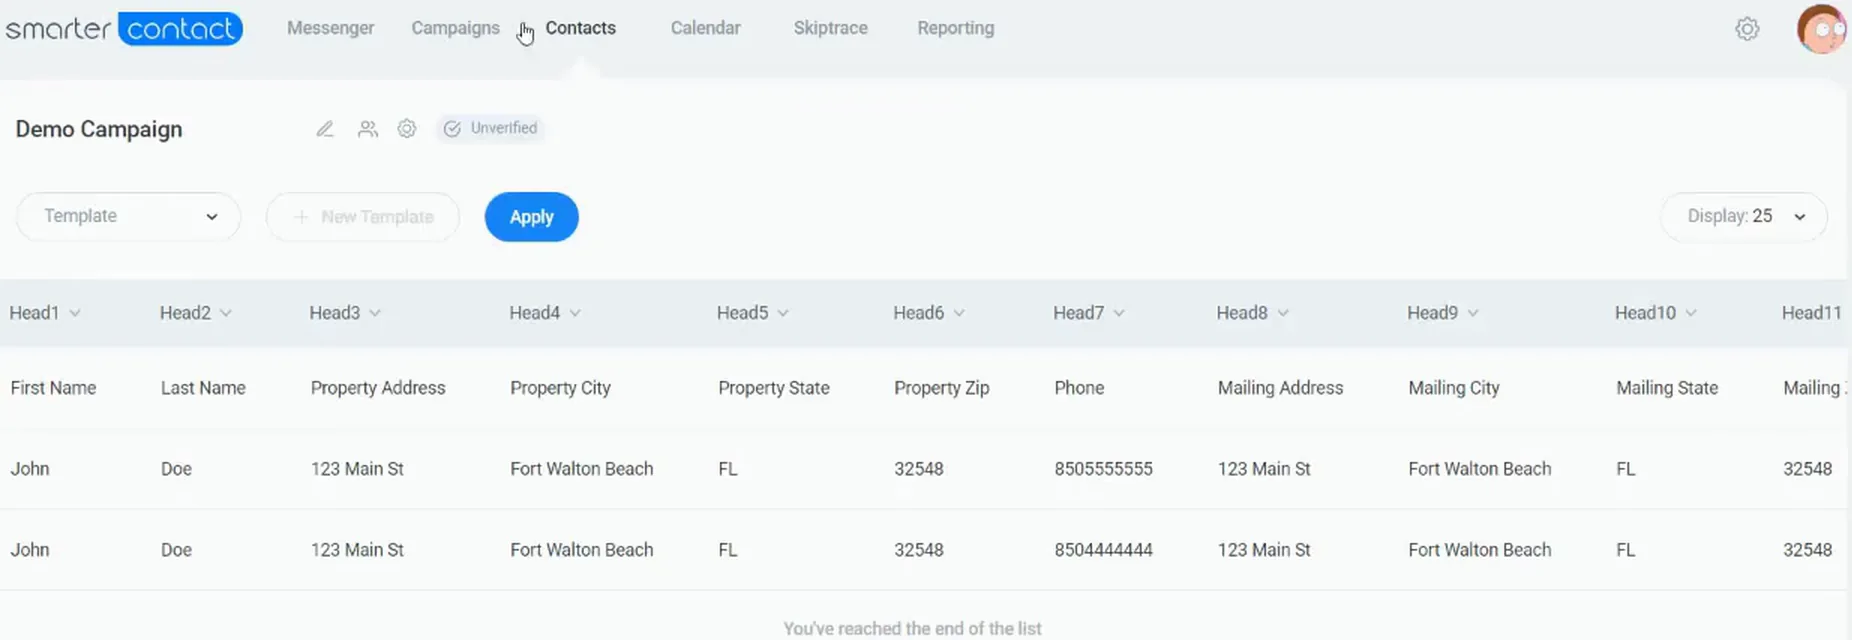
Open Contacts Groups and check the group that came across.
These are the records that I just transferred. When we send records through the integration, we send one contact per phone number.
That was done by design, so you can update the phone status per each phone number here. That is the outbound side set up and records sent through the integration.
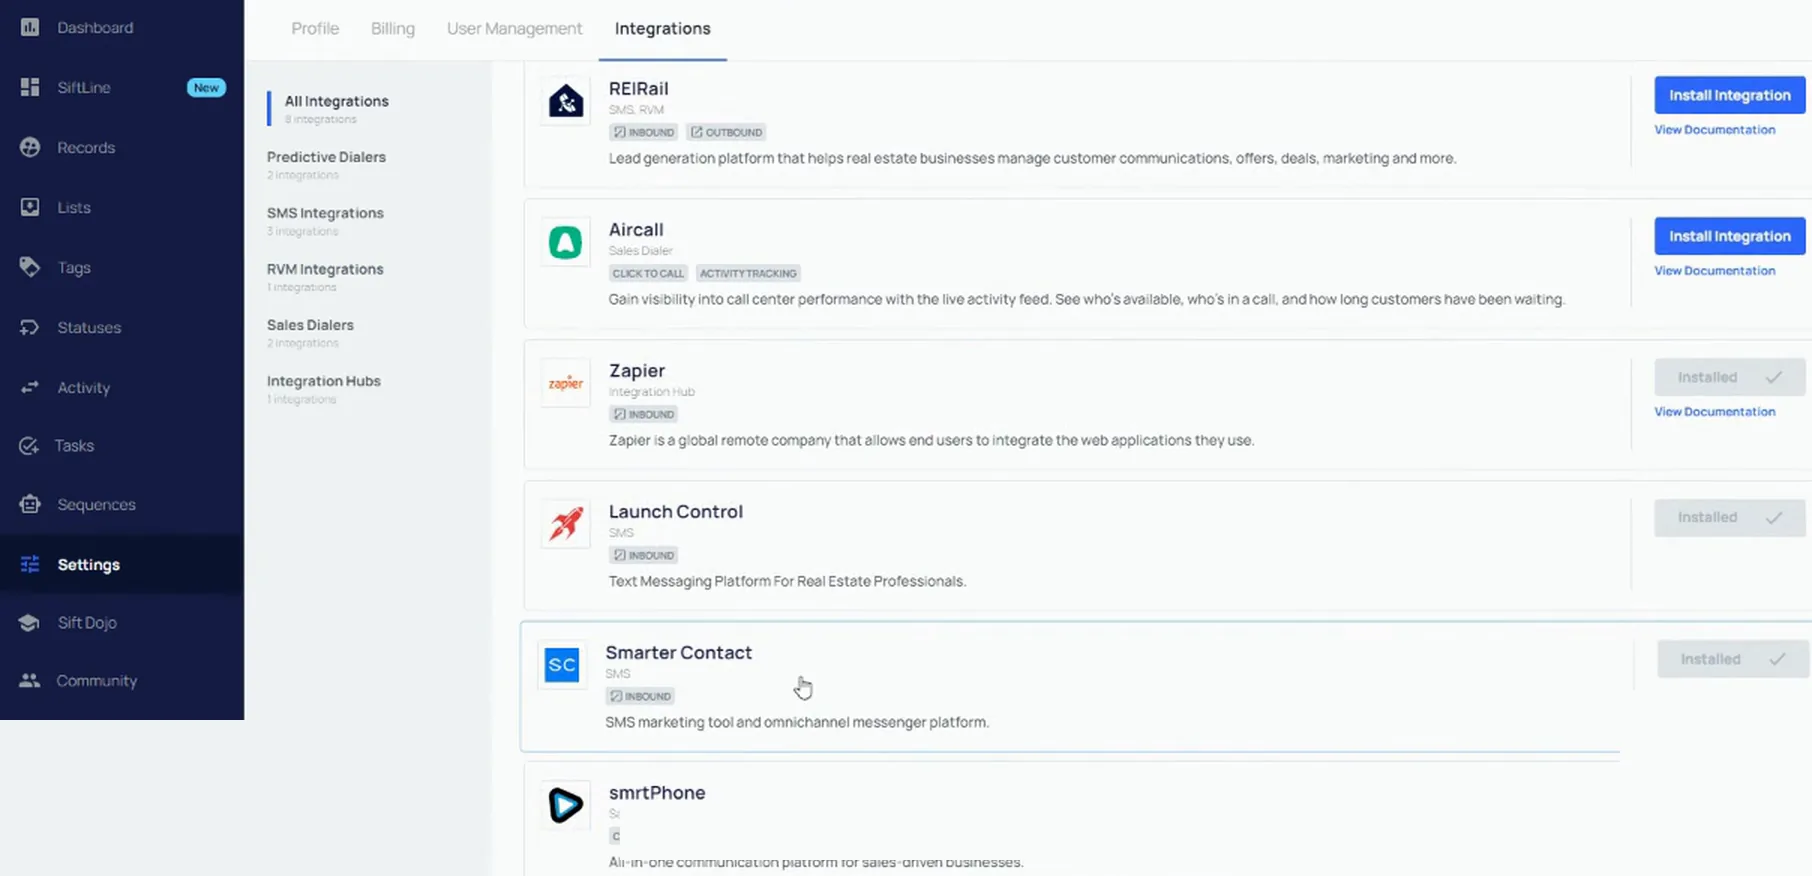
In REI Sift settings, click SMS and integrations, then SmarterContact.
First and foremost, you want to go to your settings in REI Sift and click on integrations. Scroll down here and click on SmarterContact. The page shows SmarterContact as installed once it is connected.
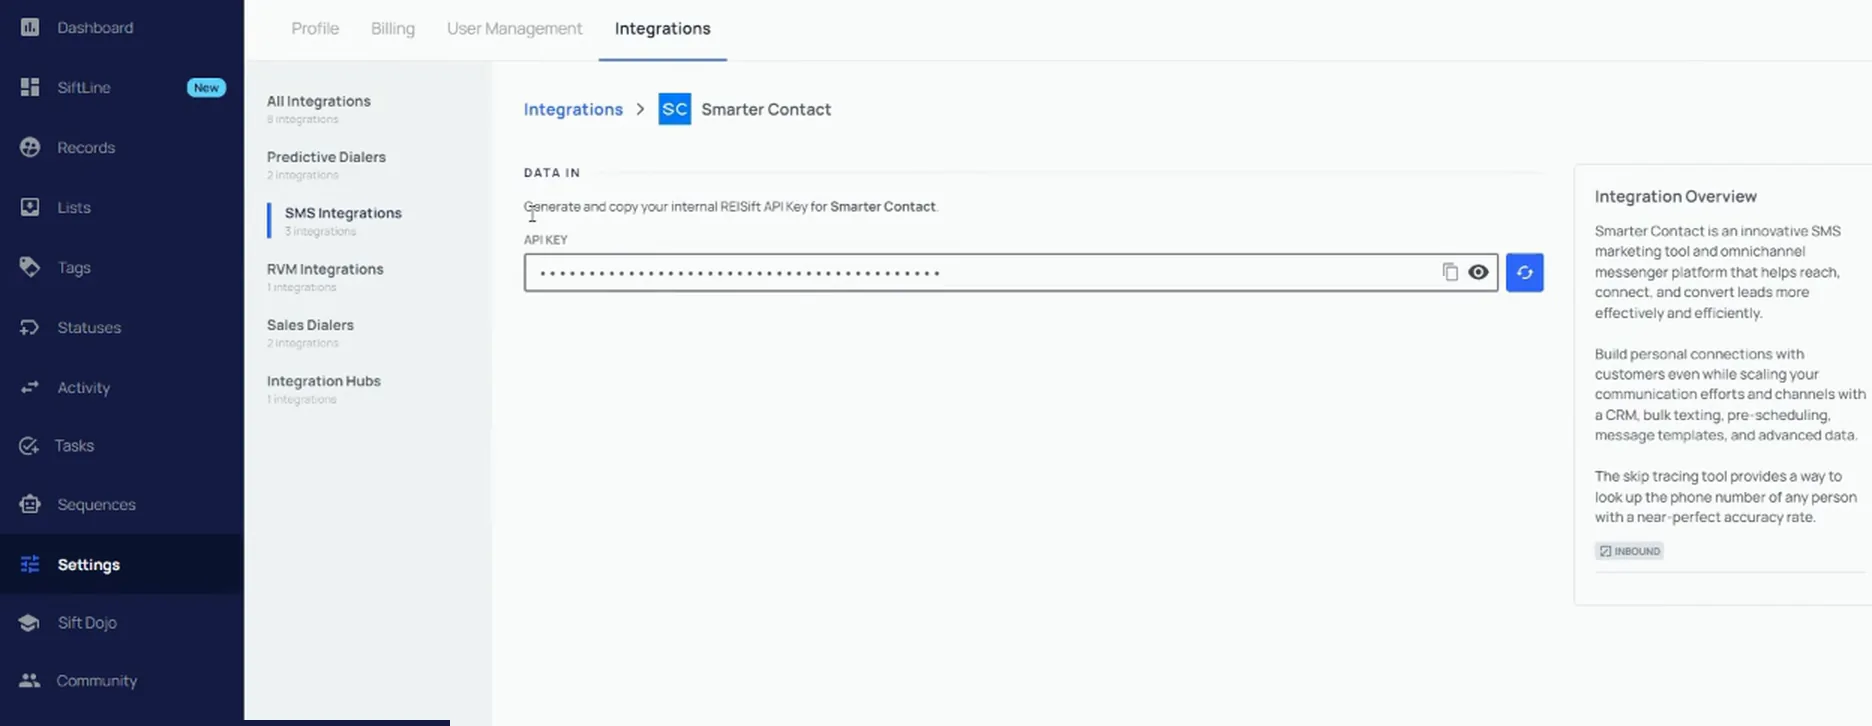
Copy the data in API key from the SmarterContact panel.
At this point you're gonna see a data in API key. This is so you can receive data into REI Sift, and we're gonna need that key on the other side. It is a straightforward integration, they've done a really good job here.
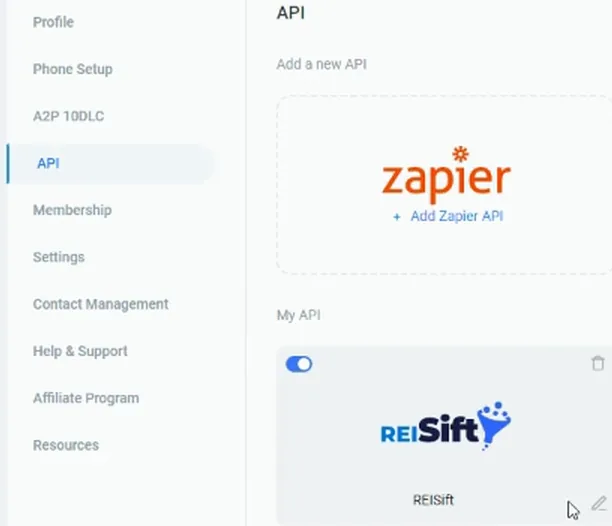
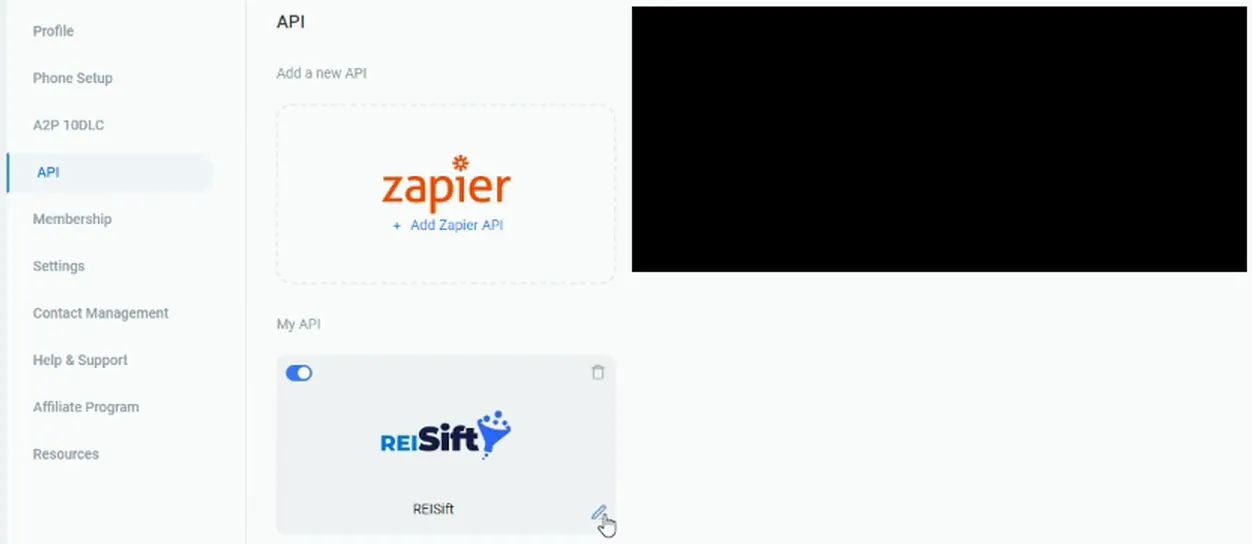
Then we're gonna go over to API settings, and we're going to click on edit in the bottom right corner under, I don't know.
Open API settings in SmarterContact and find the REISift entry.
Right now this is already in here. It might be that you need to click on add new API here instead.
I don't wanna delete it because I'm not quite sure what'll happen. So I worked with the entry that was already sitting on the page.
Click edit on the REISift API card.
This is a staging environment, so I went ahead and clicked edit rather than removing anything. The card opens the key field so you can swap out what is in there.
Paste the API key, then click Connect REISift.
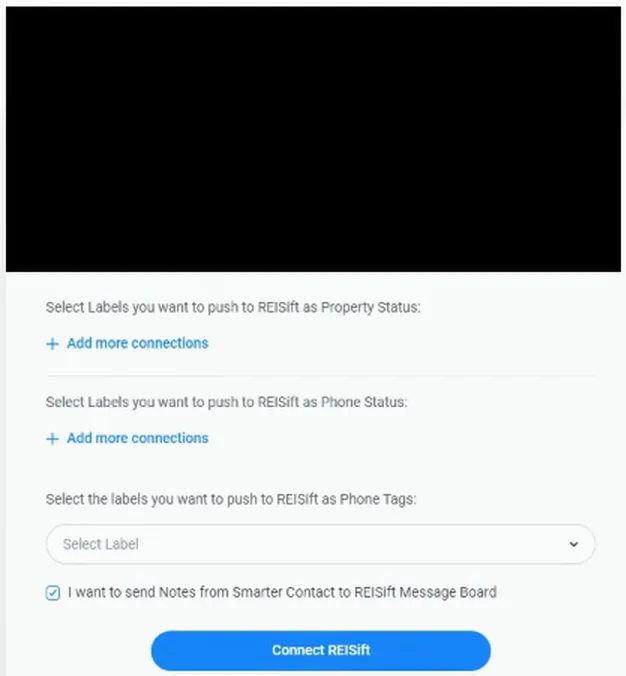
Once the key is in, you can see that I have options to select labels to push to REI Sift. We're gonna pause that for now.
I'm just gonna click connect, and then I'm gonna go over to my settings in SmarterContact.
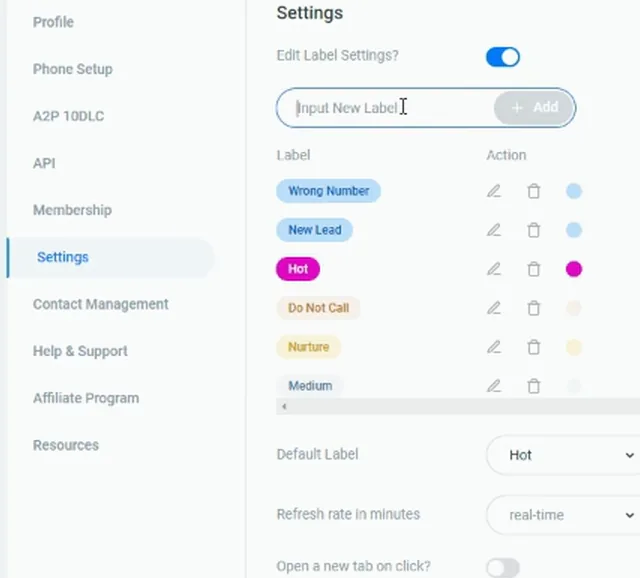
Turn on Edit Label Settings in SmarterContact settings.
The toggle sits in the settings page along with the default label and the refresh rate. Turning it on is what lets me build my own labels instead of only the ones that came with the account.
And then under edit label settings, I'm gonna turn that on, and I'm gonna create some different labels that I think are I'm gonna wanna use.
Check the Default Label and refresh rate on this screen.
The Edit Label Settings toggle still reads off here, the Default Label is set to Hot, and the refresh rate is set to real time. Those are the settings sitting above the labels.
From here I create the different labels I know I'm gonna wanna use. The next one comes out of my statuses in REI Sift.
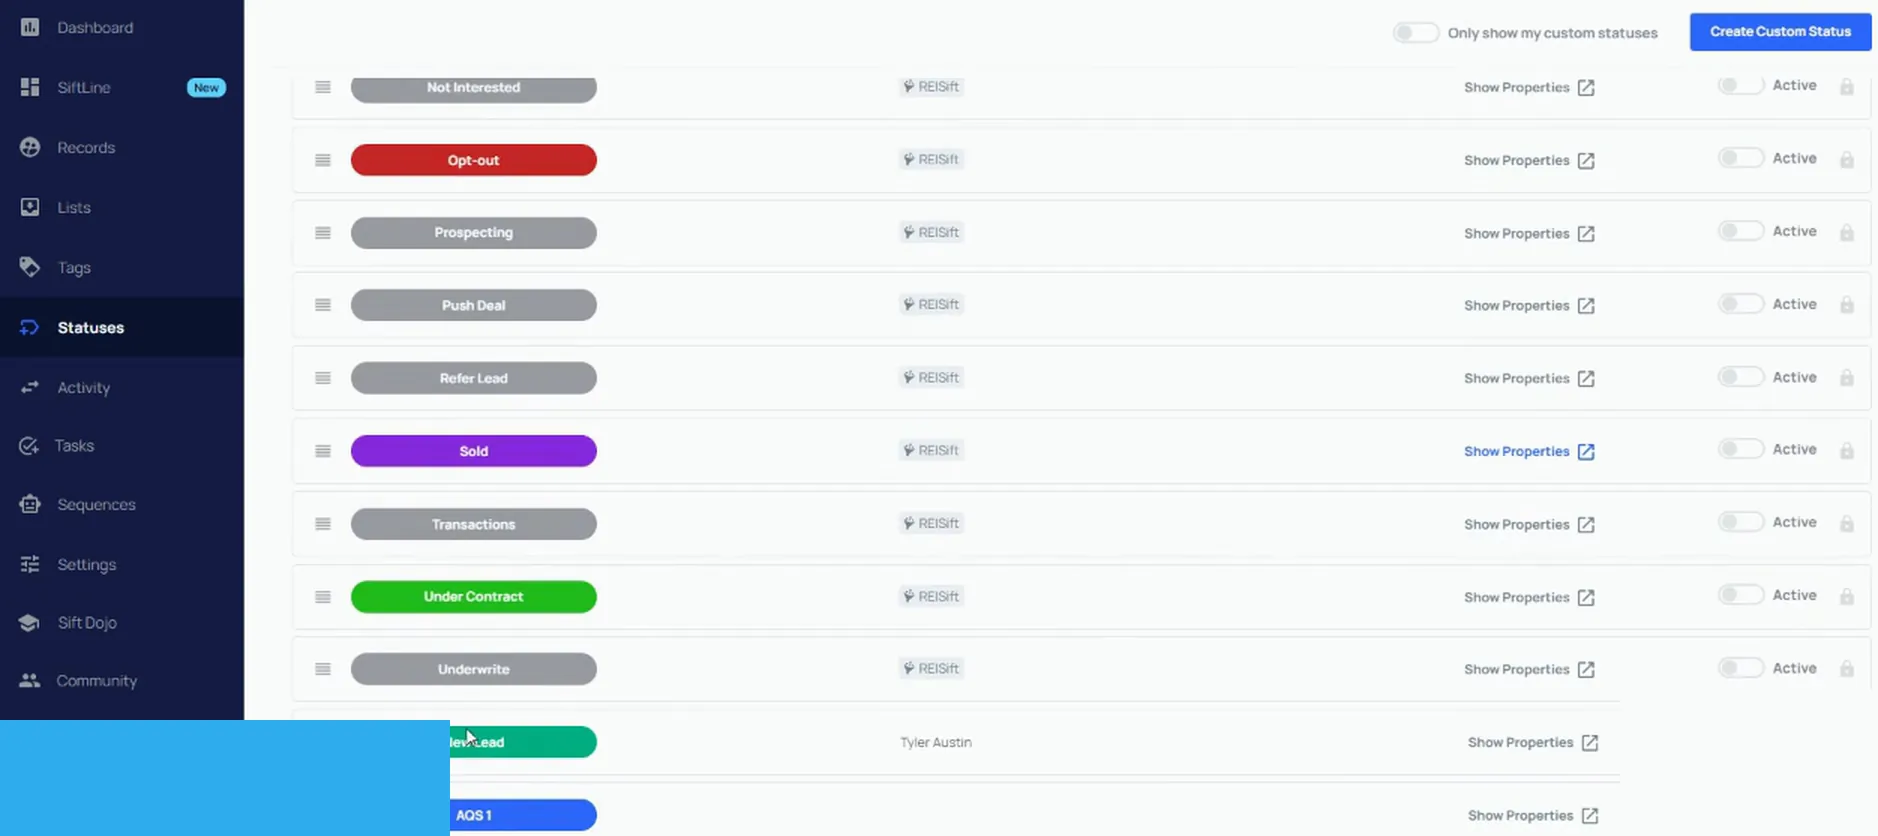
Open Statuses in REI Sift and find New Lead.
In my REI Sift account under my statuses, I created a custom status called new lead. That is the status I want to use, so I'm gonna put new lead as a label in SmarterContact.
Type New Lead into the add label field.
The label list now carries New Lead alongside the ones the account came with. Anything you like to update on your records in Sift can go in this list.
Next I'm also gonna put a wrong number one.
Add Wrong Number as the next label.
Wrong Number sits at the top of the list now with New Lead and Hot under it. The input field stays open so you can keep going. I might do a correct BNC one too.
BEFORE YOU MOVE ON