
PART 1
Quick filters on the records page.
Right now, getting to a saved preset takes a lot of clicking. Quick filters pin the presets you use most to the top of your records page. Here is how to save them, use them, and take them off.
Why we made quick filters.
Pin your most used filter presets to the records page.
We know it can be a bit annoying to go through the flow of filtering with your saved presets right now. DataSift customers, whether they are the business owner, the lead manager, or cold caller, they needed a quicker way to get to their filters.
I'm Kylie, customer support with DataSift. In this video, I'll show you how to save your most used filter presets to the top of the records page.
DataSift customers, whether they are the business owner, the lead manager, or cold caller, they needed a quicker way to get to their filters.
Count the clicks you make on the records page today.
Dozens, if not hundreds of times a day, you're clicking your records page, filtering, opening up the presets, opening the folder, then selecting the filter. Only then do your records actually filter.
That is the part we wanted to cut down. With the new quick filter update, you go straight from the records page to the filter you want.
We know this was a bit tedious, so with our new quick filter update, this went from a five step process down to just a two step process.
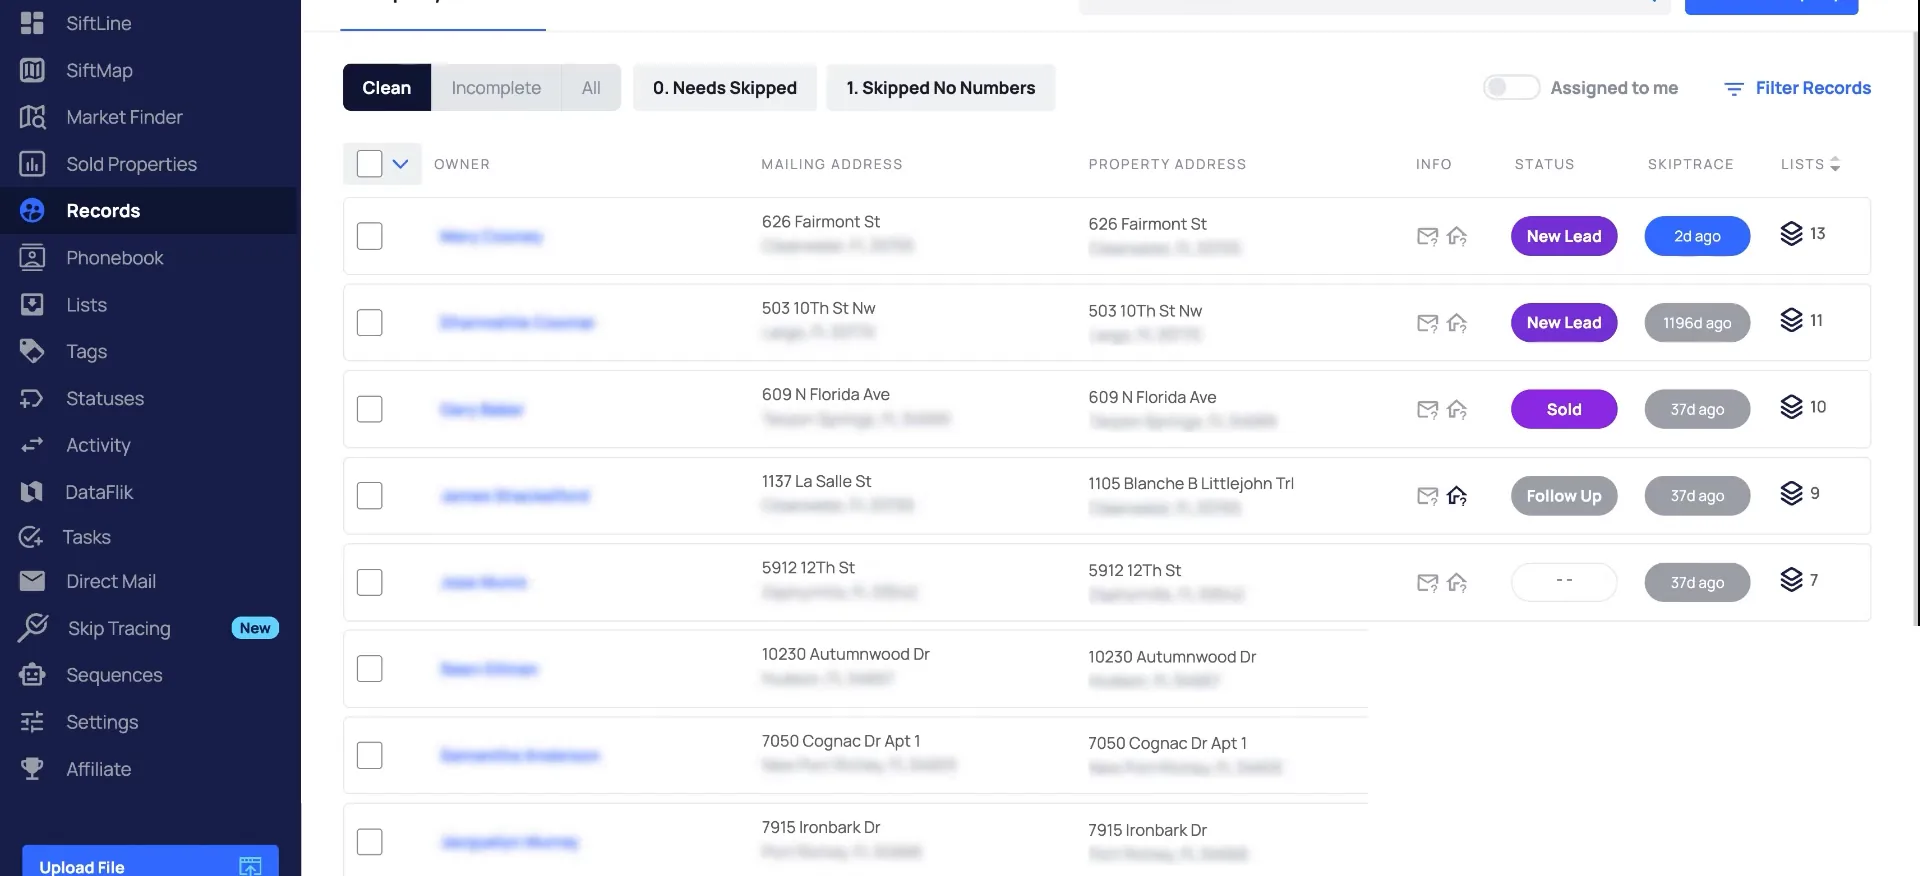
Manage your quick filters.
Open your filters and star the presets you want.
So let's get started. From the records page, you just open up your filters, then click the star icon next to the quick filters that you want to save.
You can add multiple. And if you add beyond the viewable area here, your additional save quick filters can be accessed by clicking the three dots.
From the records page, you just open up your filters, then click the star icon next to the quick filters that you want to save.
Quick filter flow
Star it, select it, then remove it.
- 1Open up your filtersStart from the records page and open the filter record section.
- 2Click the star iconStar each preset you want saved, and you can add multiple.
- 3Click the three dotsAdditional saved quick filters past the viewable area live here.
- 4Select the pinned optionThat filters your records for the saved quick filter.
- 5Star again to removeOpen the filter record section again and click the star icon.
Select a pinned filter at the top of records.
Now when you're ready to come in and filter, you can just select the option that's pinned to the top of your records page. That will filter your records for those saved quick filter.
If you ever need to remove any of them, just open up the filter record section again and click the star icon to remove.
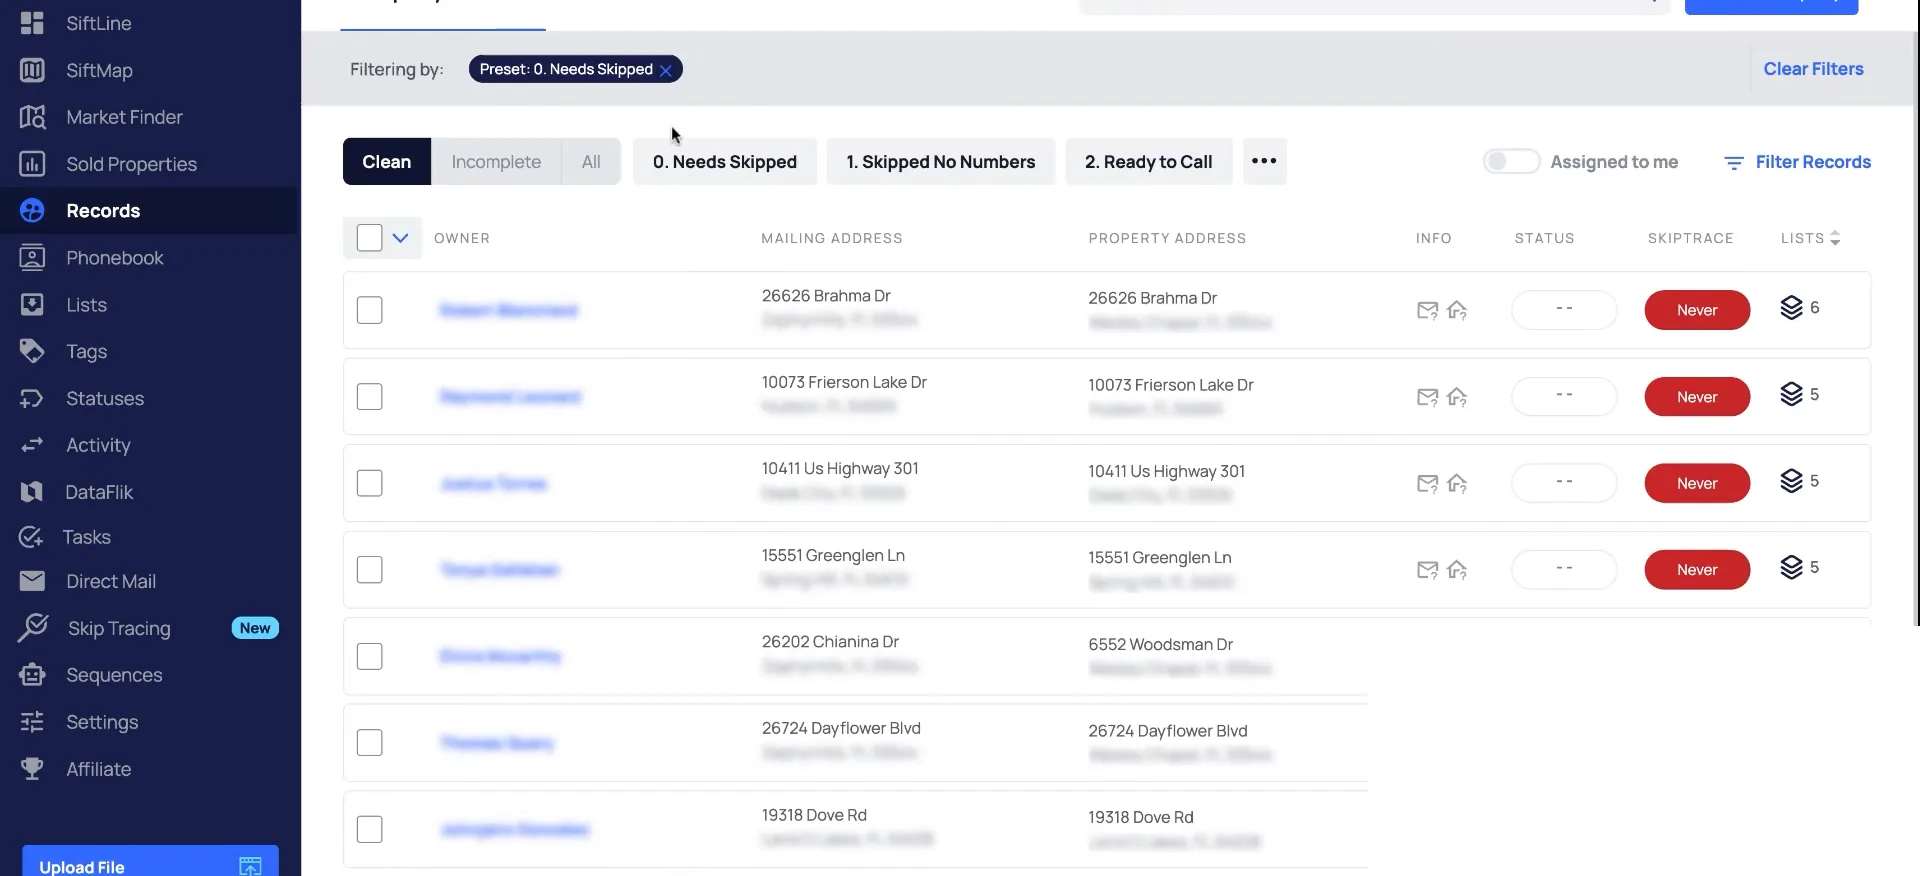
Reach our support team by clicking talk to us.
So that's how to manage your quick filters. Be sure to check out our additional trainings in the help center. You get there by clicking the arrow near your name here and help center.
If you have any questions, you can reach out to our support team by clicking talk to us. Thanks, guys. I hope you have a great rest of your day.
BEFORE YOU MOVE ON