
PART 1
Pulling the list from your ranking.
In this video, we're gonna be going over how to actually pull in all of your doors per deal data. We start with the county, then build the filter inside SiftMap. Part 1 gets the county, the price range and the property type set before we touch anything else.
Set the county filter in SiftMap.
Open your doors per deal page with Knox County selected.
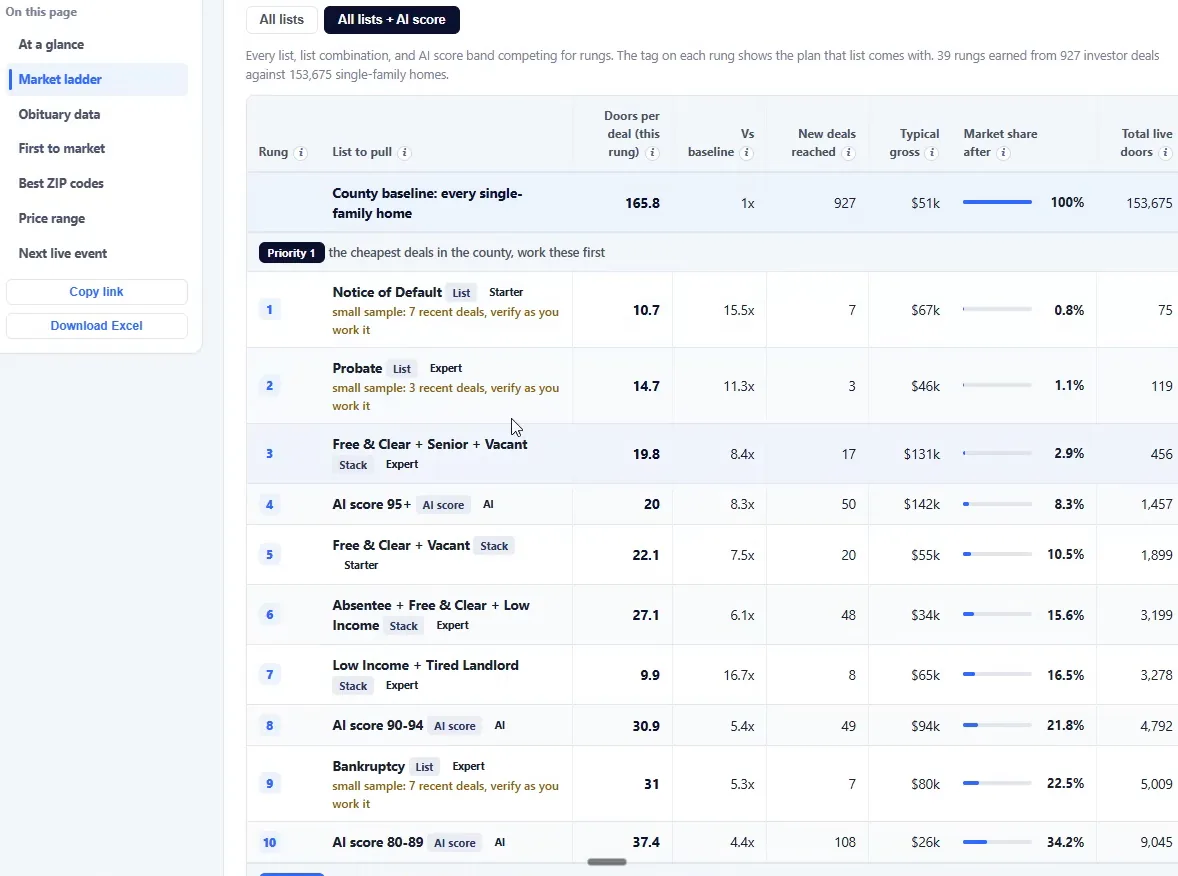
You always wanna start with the county. I already have Knox County selected here, and the panel beside the ranking explains how the math got there.
In this particular example, I'm showing you what I would wanna pull inside a SiftMap. Not our first to market data that is actually coming directly from the courthouse.
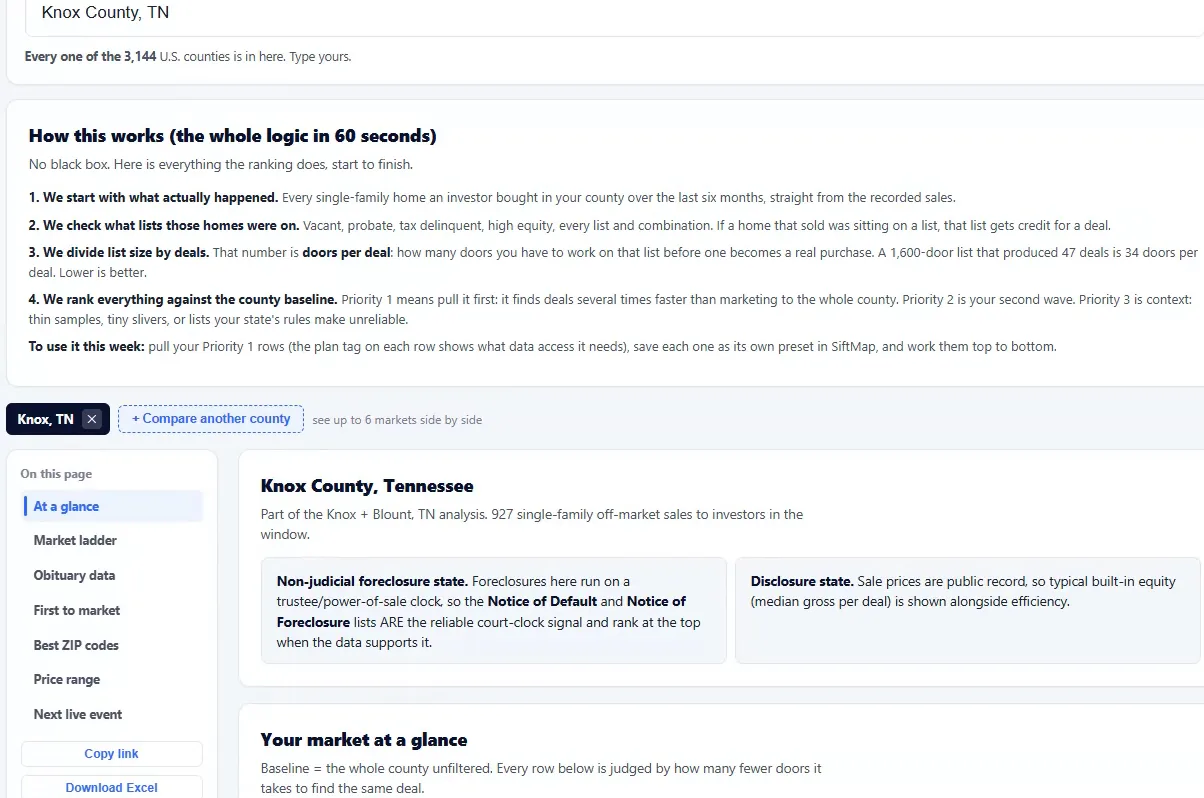
Scroll to the ranking and pick free and clear senior vacant.
The way that I'm handling mine as far as the full guide is simple. I just want to do free and clear, senior homeowner and vacant for this. The ranking lists the other stacks under it, and I leave those alone here.
I'm gonna be pulling probate, and I'm gonna be pulling notice of default directly from the county in this case. That's my first to market data. All of this is available inside of the Expert plan for Sift.
On the SiftMap tab, type the first word of the county.
The map opens wide with an empty search bar for county, city or zip. You'll just put the first word there, and it's gonna usually pop up just like that.
Nothing is filtered yet at this point. The county is the first thing I set every time.
So if I come in and I'm on the SiftMap tab here, I always start by just putting in the actual county.
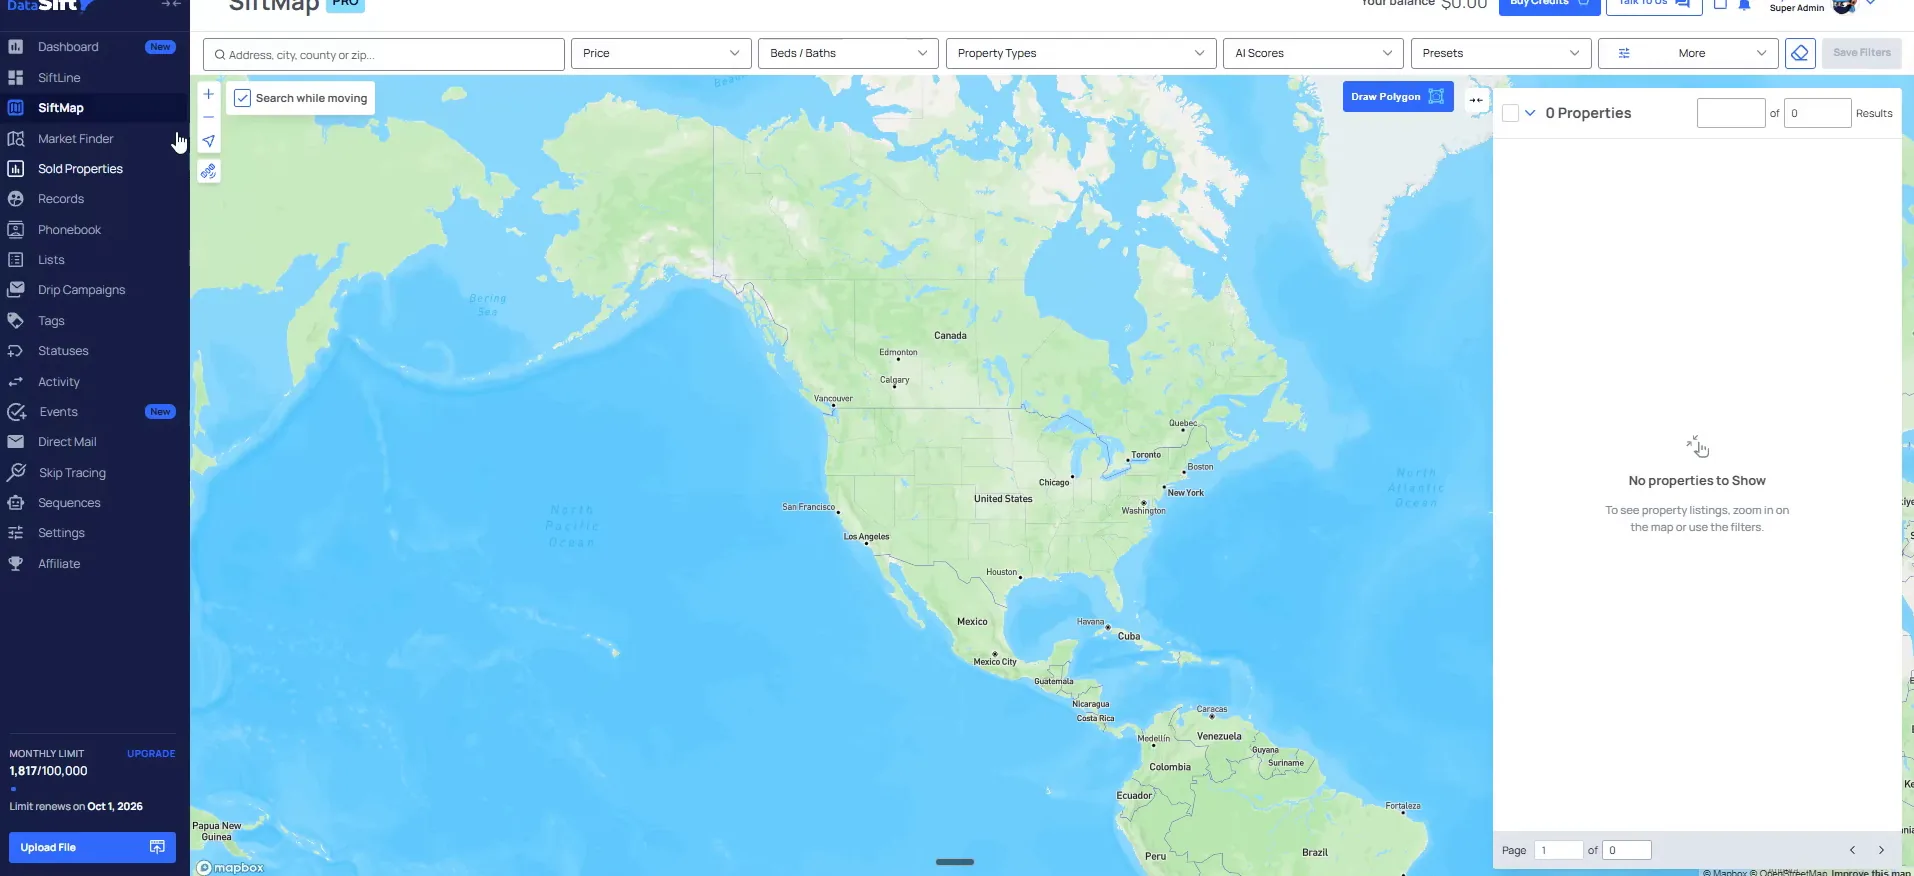
Click Knox County, Tennessee in the suggestions under the search bar.
The suggestions sit under the search box with Knox County, TN in the list and nothing picked yet. As I scroll down, I'll select Knox County, Tennessee.
Price comes next, and there are two places to set it. It doesn't really matter which one you use.
On price on mine, you can do this either inside of the marketing presets or you can do it inside a SiftMap.
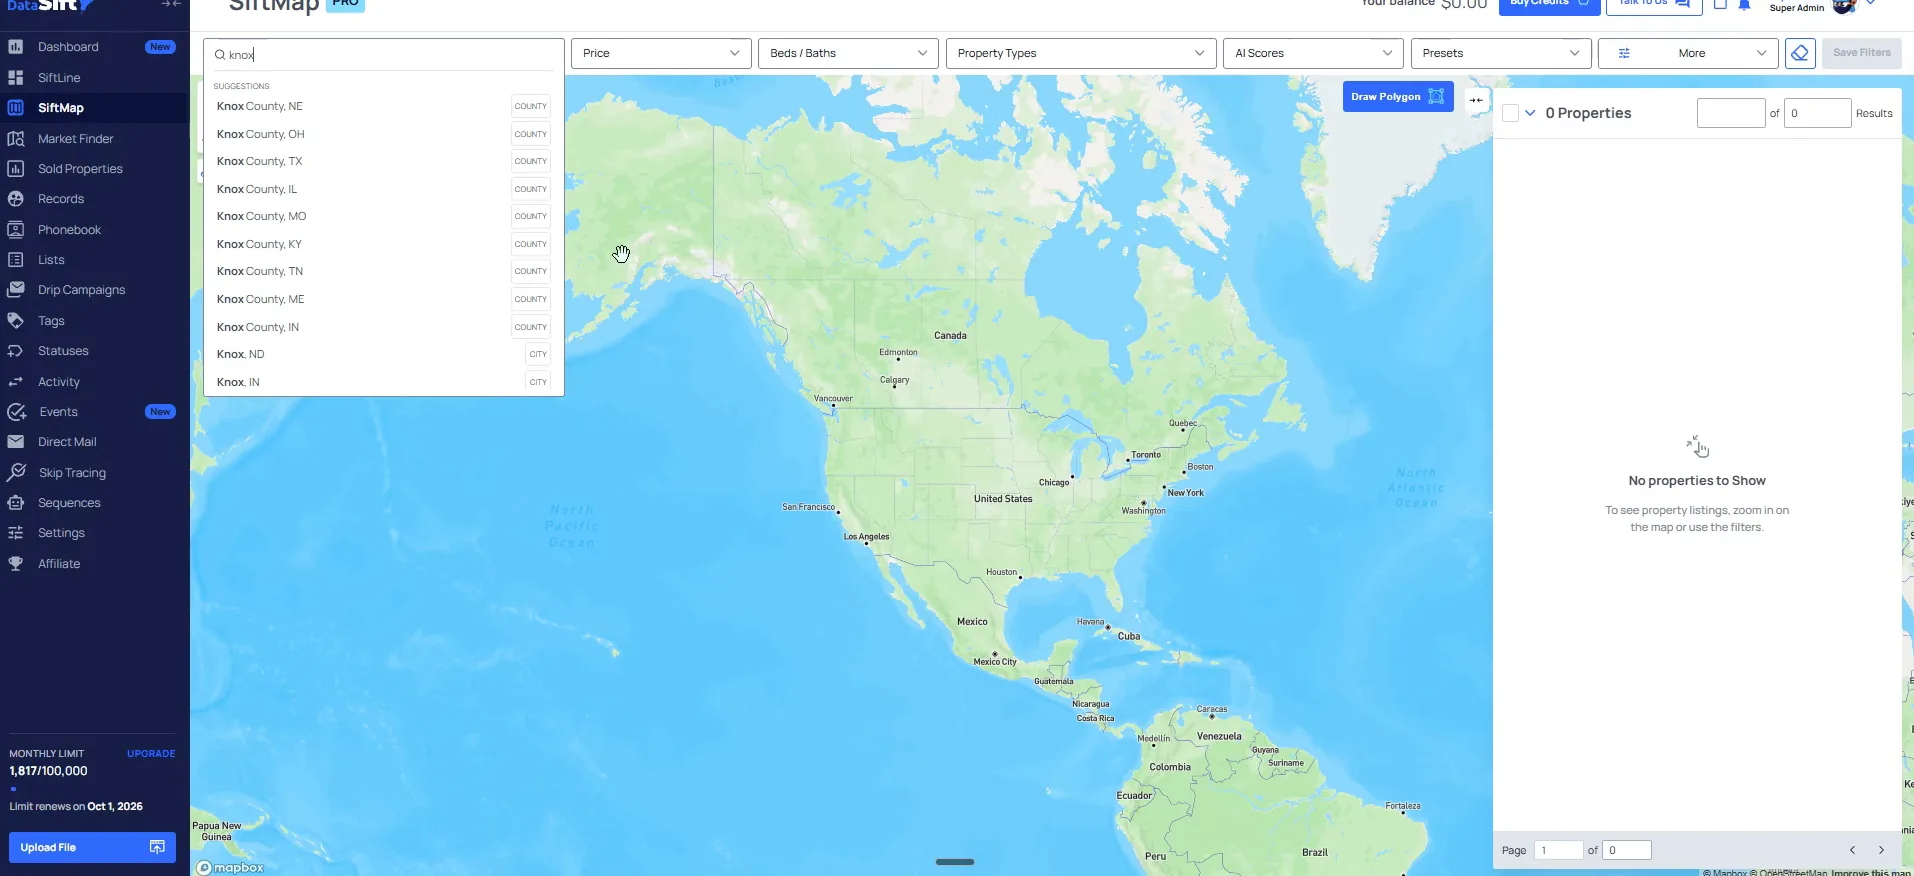
In the open Price filter, set 100,000 to 700,000.
The from and to fields are empty when the filter opens. That is from a property characteristics or buy box perspective, so in this case I'm gonna do a 100,000 to 700,000. That's about my buy box actual range there.
And then I don't put any bed bath counts on mine, because it kinda filters it out naturally from here.
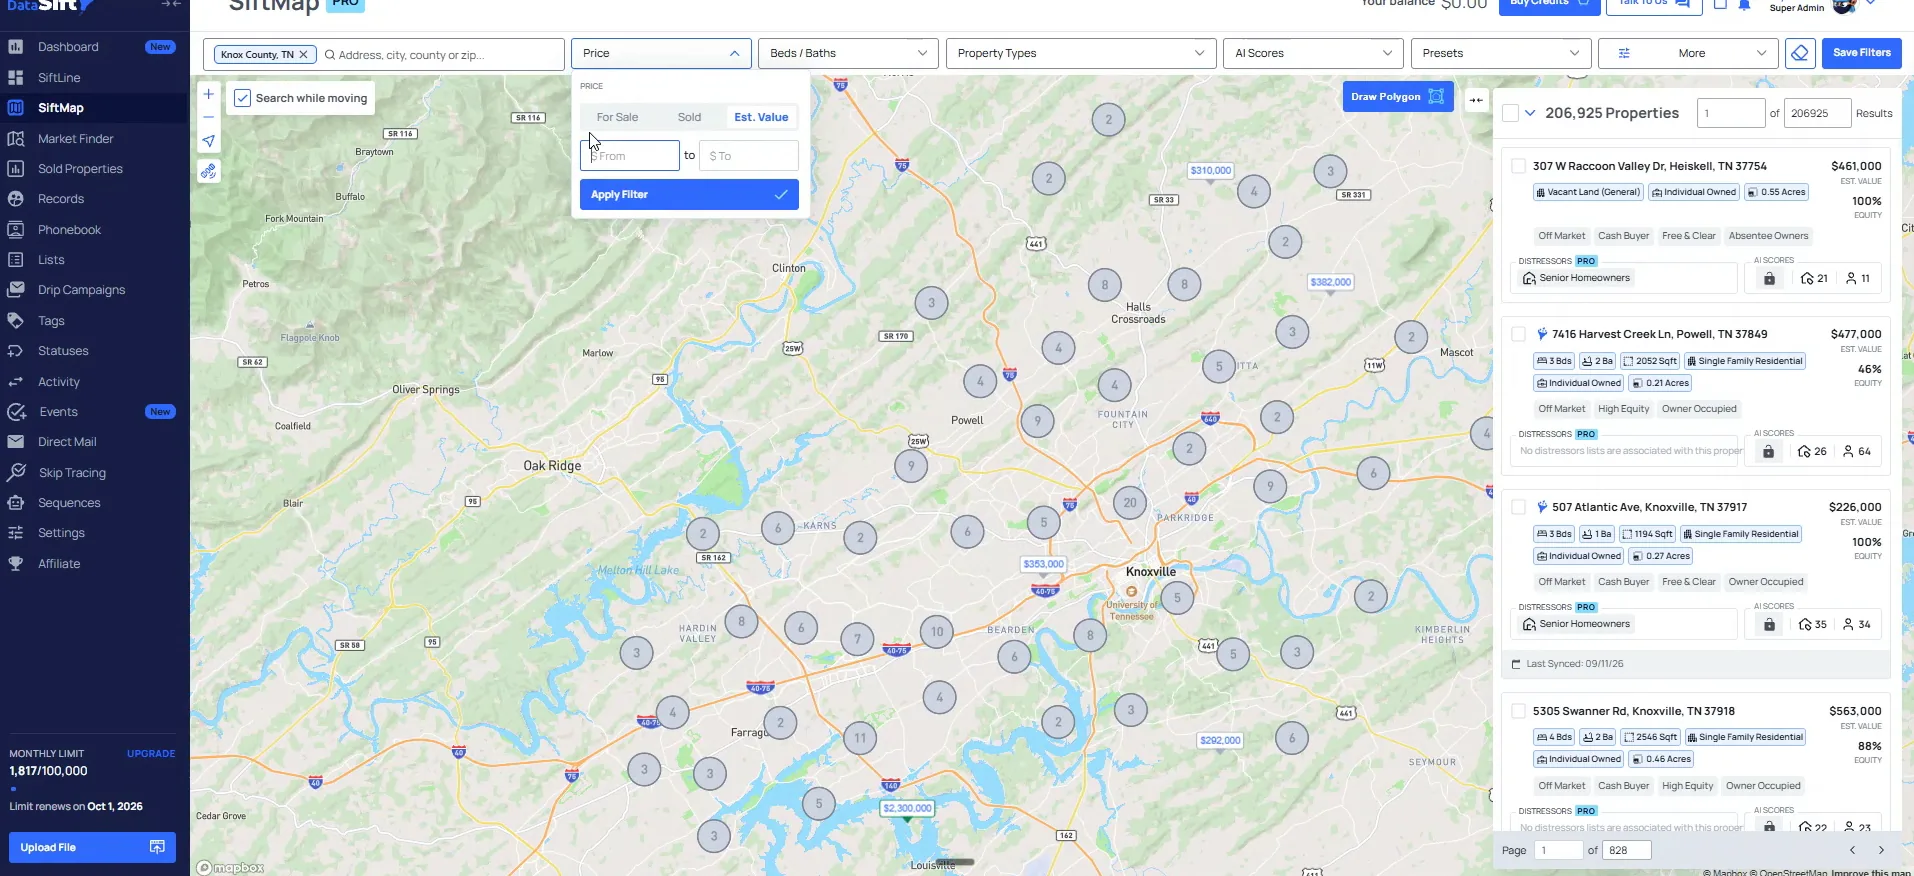
Move to the Property Types filter above the results.
The county filter is on and the results below it still carry mixed property types. The Property Types filter is sitting closed at the top, which is where you click next.
On the property types, I only do single family homes. That is the last piece of the buy box before we save anything.
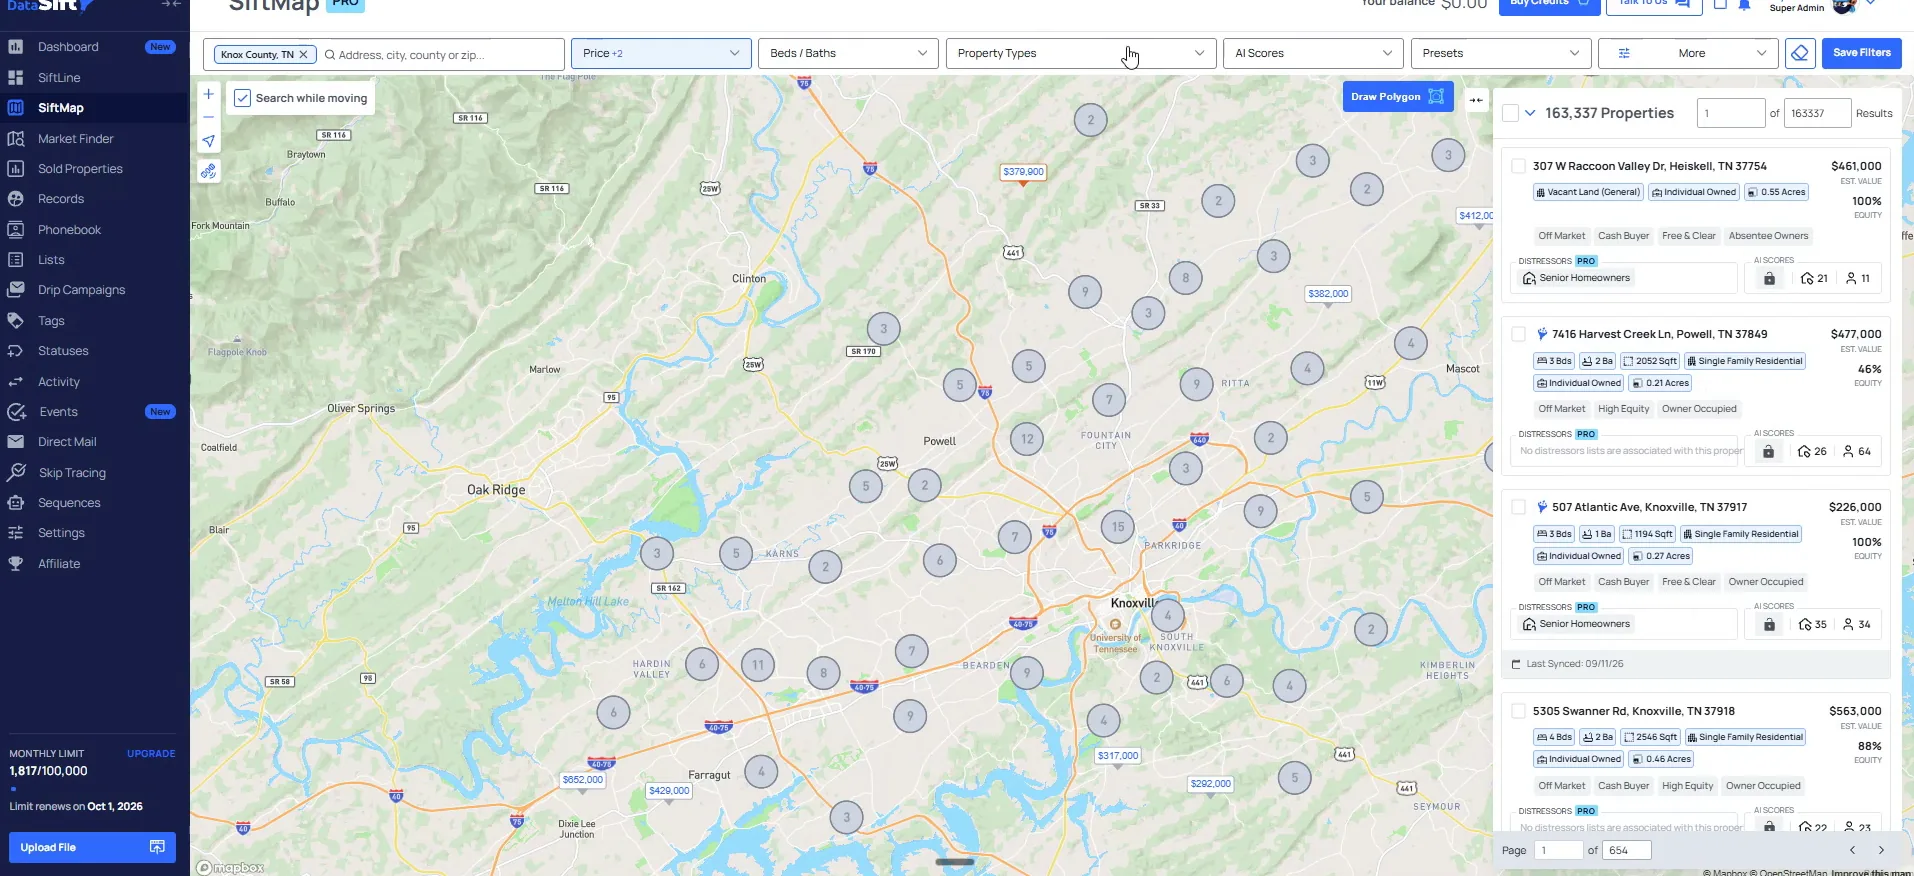
Leave the Presets button closed and keep the saved filter open.
The Knox County filters and the property list are on screen with the Presets button sitting there unopened. Everything we've set so far lives in this filter, not in a preset.
Once you set it up once, you pull all the data into your account. Then we set up an automation that brings in those new records that hit each day.
And inside of my marketing presets here, we're not gonna be touching this because we're actually building out one of these saved filters.
BEFORE YOU MOVE ON
PART 2
The unique list count.
Before I touch a single filter, I want to know how many records one list should actually give me. The ladder shows the combined number, and the calculator turns it into the unique count. Then I open More in SiftMap and start setting the distressors.
Get the unique count, then open more.
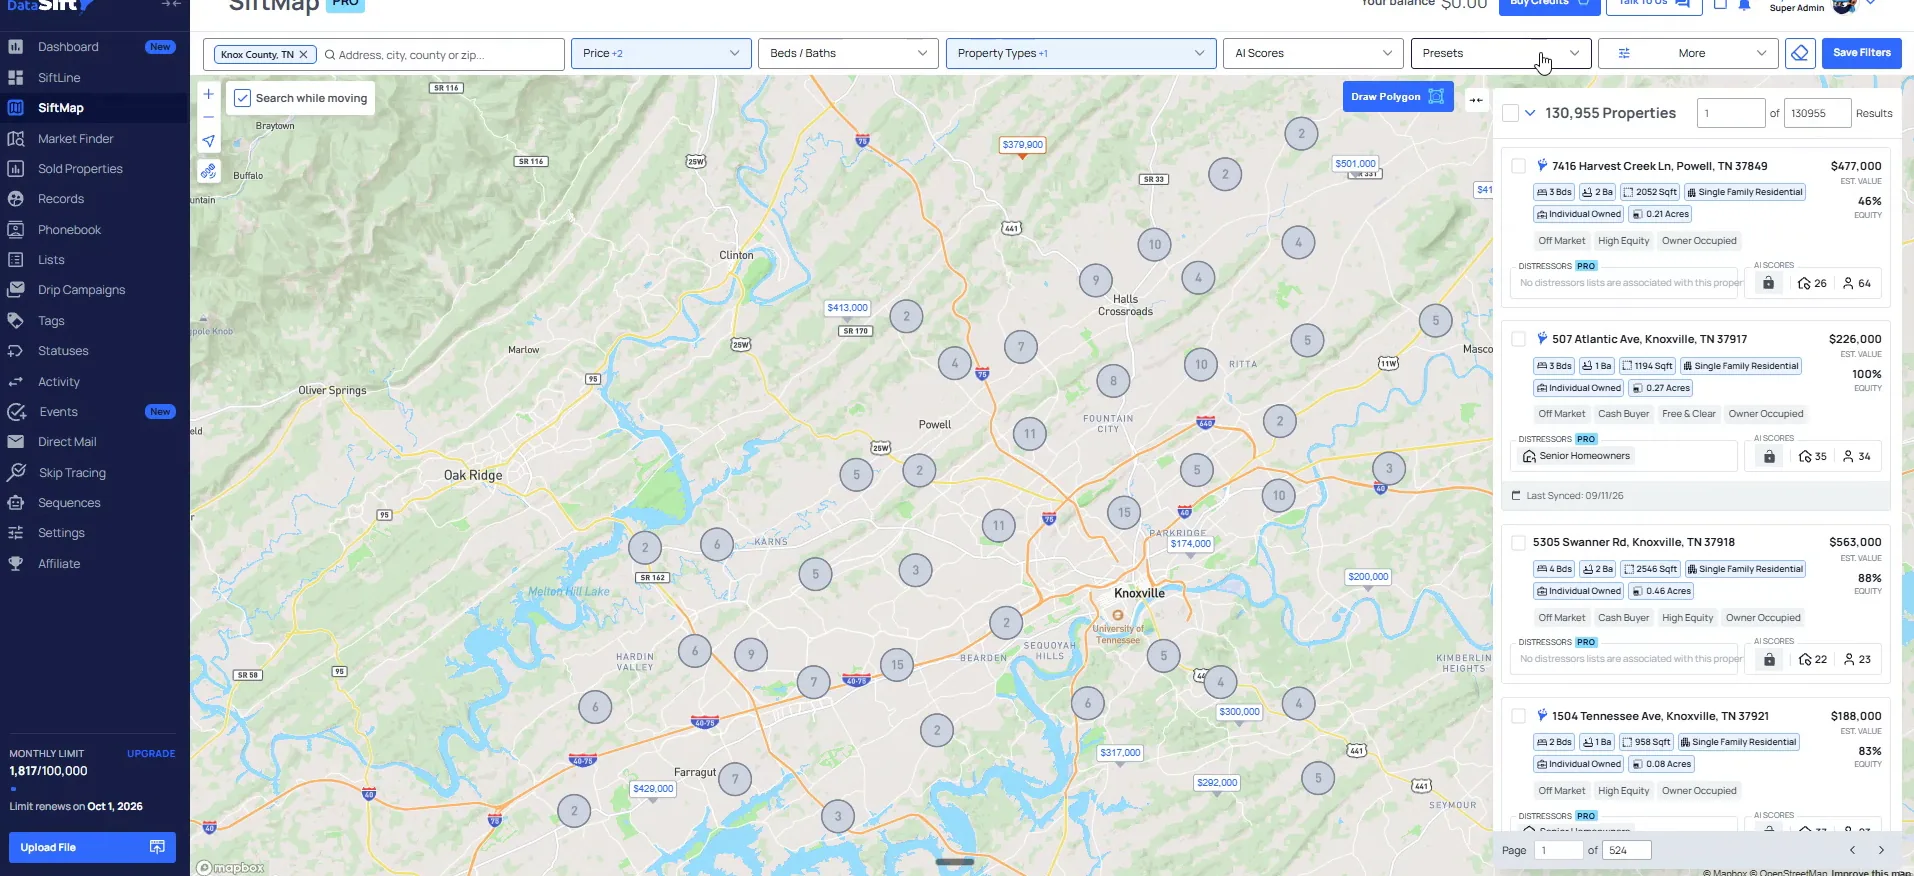
Find the free and clear senior homeowner and vacant row.
This is the visual example of the doors per deal talk from earlier. The 456 number is telling you the amount of properties that would fit in this list, this list, and this list together.
To get the unique list count for just one particular list, you take that number and subtract the one prior. That gives us a number of 337 records.
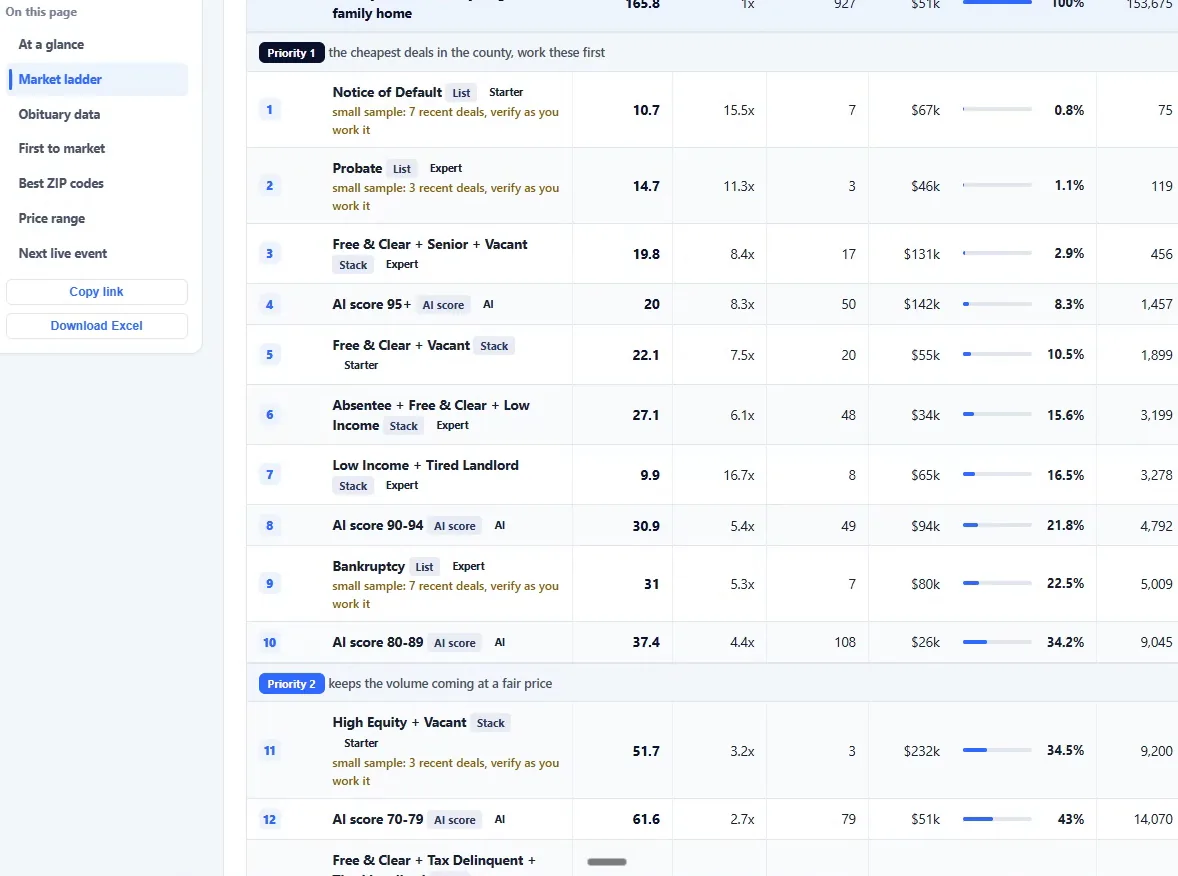
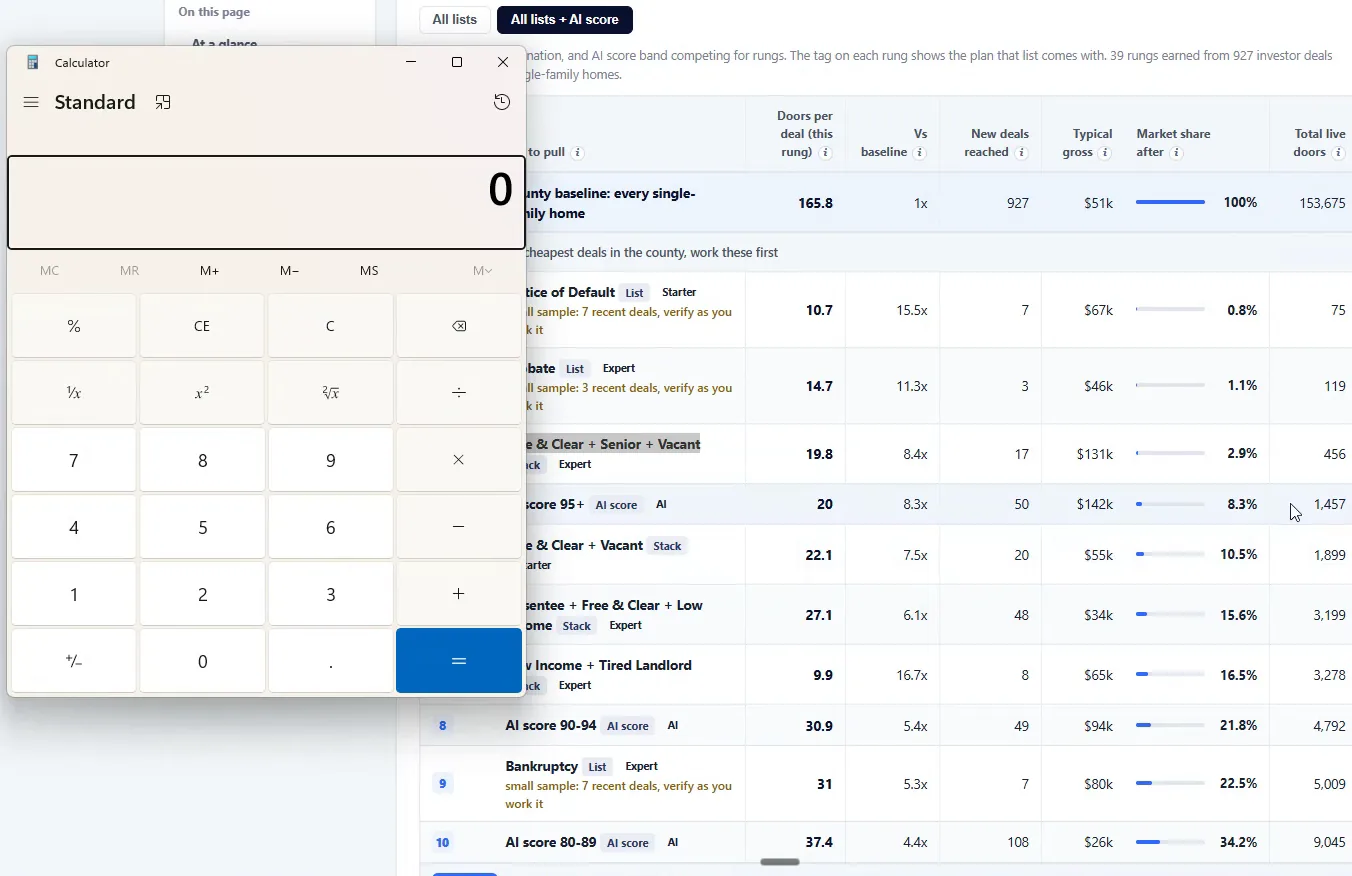
Open the calculator over the lists table.
The calculator sits open and empty on top of the row, ready for the subtraction. Put 456 in, take off the one prior, and you have the count for this single list.
When I put in all these filters, it should align pretty close. It won't ever be exact, but it'll be pretty close, and that's because I have a price range filter there. It should be lower theoretically.
Unique count
Subtracting the one prior gives the unique count.
Open More in SiftMap.
This panel is all the different ways you can get really granular. That covers your property characteristics, or just all your filters in general. You get Property Details, Lot Details, and Homeowner and Property Distressors.
In my account will show you all the records that are currently inside of your account, and it will also exclude those records. You can go in and put a lot more property details, flood zones, is it vacant, and so on.
When you first do this, you always wanna show all the available results inside of SiftMap.
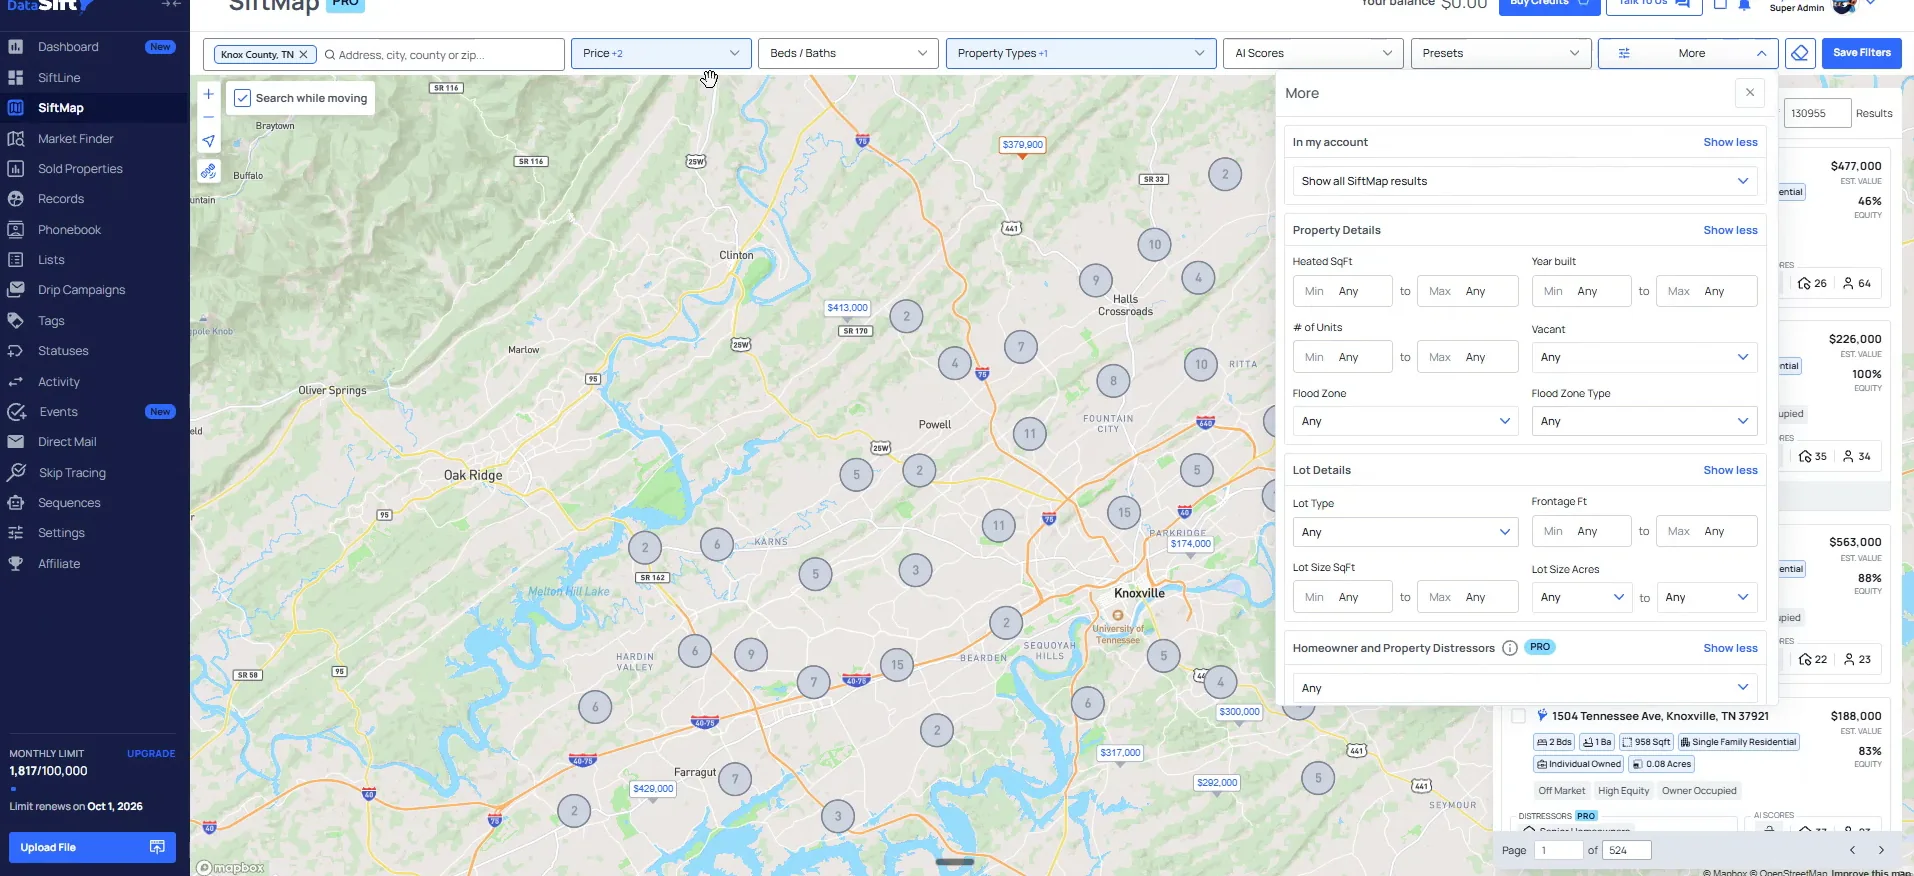
Scroll down to Homeowner and Property Distressors.
The panel now sits between Lot Details above and Advanced Geography below, so you know you are in the right place. This is the big one out of everything in More.
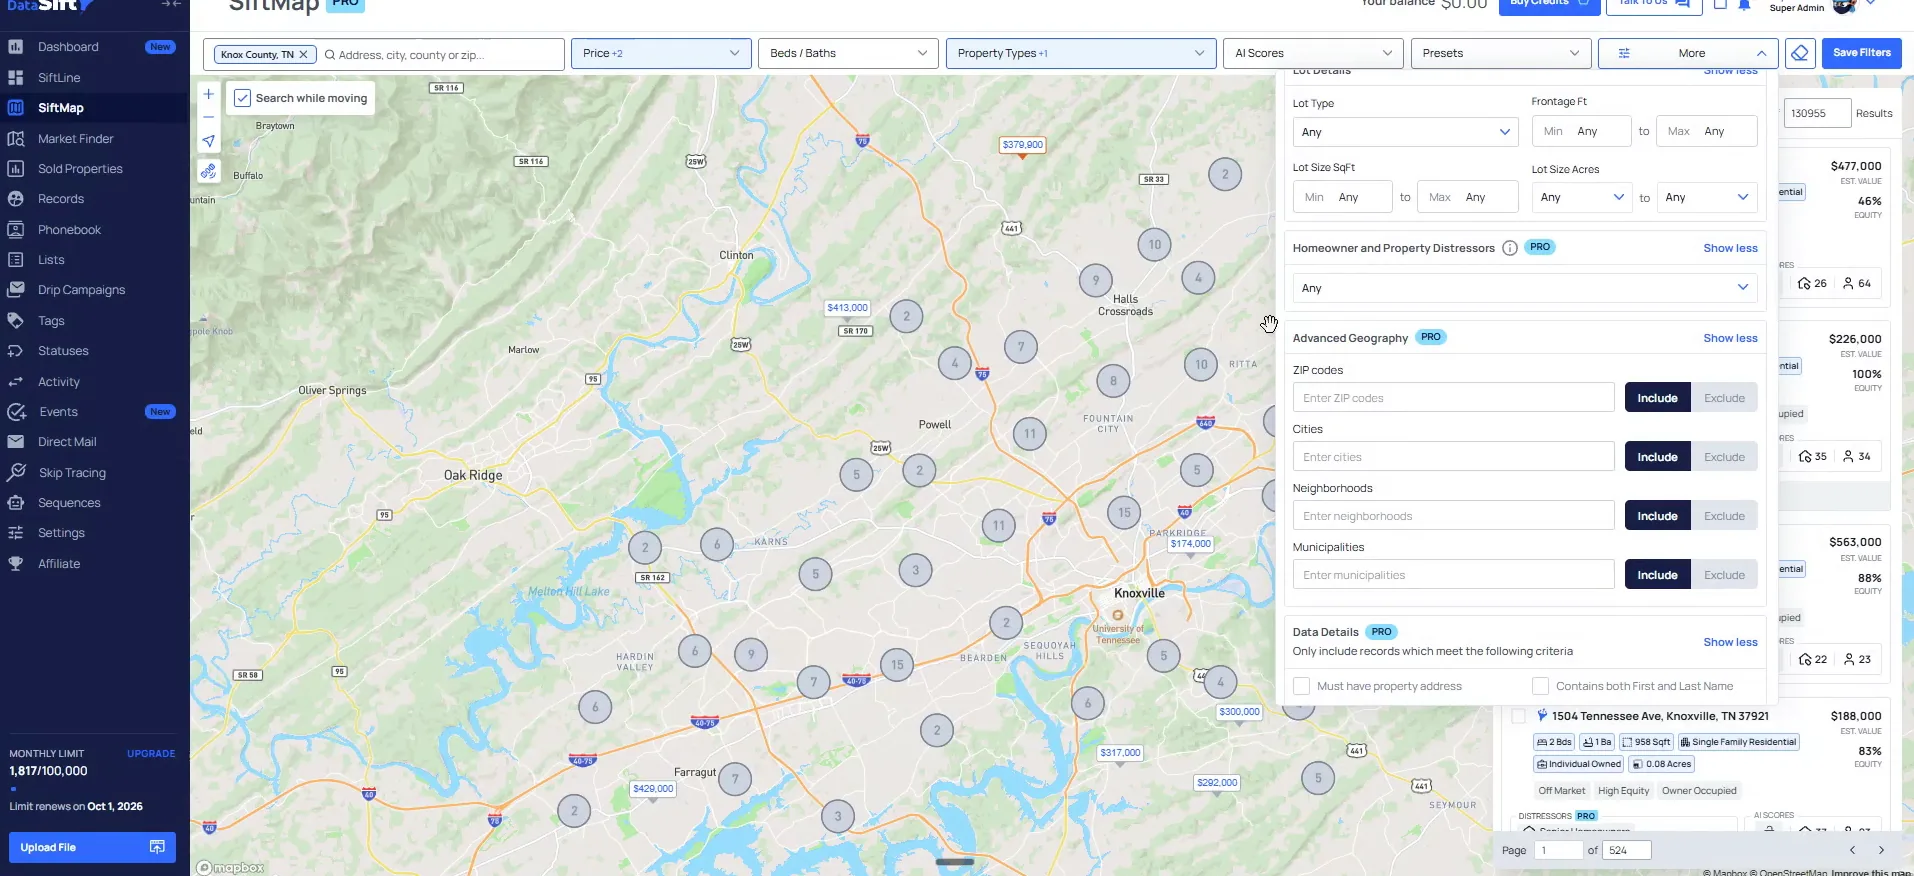
This is a custom combo here, so this is where the custom combination gets set. Everything else in the panel can wait.
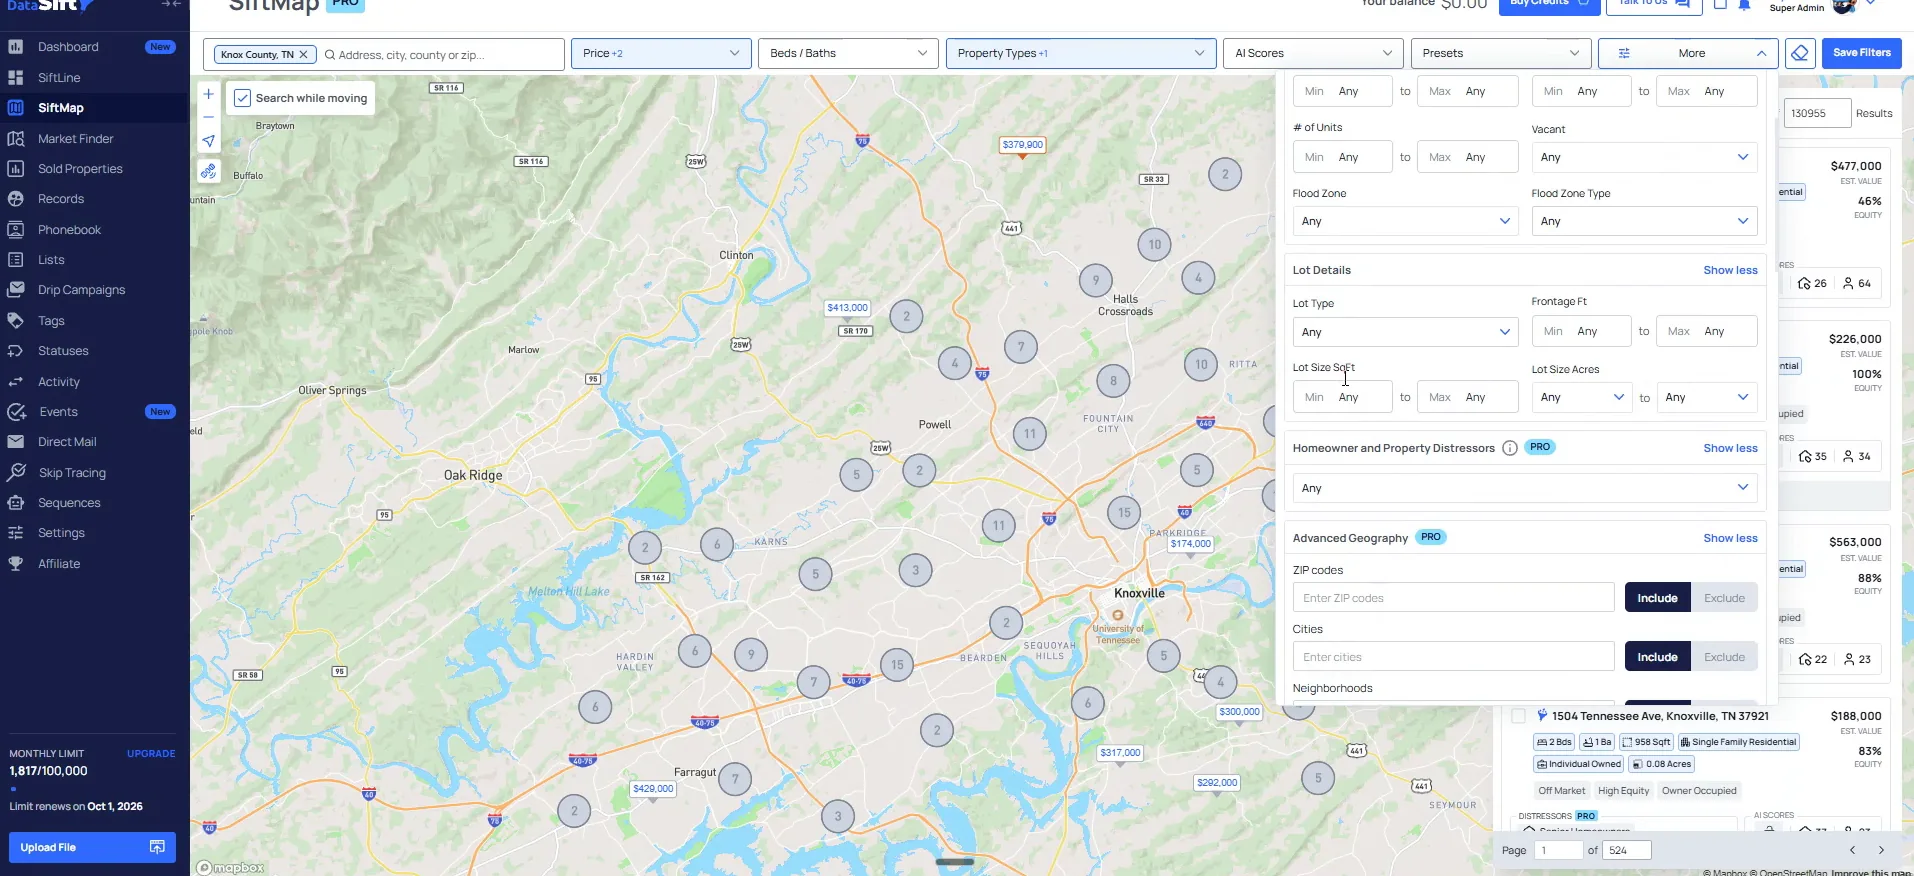
Open the distressors dropdown, which still reads Any.
Any is what the dropdown shows before you tell it anything. Left like that, it does not read your picks the way this list needs.
Senior homeowner is the first thing going in here, so the dropdown has to change first.
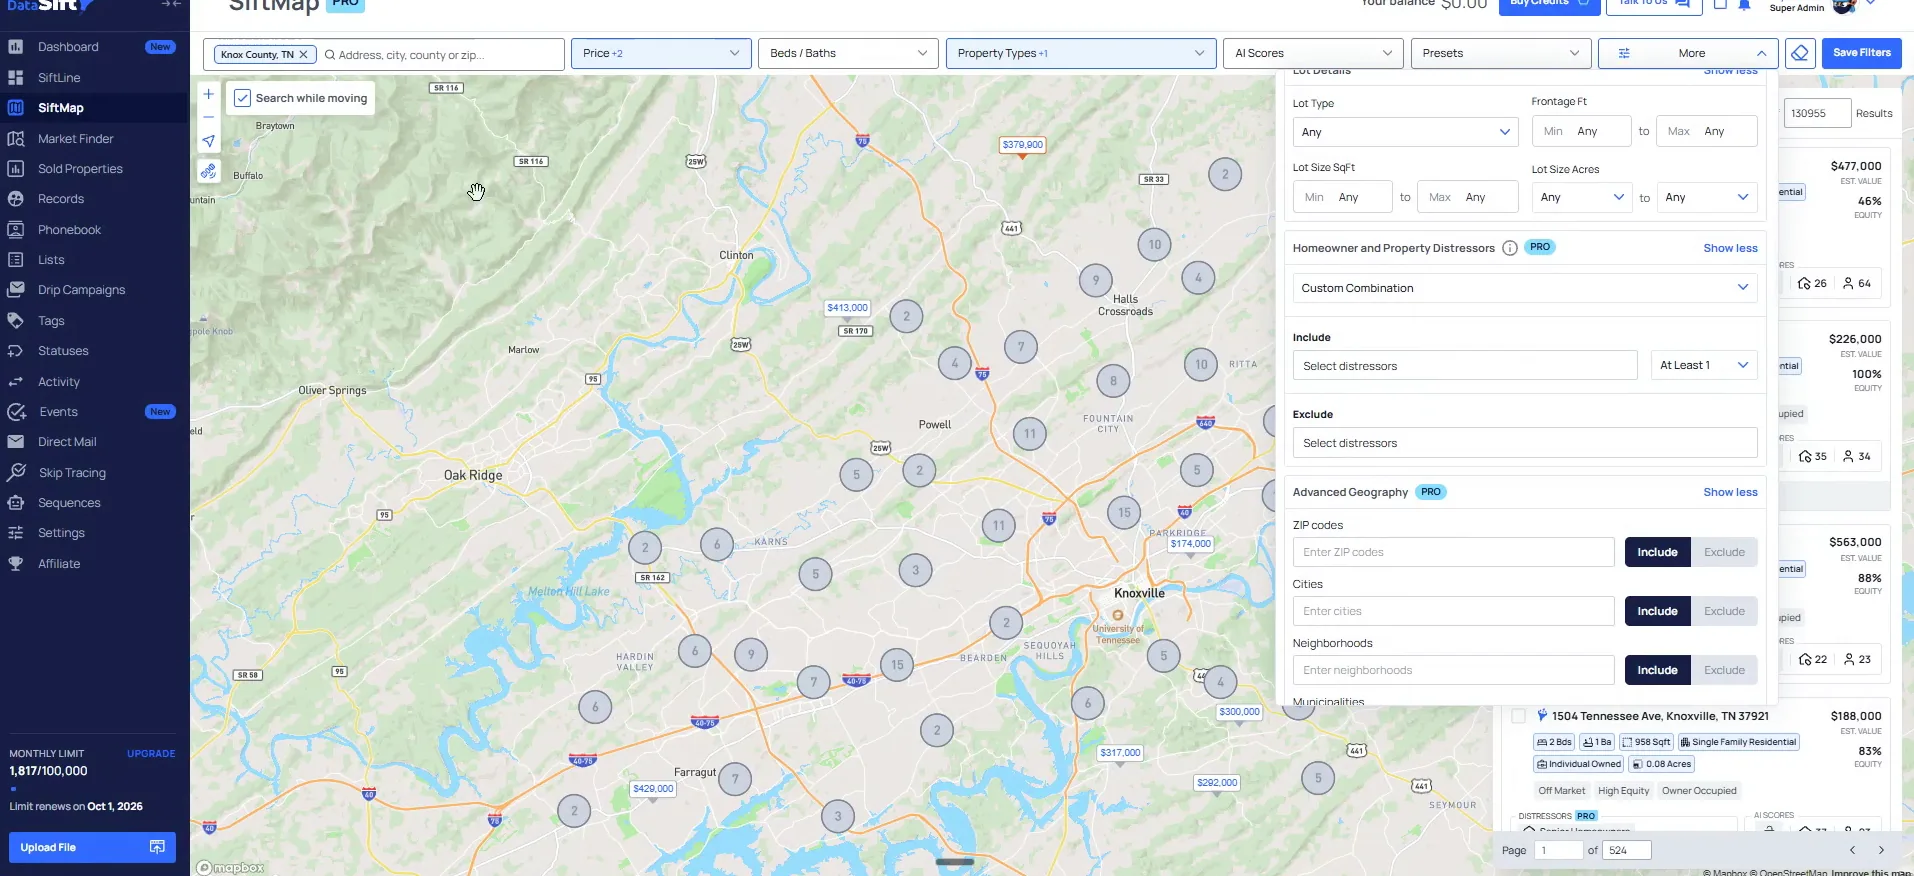
Set the dropdown to Custom Combination.
Include and exclude fields open up under the dropdown once it is set. That is where the individual distressors get picked.
Senior homeowner is the one we want to put in there next.
BEFORE YOU MOVE ON
PART 3
All selected, then pull into the account.
This is the part where the distressor picks get read the right way, and the count finally lands. I set the combination, add the equity percentage, check the number against my calculator, and then push the records into the account. Follow the screens in order and you will end up on the same modal I do.
Always do all selected.
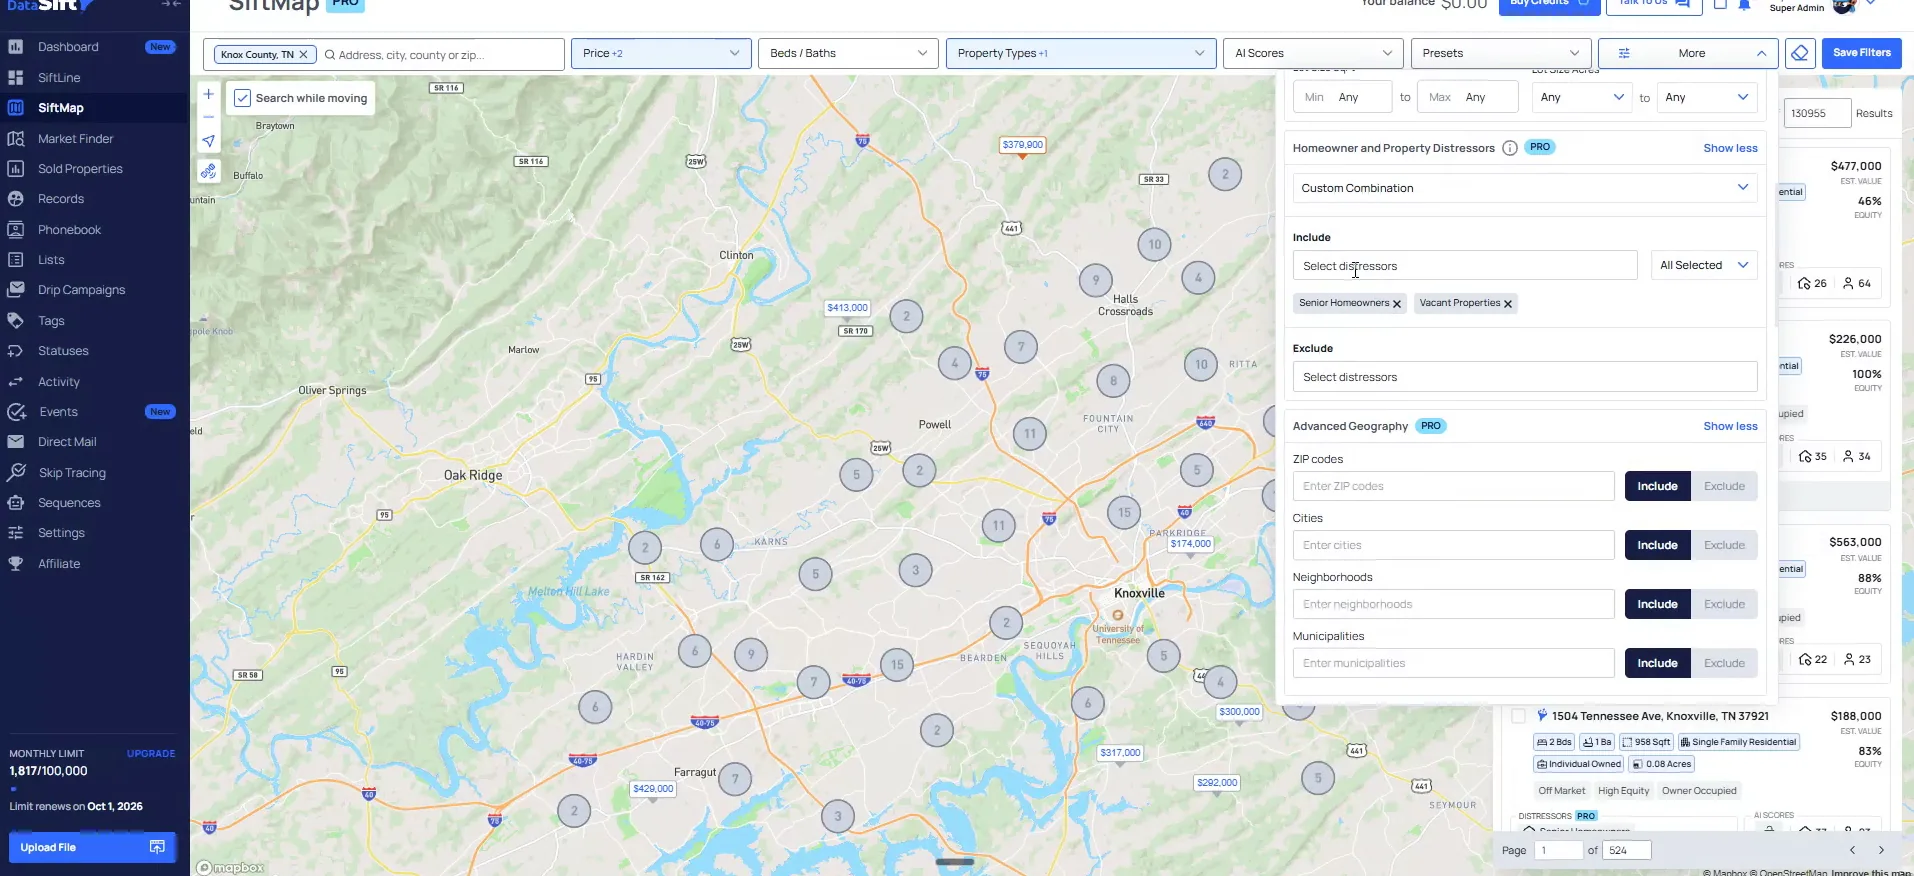
Set Include distressors to All selected with Senior homeowners ticked.
Say you pick all three of senior homeowner, vacant, free and clear. On at least one or at least two, only one of those has to be true for it to pop up. In this case we are looking for properties that fit that exact criteria. So you always wanna do all selected there.
First pick is senior homeowner, and the dropdown stays open with the three combination options on it.
Tick Vacant so the distressors read senior homeowners and vacant.
Both tags now sit under Include distressors with the combination still on All selected. Equity is not right here. Free and clear, low equity, all that good stuff, that is not inside the actual distressors.
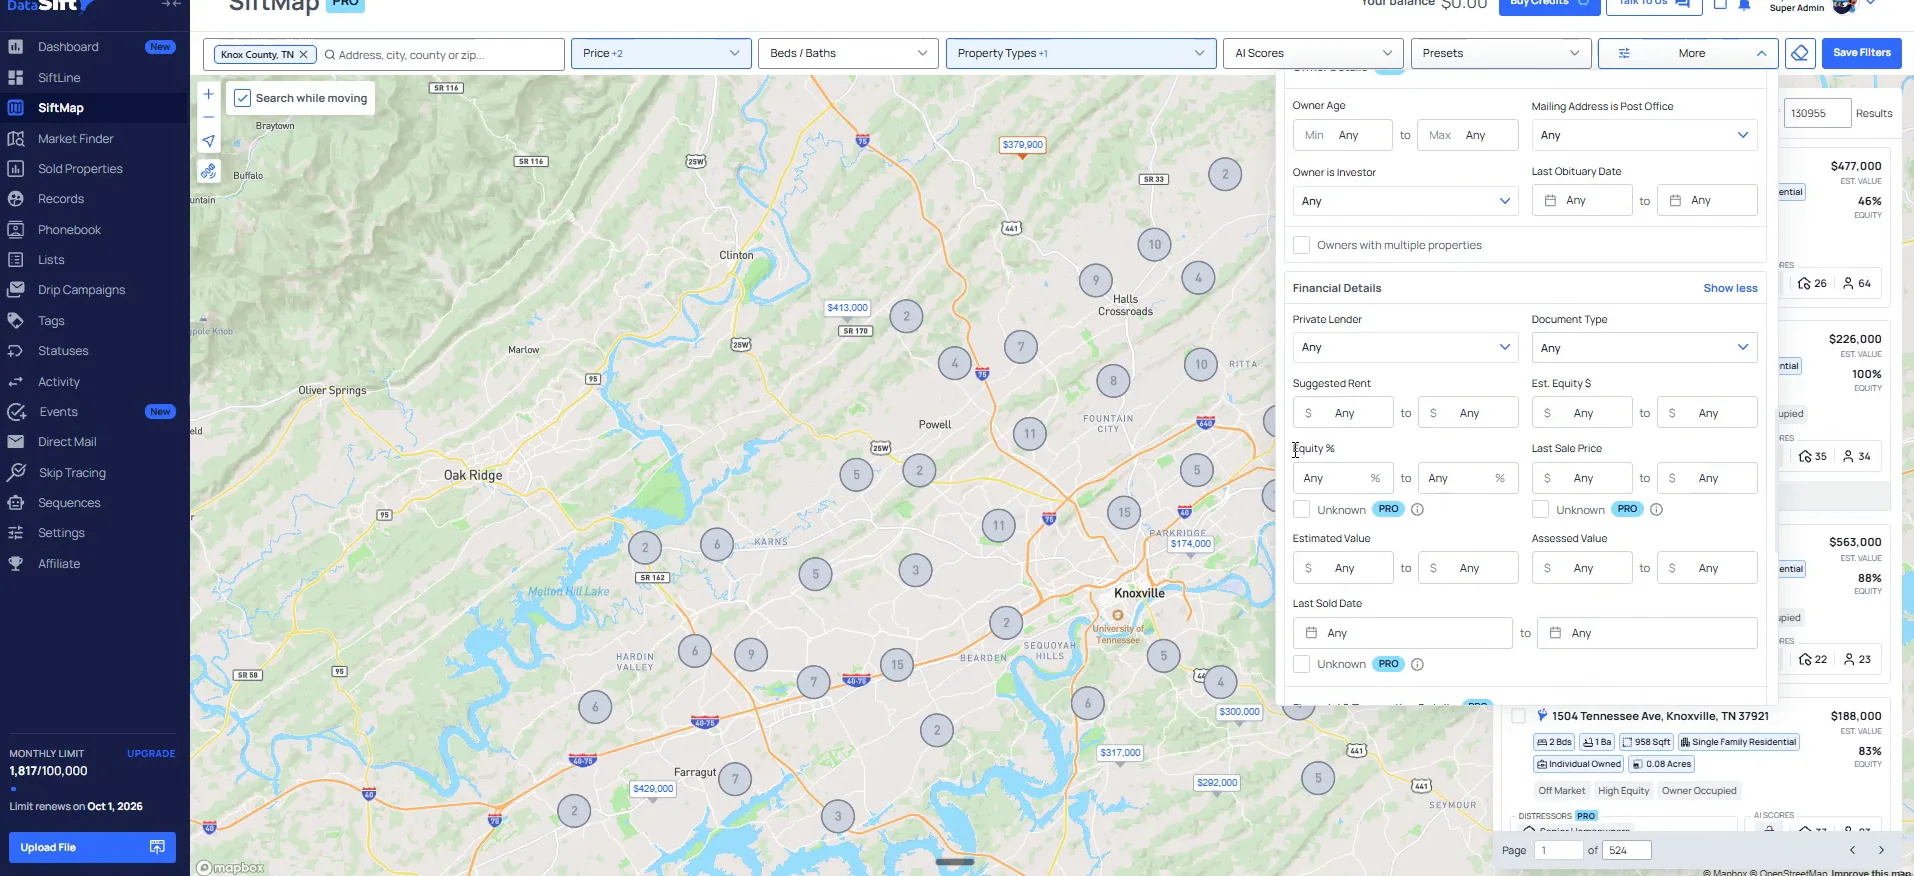
If you come on down to the equity percentage, it is going to be underneath the financial details. So underneath equity, we are going to put just a 100% there.
Filter result
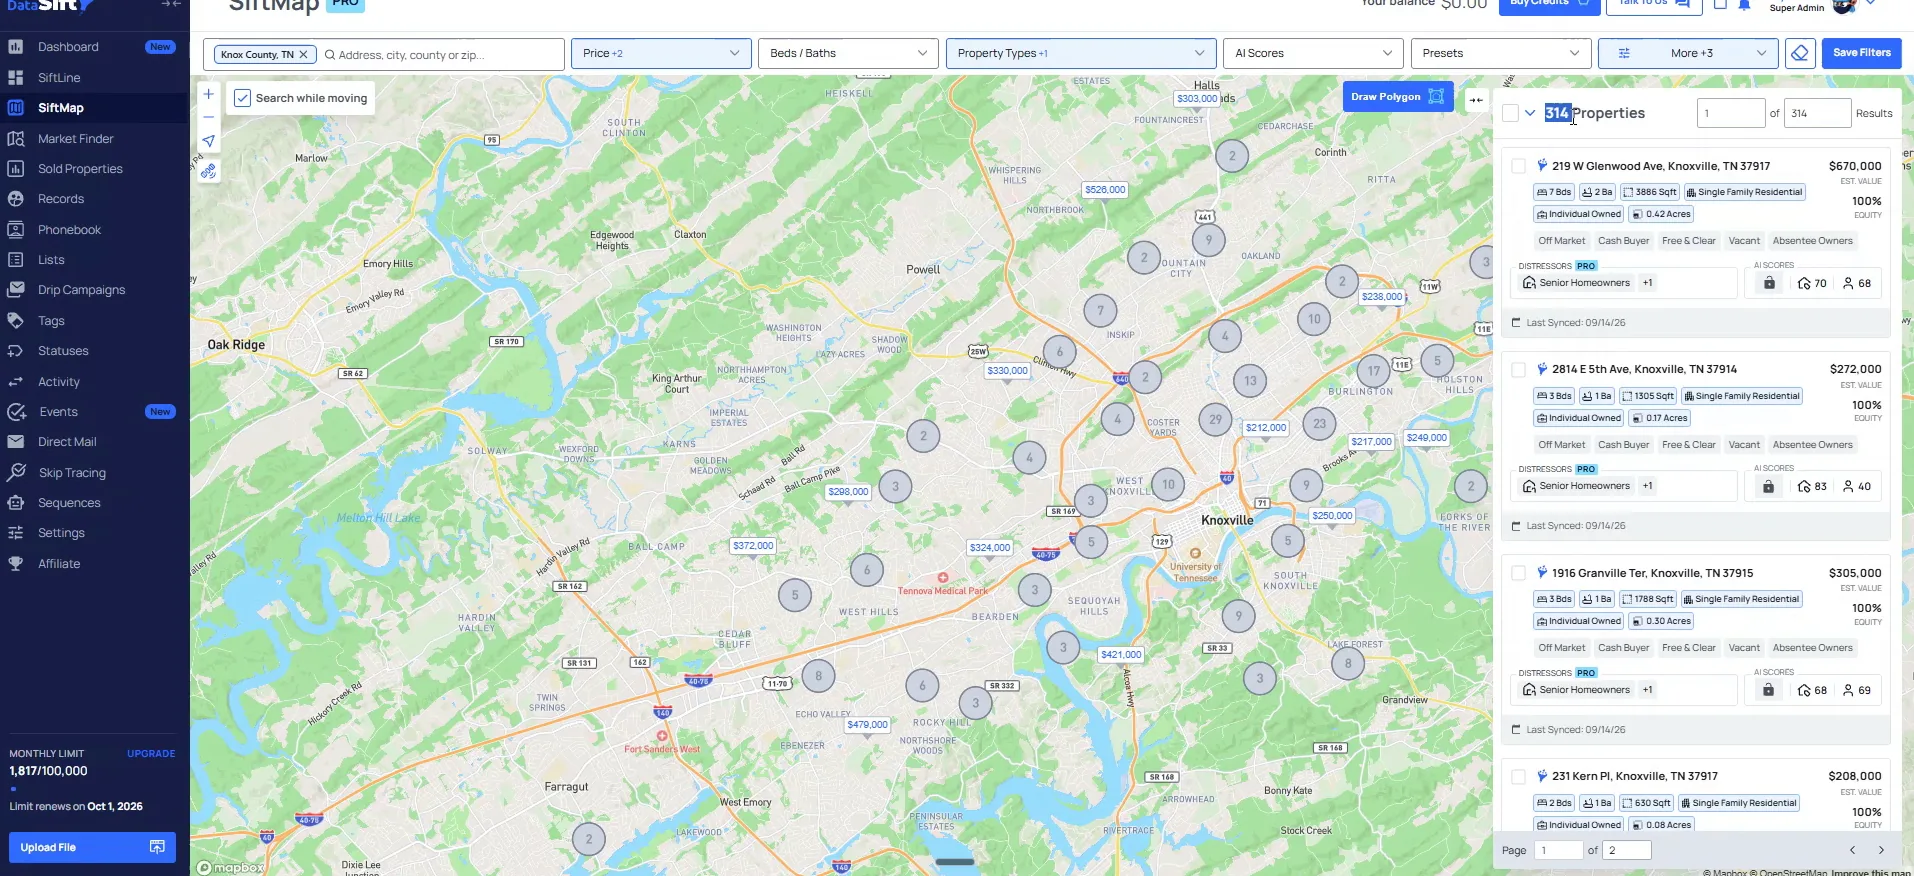
The filter took the count down to 314.
Find Unknown beside the equity percentage fields under Financial details.
The equity percentage fields still read Any on this screen, and the Unknown checkbox sits right next to them. If you ever wanna do unknown, it is also right there. That won't be the case for this.
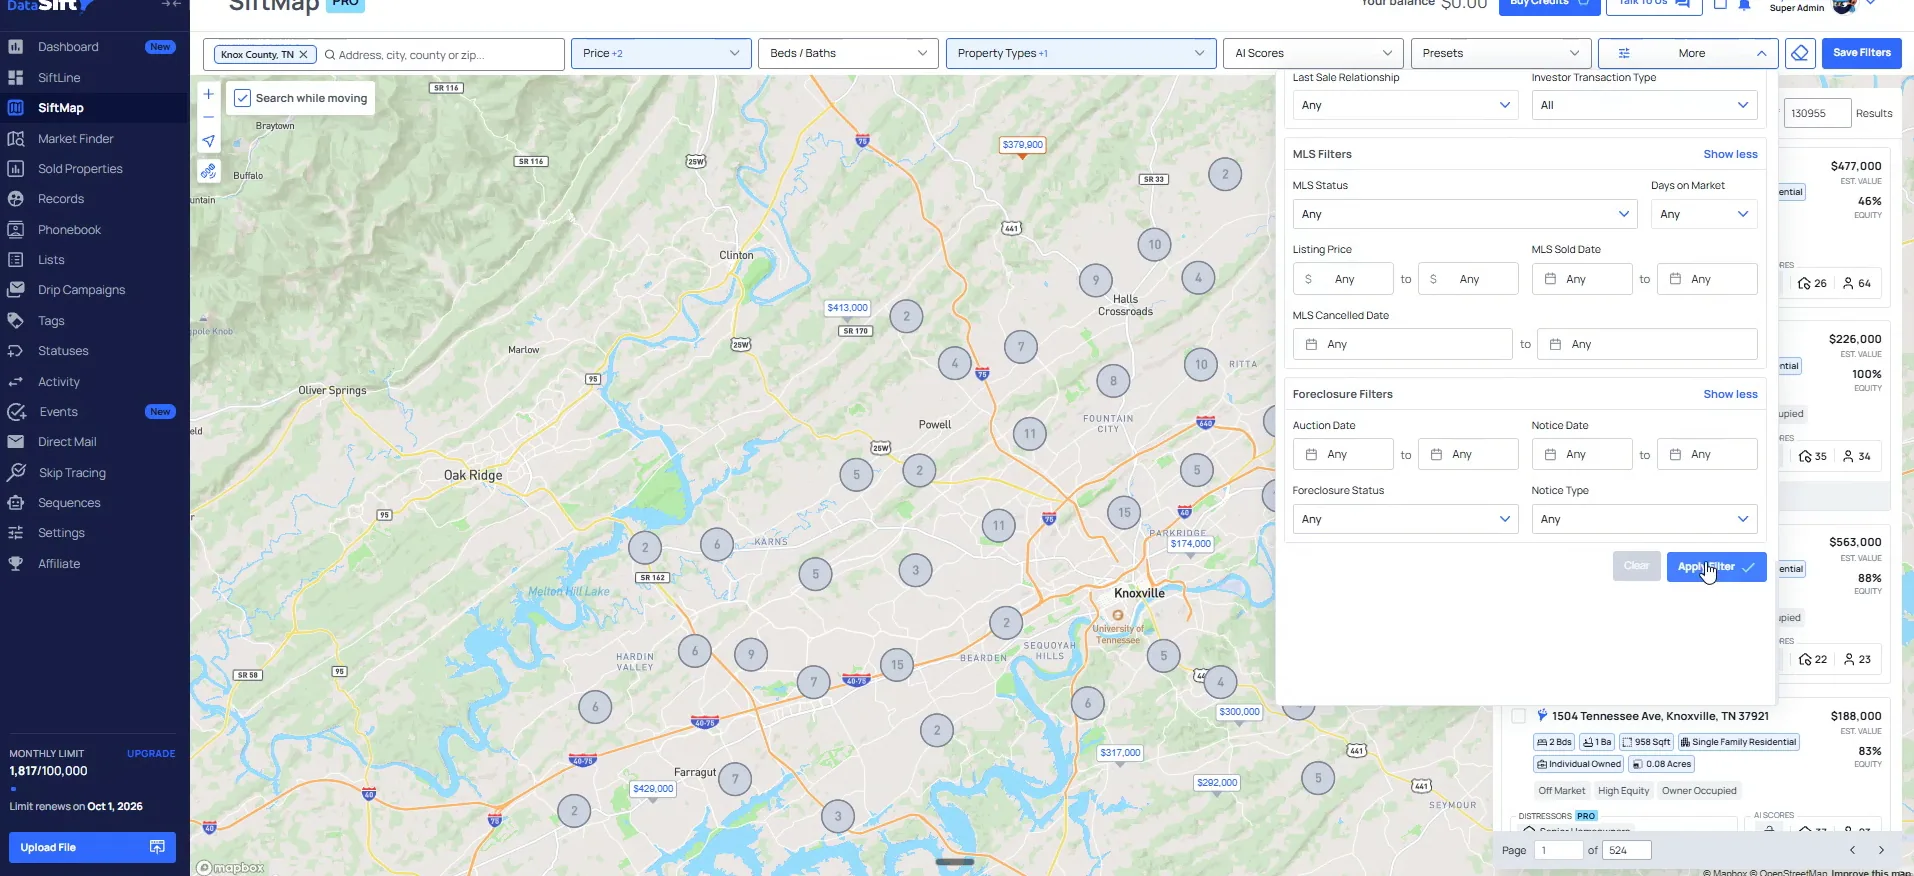
Click Apply filter on the panel.
When I put this filter on, it went from 130,000 down to 314. That is the number the map and the results list will both carry from here.
Next I check it against the calculator so I know the count is close to what the ranking said.
Read the 314 count at the top of the results.
The results list is now senior homeowners and the equity criteria in Knox County, TN. We know that is pretty accurate because I am at that 337 on my calculator.
It comes in a little bit less than the calculator number, and that is expected.
Open the calculator over the results and read 337.
The 314 on the list is a little bit less than this because I have the property value range of 100,000 to 700,000 on. Close is the check here.
Now we are good to go to start to actually pull this data into the account.
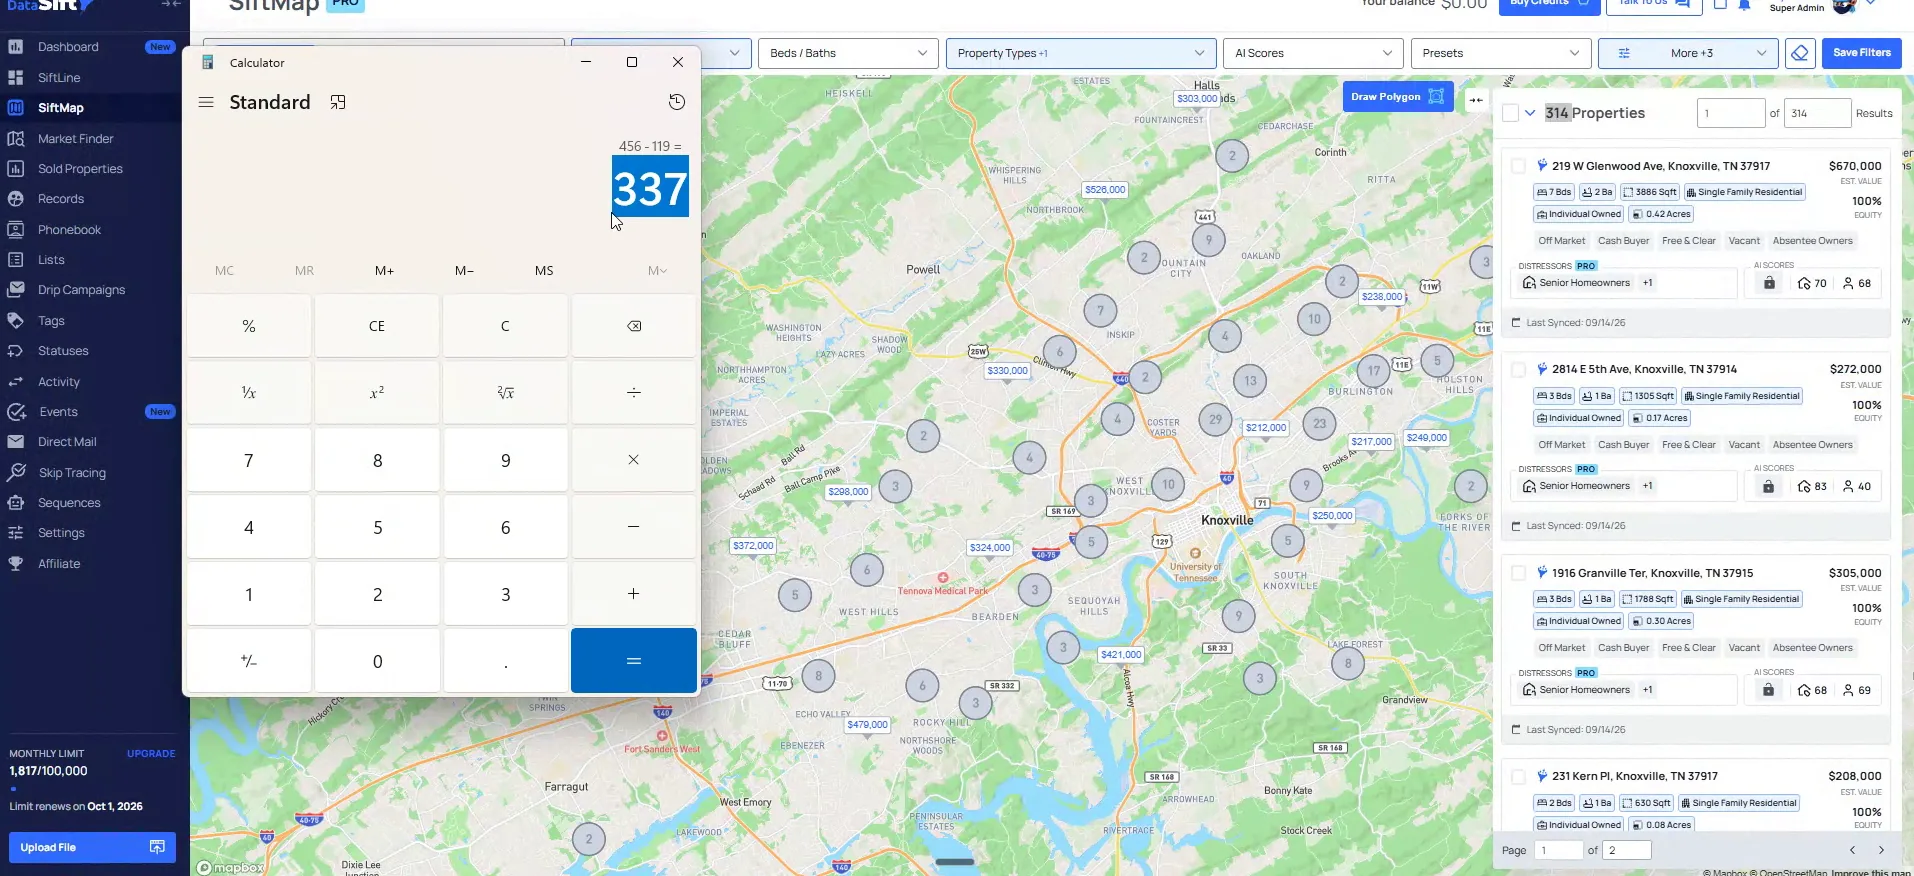
Keep 337 on screen and find the select button.
The calculator still shows the subtraction that gave me 337, sitting over the 314 results. The little button I want is at the top of the results list.
In terms of the actual list, we never really wanna add a specific list.
So what you'll do is you'll hit this little button here and select all, and we're going to add all of these to the account.
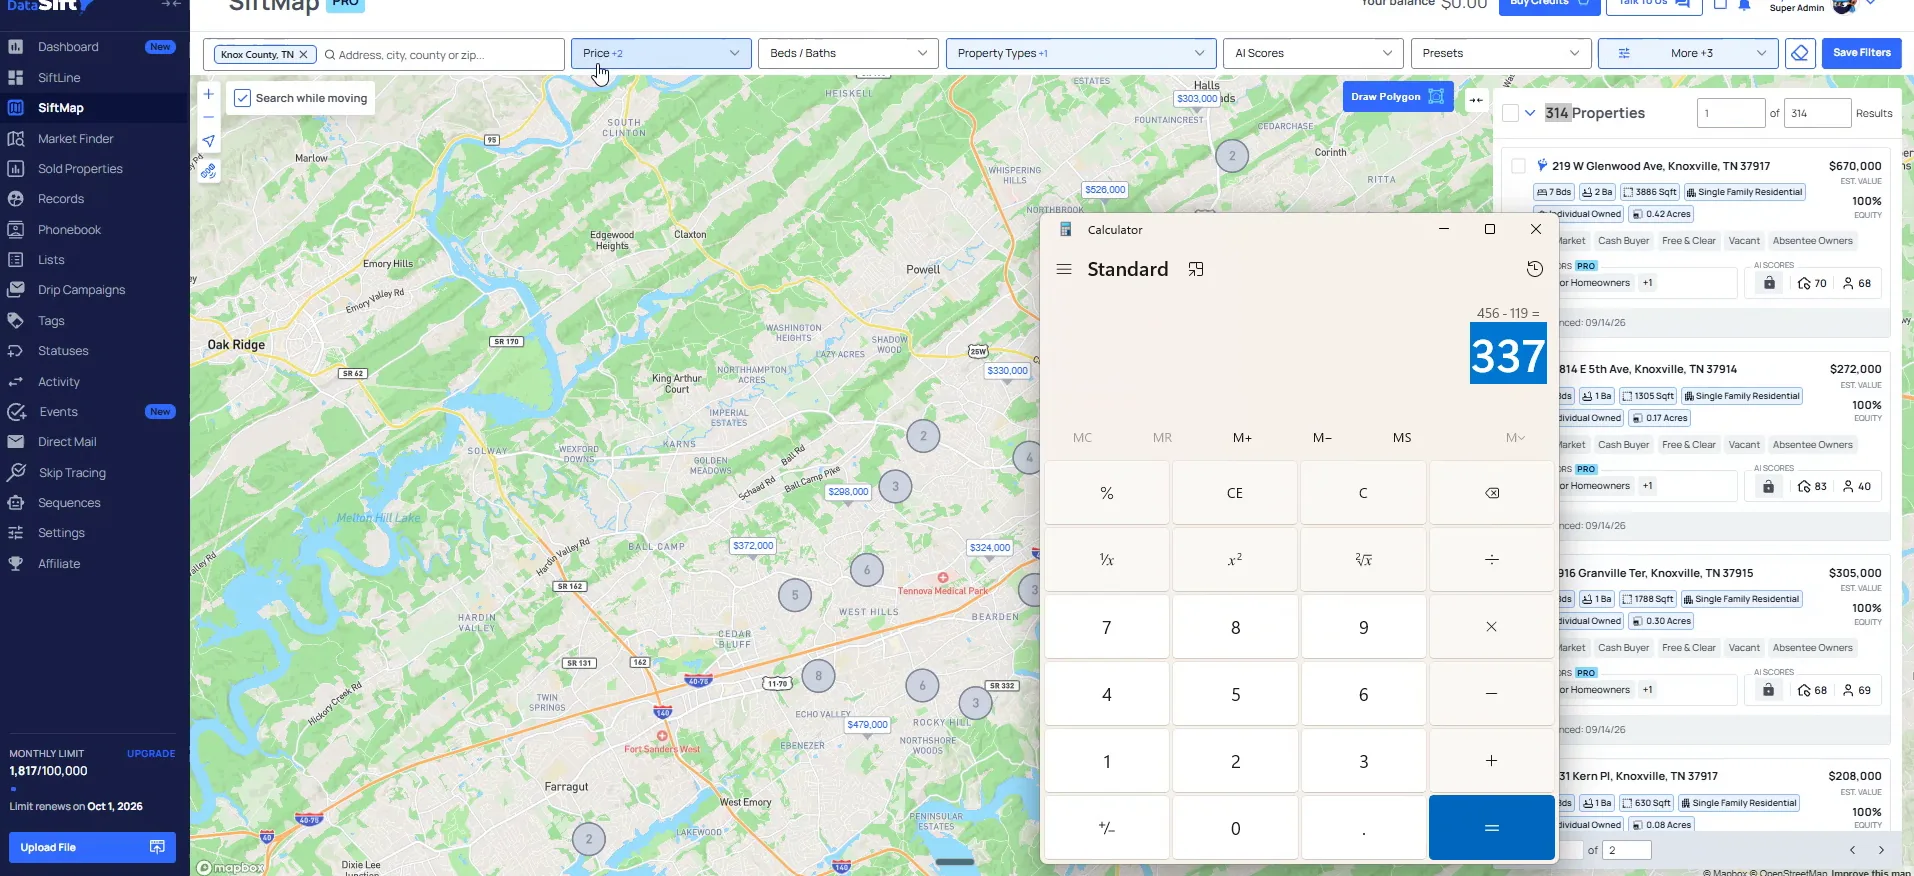
Hit the little button and choose Select all.
Every row in the 314 is now selected, and the Add records to account button shows up on the results list. That button is the one that moves the data over.
Click it and the modal opens next.
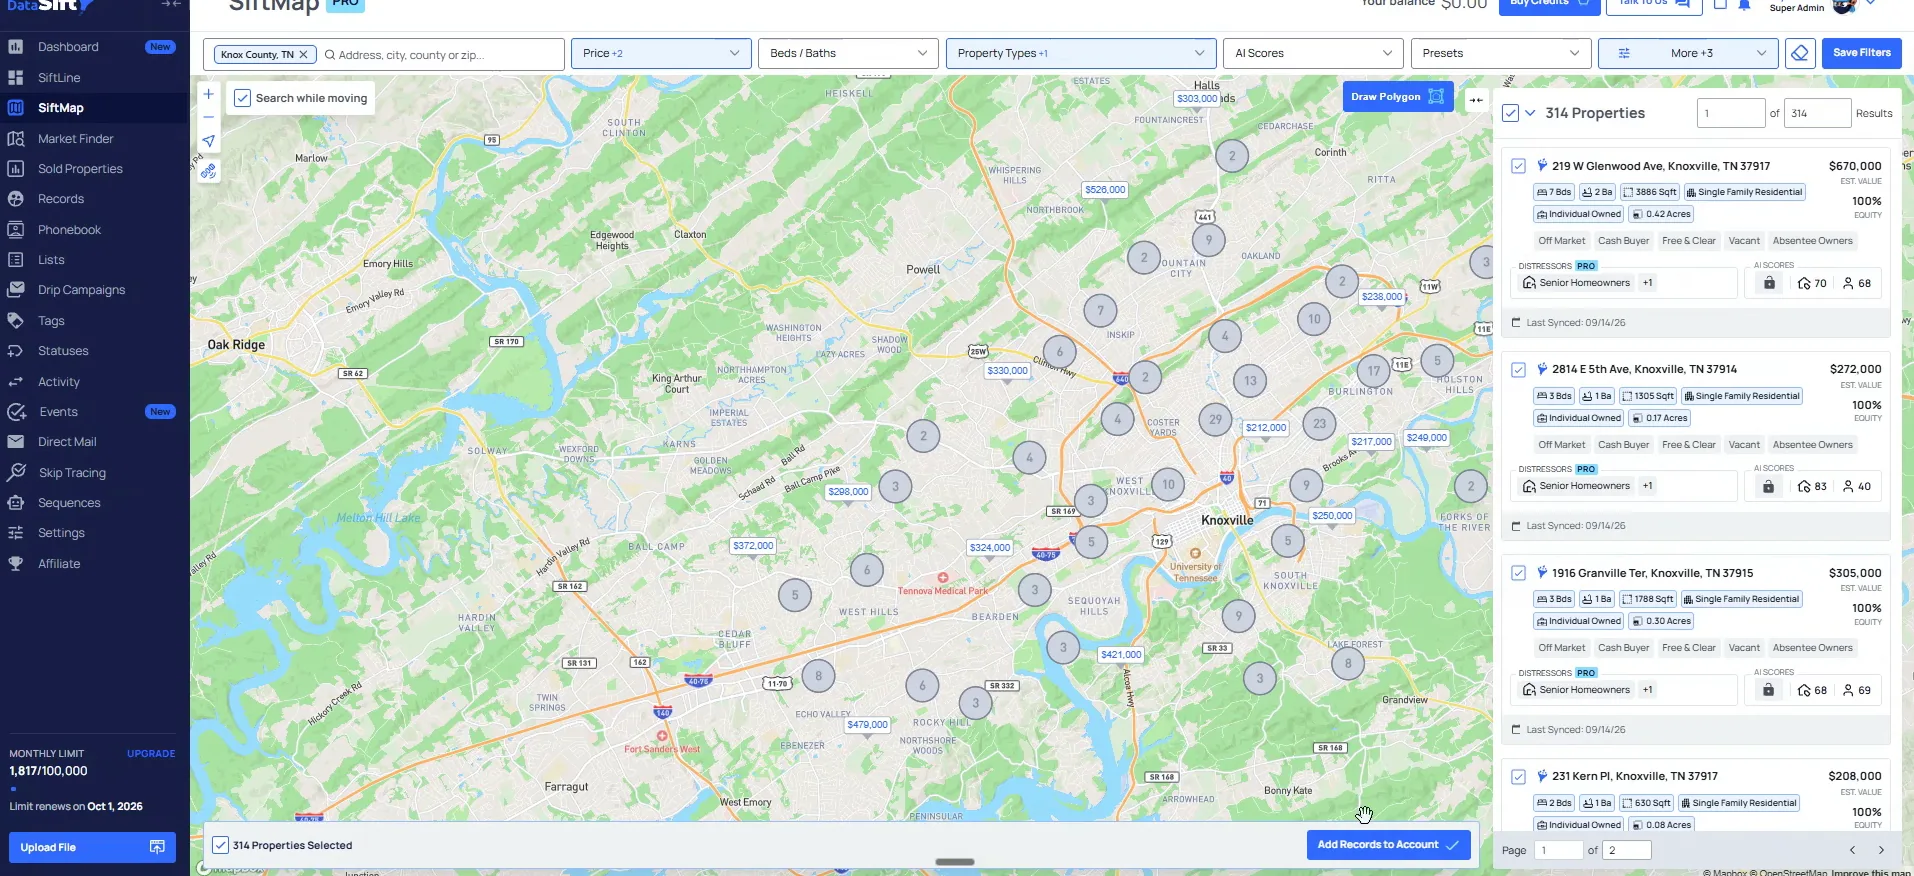
Leave the list field alone in the Add properties modal.
The modal has the list field, tags and the auto add options on it. The system will automatically tag these lists as soon as you pull it into the account.
I have seen people make a hot list, so you would literally put hot right there, for a specific combination only you focus on. I have also seen it for curative people who just want tax delinquency, vacant and obituary.
This is only for very custom things because the system will automatically tag these lists as soon as you pull it into the account.
BEFORE YOU MOVE ON
PART 4
Tag it and check the upload.
Now we put the tag on the list and turn on auto add before the records come into the account. Then we go over to the upload and the presets page to check that it actually landed. Nine screens, one action each, in the order they happen.
Tag it, then check the upload.
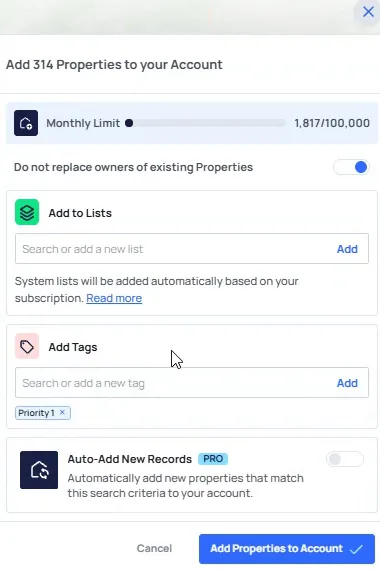
Add a priority one tag in the Add Properties to Account dialog.
The tag, this is very important. Whenever we go into our marketing flows, this shows you that it is a priority one list. It mirrors that doors per deal setup I have been talking about in the earlier modules.
As we scroll down, the auto add new records feature is important too. It tells us yes, I want to pull in all of this data. And yes, I want the new records that fit this criteria every day. Then you hit add properties to your account.
I wanna pull in all of this data, and, yes, I wanna get the new list that fit this criteria every single day that come on the list.
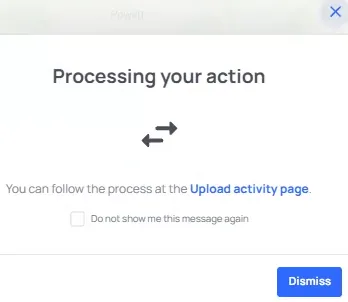
Click the upload activity link in the processing dialog.
The screen tells you the filter was actually saved, and the processing dialog gives you the link over to the upload. That link is how you know the pull is moving.
We always want to go back in and modify that saved filter, and I will show you that in a second.
And, we always wanna go in and, modify that, which I'll show you guys here in a second.
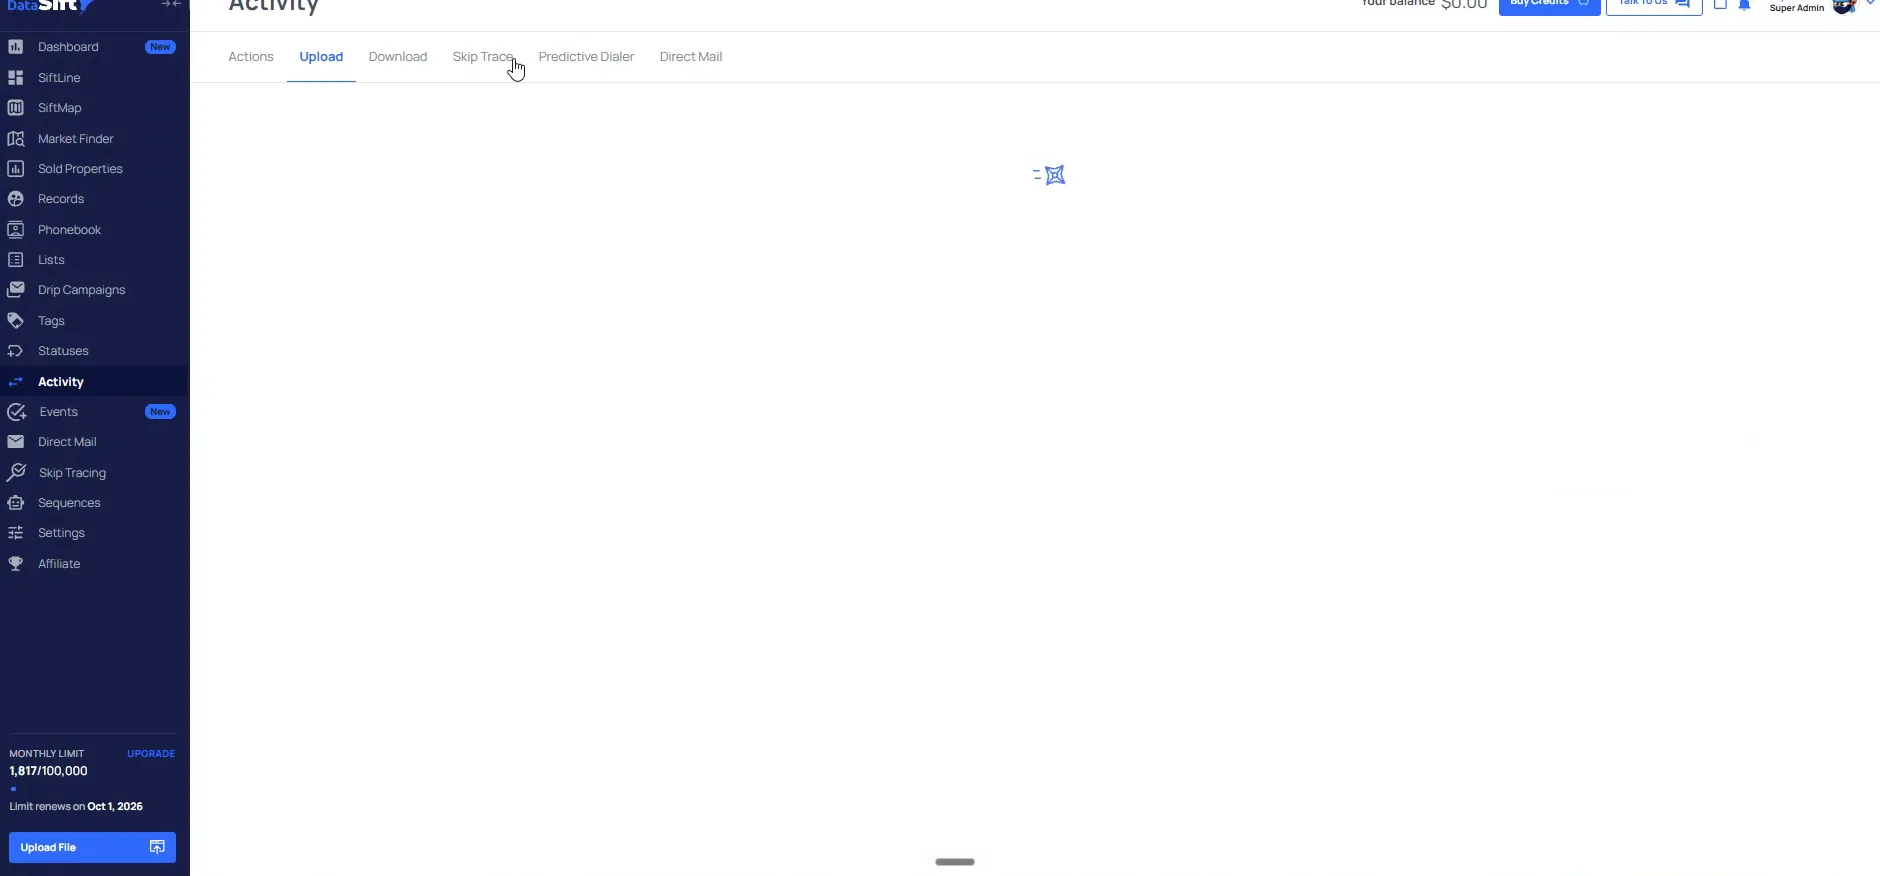
Open the Activity Upload tab and let it load.
The tab comes up with a spinner while it counts, and your monthly limit sits over in the sidebar. You will know this is working when the breakdown starts with the 314 records coming in.
Nothing to do here but wait for the numbers to appear.
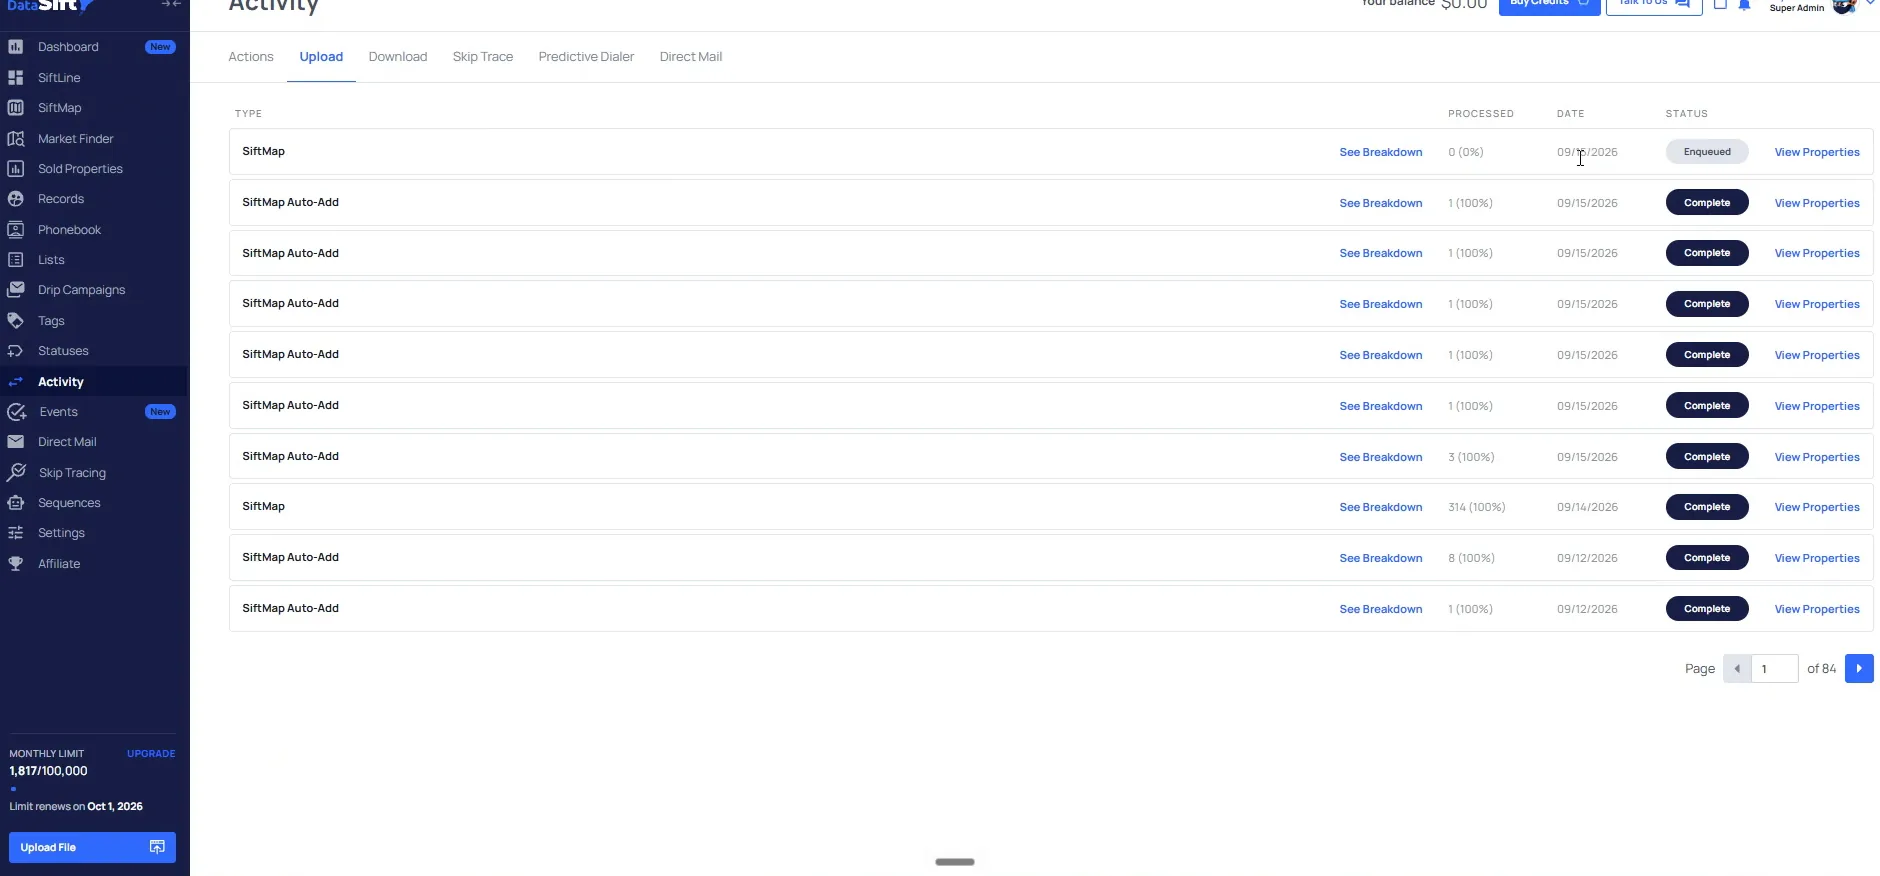
Read the SiftMap and SiftMap Auto-Add rows on the upload list.
Both rows show up, the pull itself and the auto add. My guess is this will probably take thirty seconds to a minute. It just depends on how many people are using it at the time.
So we will come back there in just a second. I like to open a new tab and go back over to Sift while it finishes.
Open the presets dropdown and select the saved Knox filter.
When I was talking earlier about the marketing presets, you can see it will just have Knoxville, Tennessee 100,000 to 700,000. It is that exact list we just pulled in.
That name is what the system gave it, and it is the one we are about to edit.
What we're actually doing, though, is we're gonna come in and we are going to actually edit this particular list.
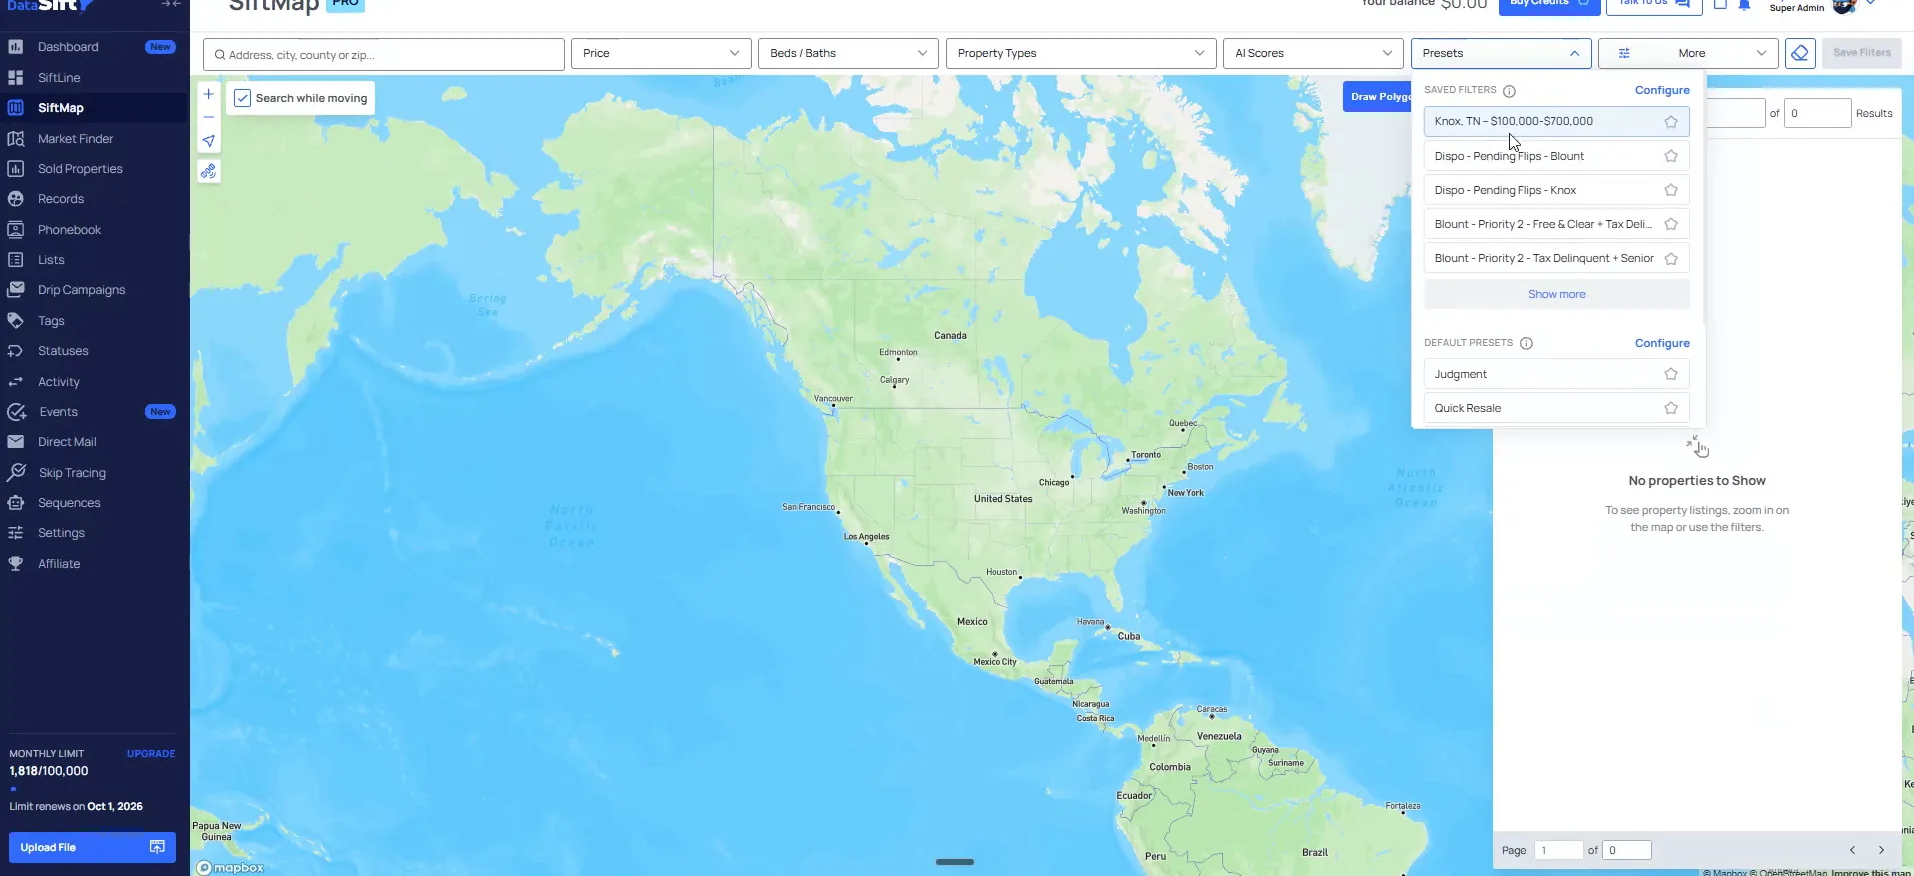
Check the results screen still shows 314 properties in Knox County.
The map comes back with the filters applied and the same count you sent to the account. That is the list the preset points at.
From here we want to actually add in the name.
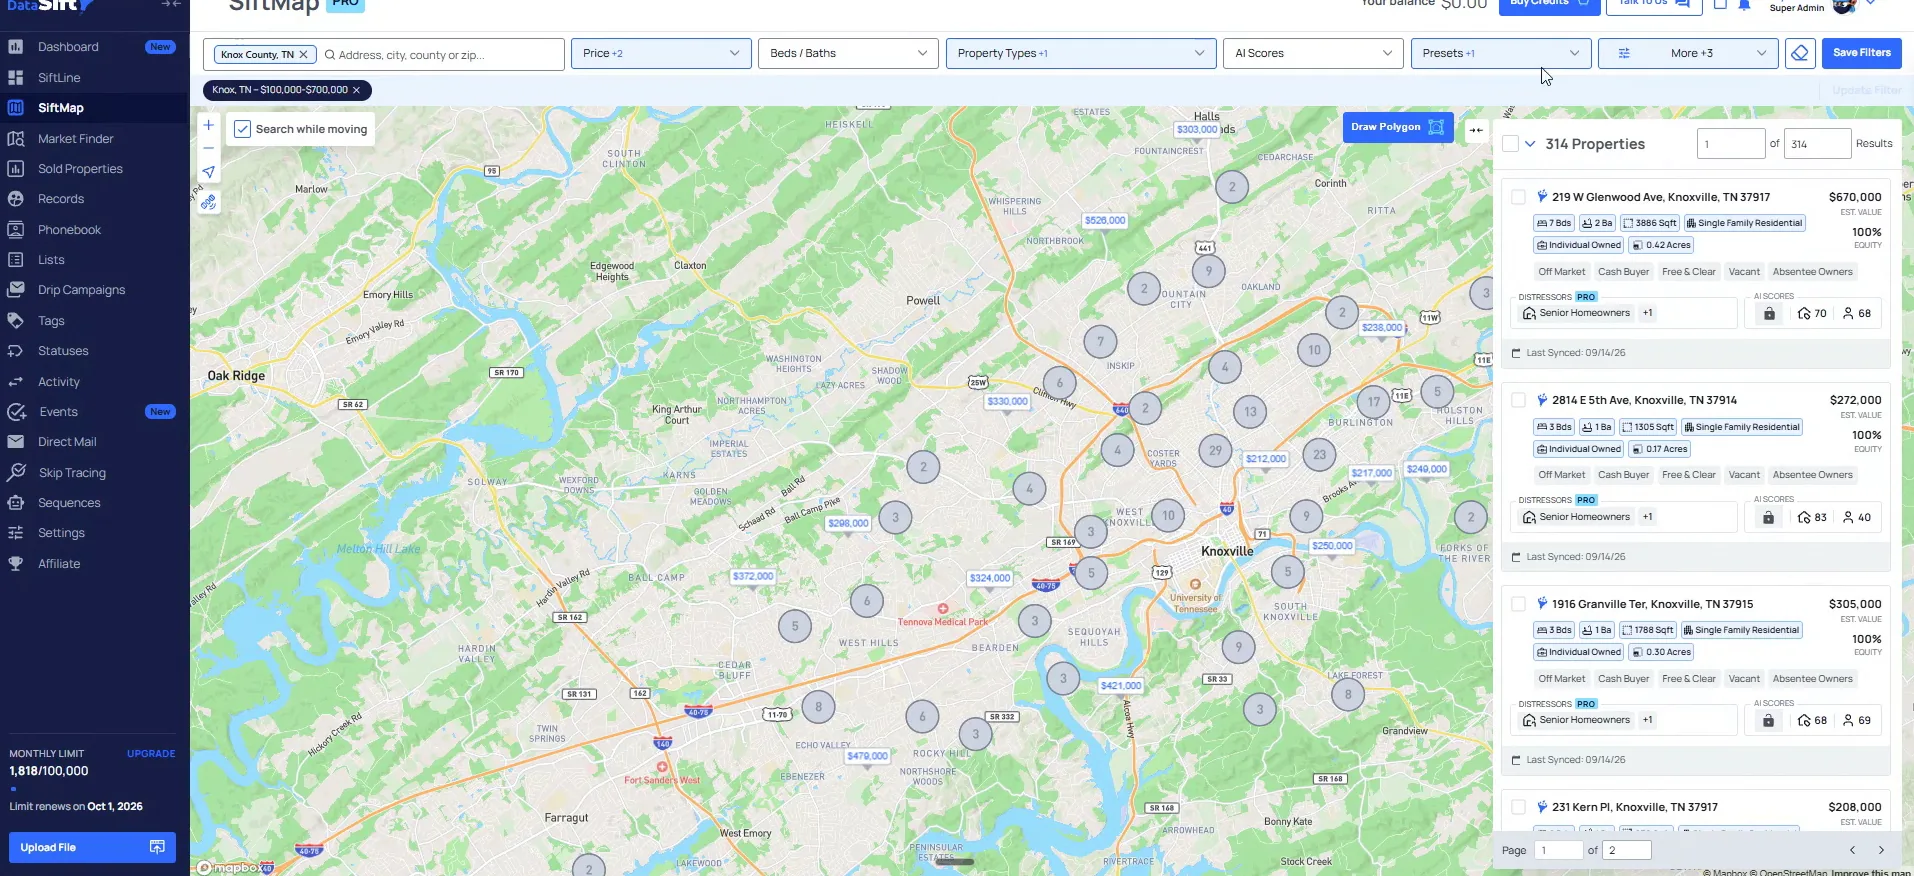
Open the Presets dropdown on the map view again.
We want to add in all of the important details, so the dropdown is where we go in. The Knox, TN list is the one selected.
Hitting this dropdown is what opens up the record count underneath.
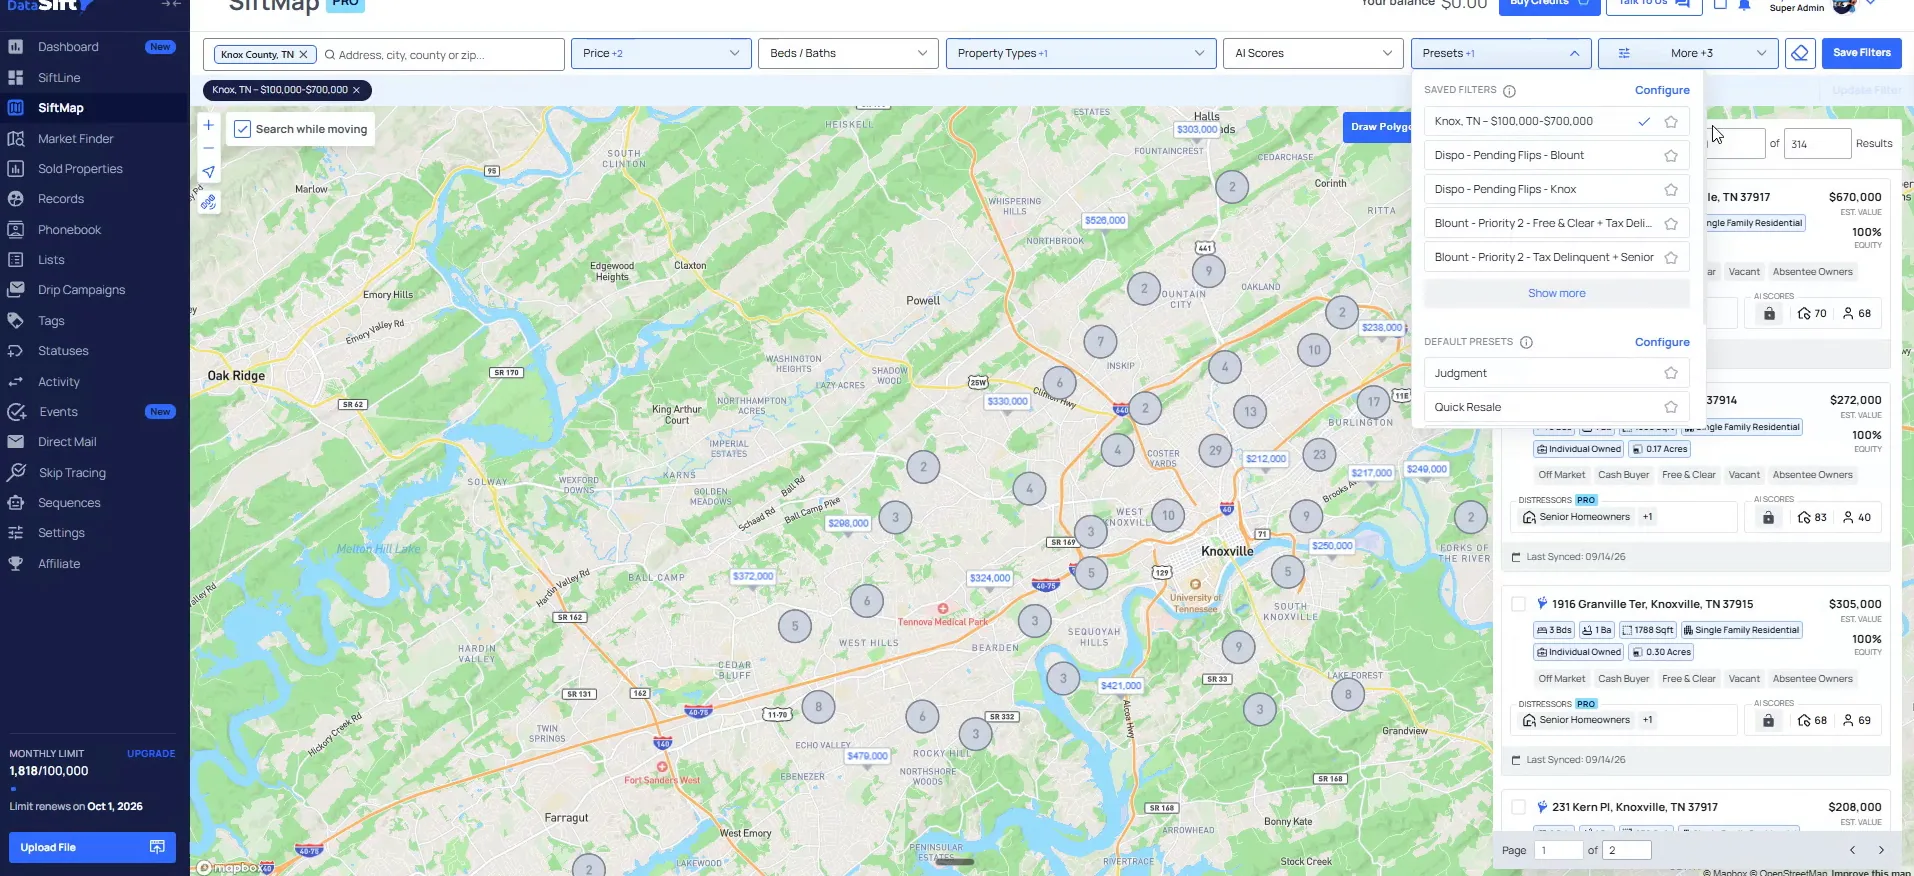
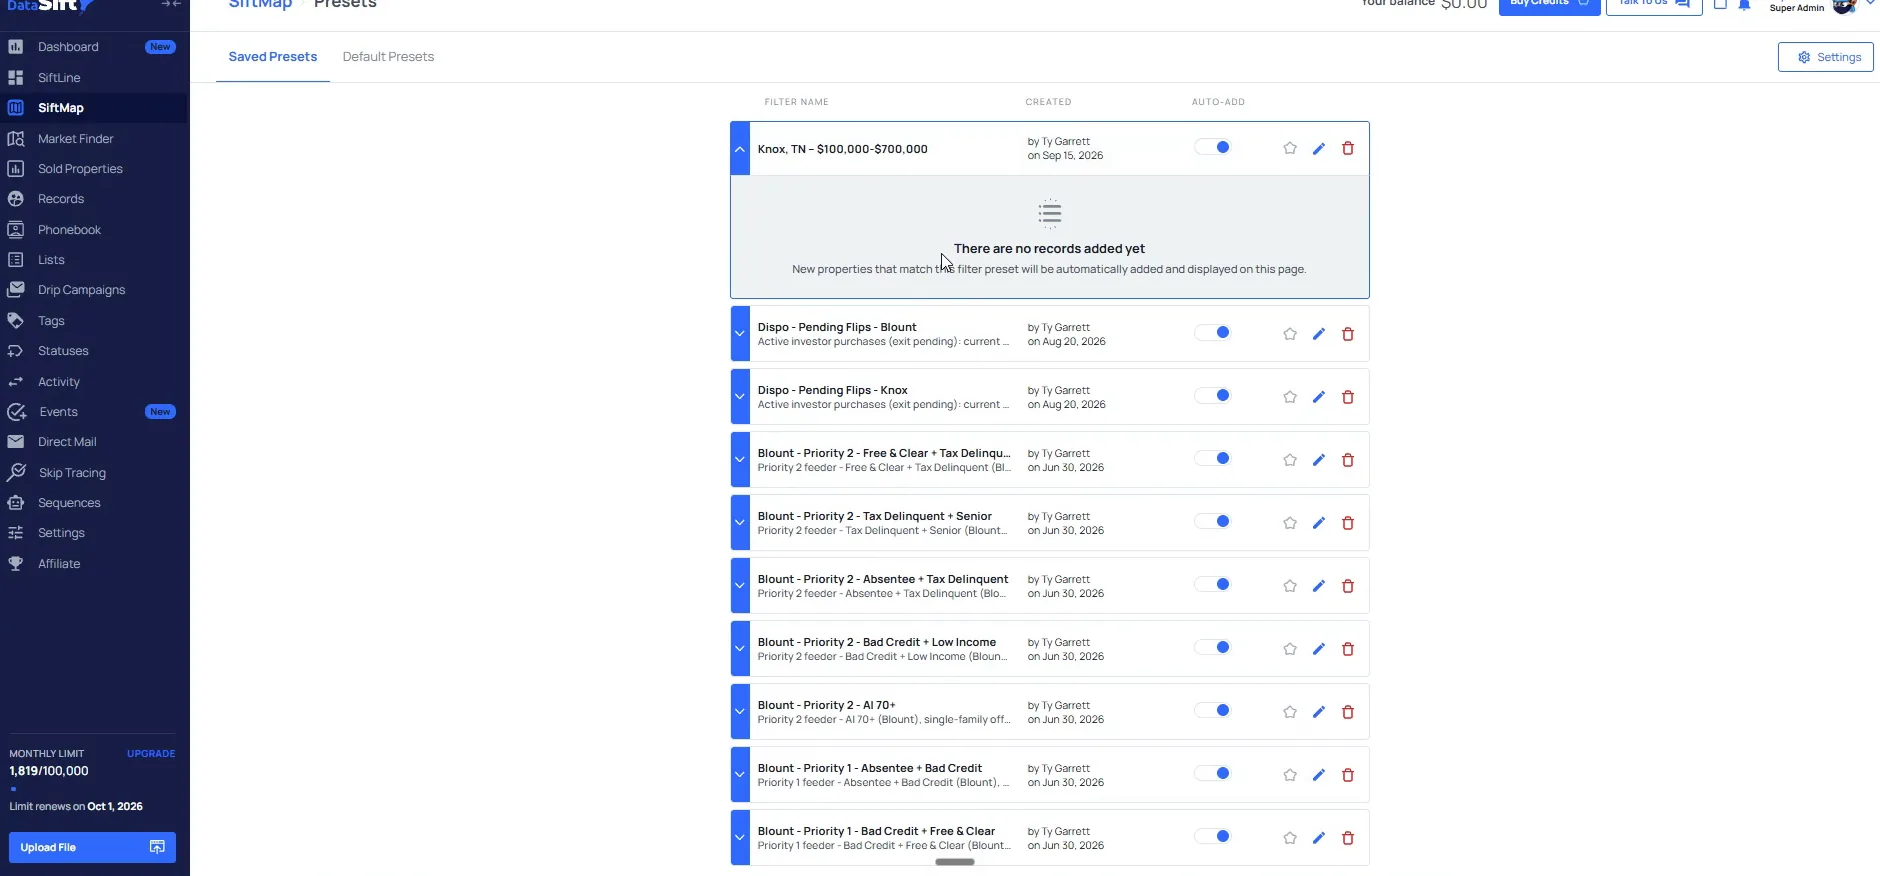
Open the Presets page and find the Knox TN preset row.
The page lists your saved presets with the auto add toggles next to them, including the Knox TN 100,000 to 700,000 one. That toggle is the auto add we switched on in the dialog.
No new records have been added yet because we just created this. There has not been enough time for it to be adding anything in.
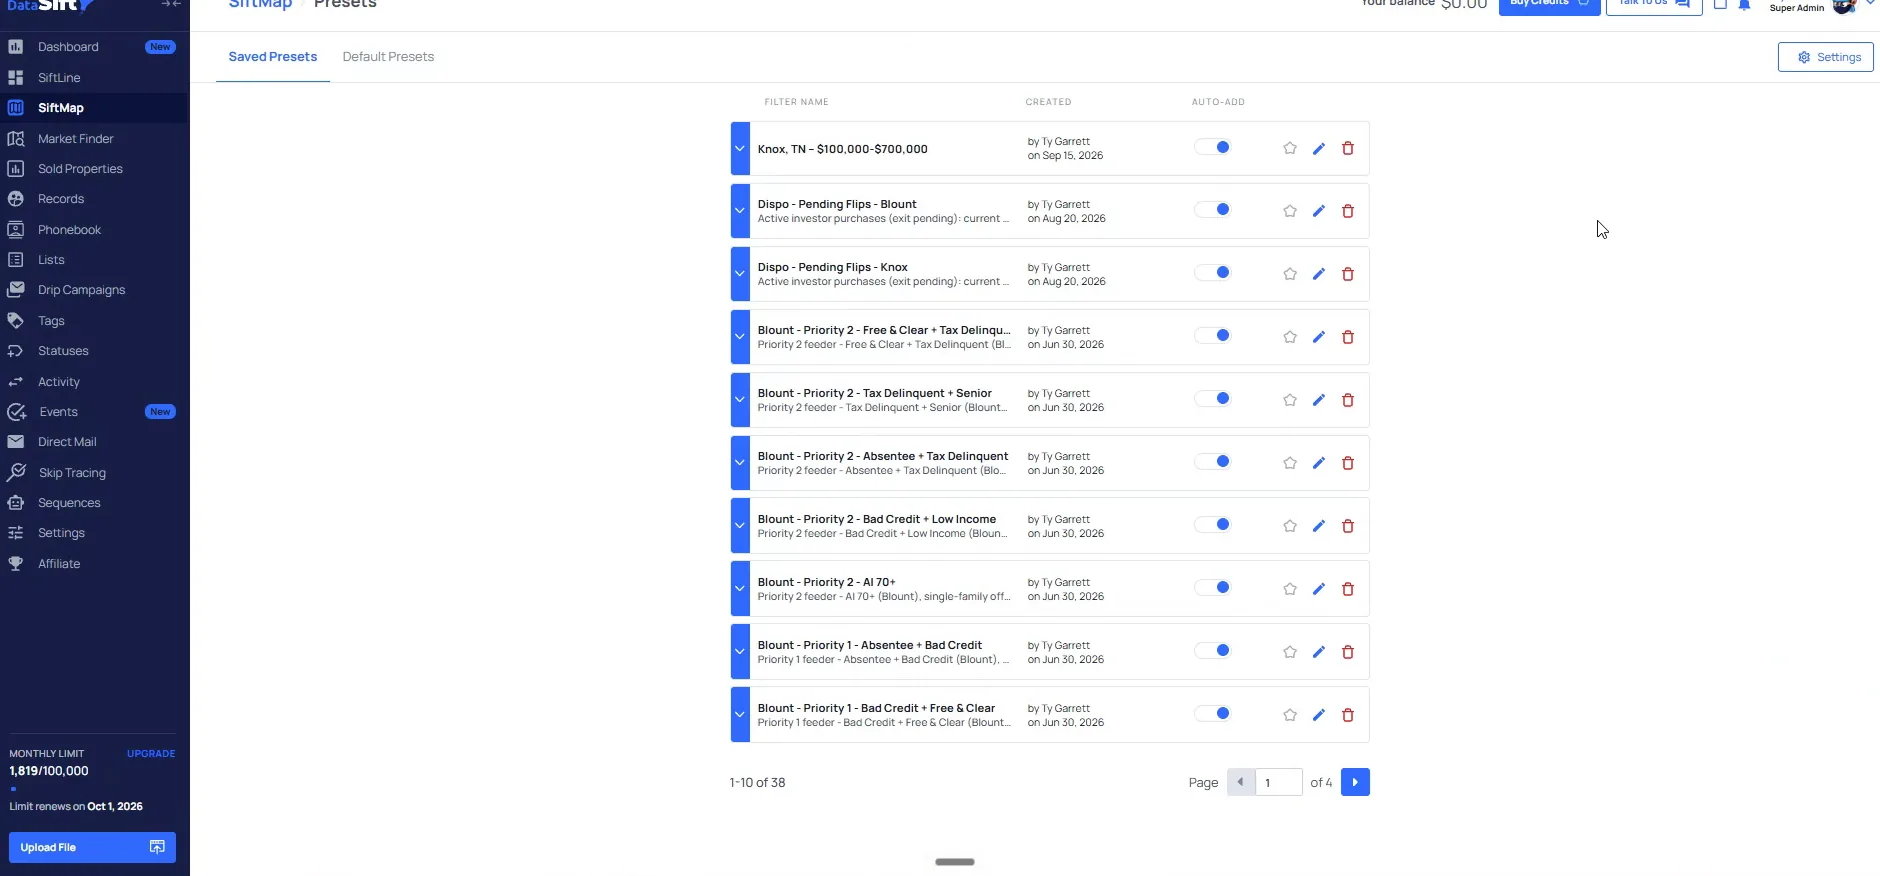
Expand the Knox TN preset and read the no records message.
Expanded, it says plainly that nothing new has come in yet. That is what you should see on day one.
This will be over a couple of days, weeks, months, and so on. The count fills in as new properties hit the criteria.
BEFORE YOU MOVE ON
PART 5
You can be the first to market.
This is the last pass on the list you just built. We name it so you can see which list it came from, save it, then repeat for the next few. Once it is saved, every new record that lands on it shows up dated, and you get to call it first.
Name the list, save it, repeat.
In the Edit filter dialog, put priority one first in the name.
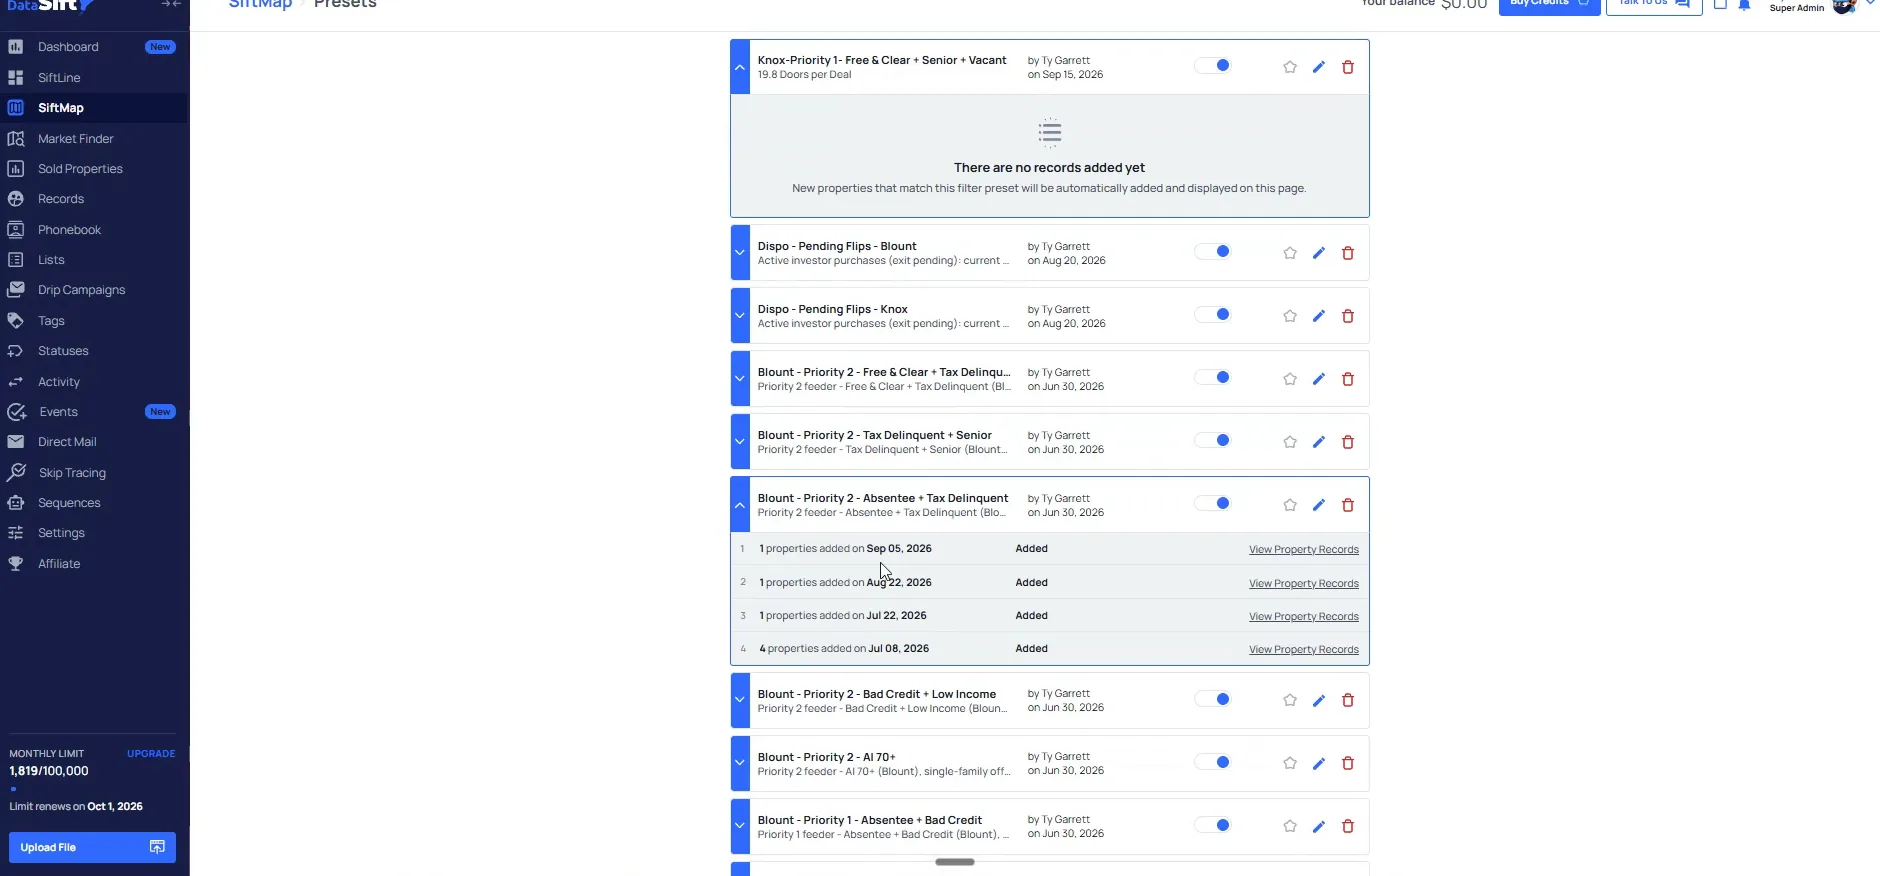
I come over and edit the saved search, and I like to put priority one at the front. You can do counties too, so this one reads Knox dash priority one. Forgive my atrocious spelling.
Putting the priority first means the order you see in your presets matches the order of your ranking. After that I like to put in the actual doors per deal list it came in on.
Add 19.8 and the words doors per deal to the name.
I copy the whole block from the ranking. Here that is free and clear plus senior plus vacant. Then I add the doors per deal number for that row.
In this case it is 19.8. For every 19.8 properties on this list, that is how many people it takes to get in front of one investor transaction over six months. Then confirm and save.
So we'll put, the 19.8 and then just put doors per deal.
Open your absentee tax delinquent list to see records by date.
Every time a new record comes in, it shows up like this under the saved list. On September 5 there was a single property added to my absentee tax delinquent list.
That is the one you get to call first, from a flow perspective, because it is assigned to your callers.
And now every time that this new record actually comes in, I'll show you an example down here.
Pick the presets with notice of default or probate.
Once you have done one, you can do this for as many as you want. If you are just starting out, I highly recommend a handful of lists. Maybe the first five lists on your doors per deal.
Doing the first to market strategy too? Select the ones that have notice of default or probate here. The ones that are really good from that training I did earlier work as well.
BEFORE YOU MOVE ON