
PART 1
Saved filter presets for direct mail.
This one walks through building saved filter presets for your direct mail campaigns, click by click. It covers the setup for mail you send straight through Sift. If you use another provider, there is a separate video for that.
Build the folder and the first preset.
Go to the records page and create a new folder.
The first thing we need to do is go over to the records page. I am going to create a new folder to hold the direct mail filters in.
Say you are doing first to market or niche or bulk sequential. You can create just one folder that includes all of your cold calling and mail presets. For this video I made a new folder just for direct mail.
Now your filter setup is going to vary based on if you are sending direct mail through REI Sift or through another provider.
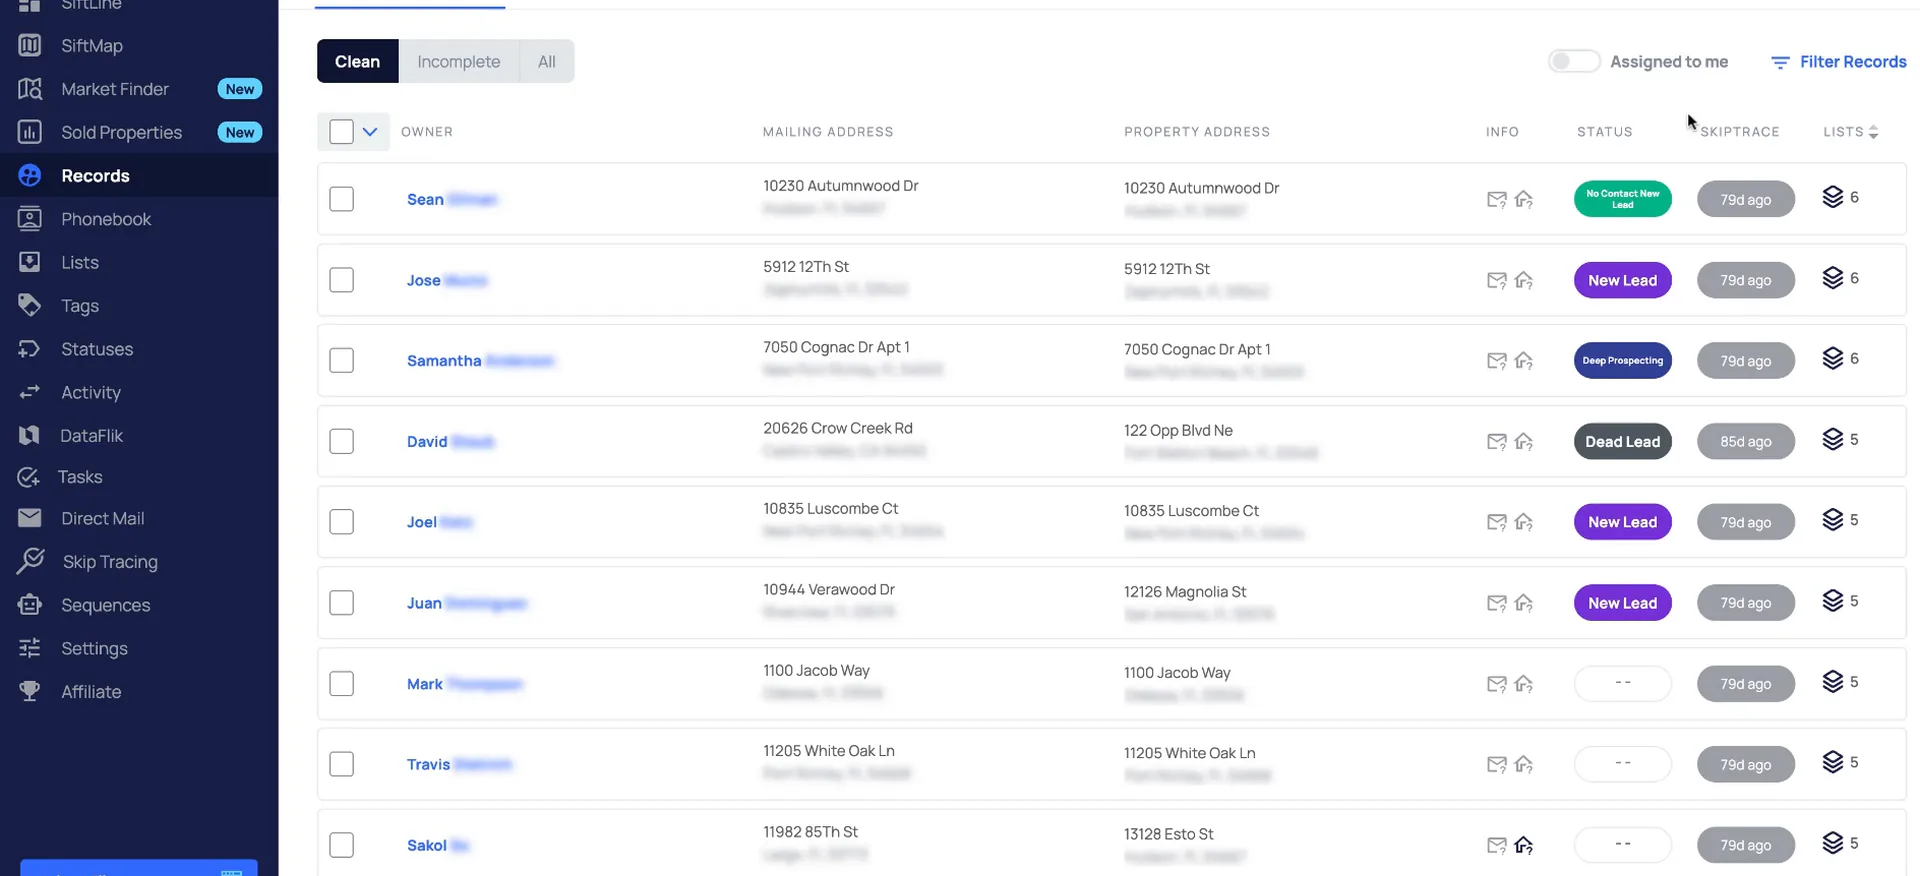
Select the filters for the records you want to mail.
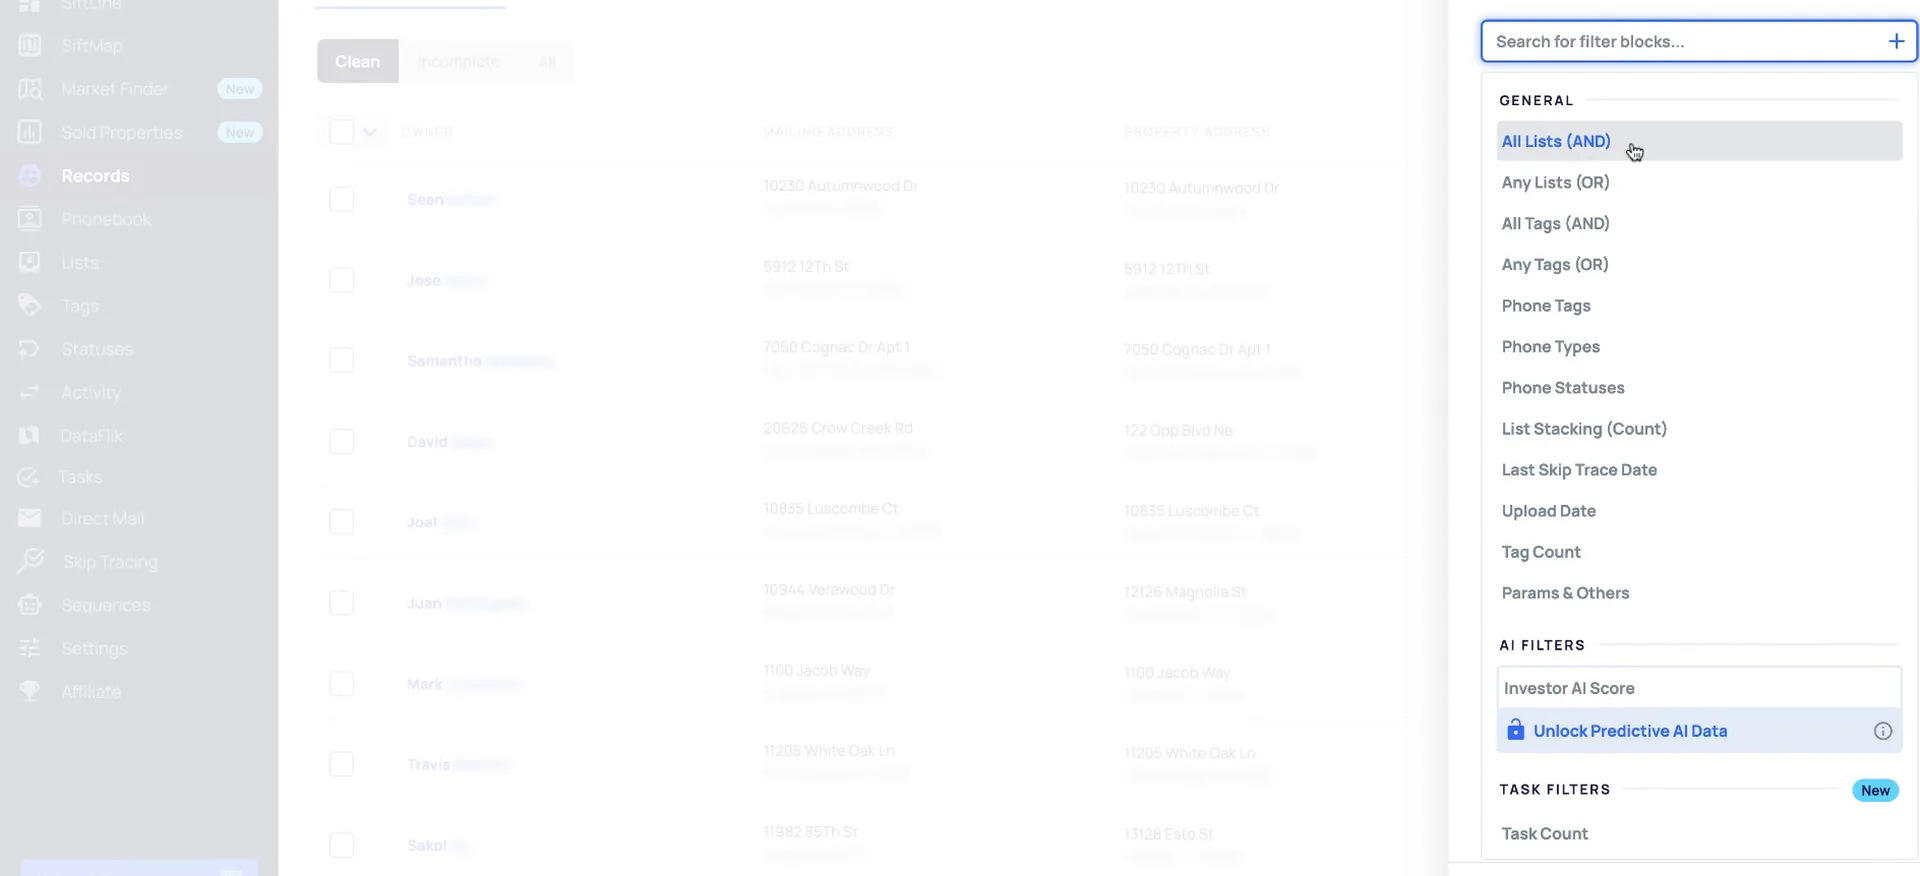
Once your folder is created, we can start building the presets. Start with the filters related to which records you want to market to.
So for example, if I wanted to market to pre foreclosures, then I would select the list here. If you wanted pre foreclosure, tax delinquent and probate, you could do that as well.
We also have list stacking filters, absentee, vacant properties. You just add in those basic criteria there.
Exclude the property statuses you have already reached.
Next up, we want to exclude any property statuses. That way, we can exclude anyone who we may have already reached in a different campaign.
This first preset is for people who have never had a piece of mail from you.
This filter is going to show us records that have never been mailed before, and we'll do a separate one for follow-up.
One preset each
Excluding the property statuses you have already reached leaves you with records that have never been mailed before. Follow-up gets its own separate preset.
Needs first mail, then follow-up.
Set direct mail attempts to a minimum and maximum of zero.
We also want to add in the direct mail attempts and select a minimum and maximum of zero. And we want to be able to exclude vacant mailing addresses.
To do that, select the params and others filter blocks here and then select vacant mailing no. Now we just need to save new, and this is going to be needs first mail. I am going to save it in my direct mail folder.
Set the follow-up preset to a minimum of one attempt.
Next up, we need a filter that shows us who needs to be mailed for any follow-up attempts. I am going to set this up based on a monthly mailing.
Then we can set a maximum here if there is a set number we want to mail up to. I am going to set it as 12. That way, they receive mail monthly for a year.
If you want to mail more frequently or less frequently, you can always adjust the dates based on your mailing practices.
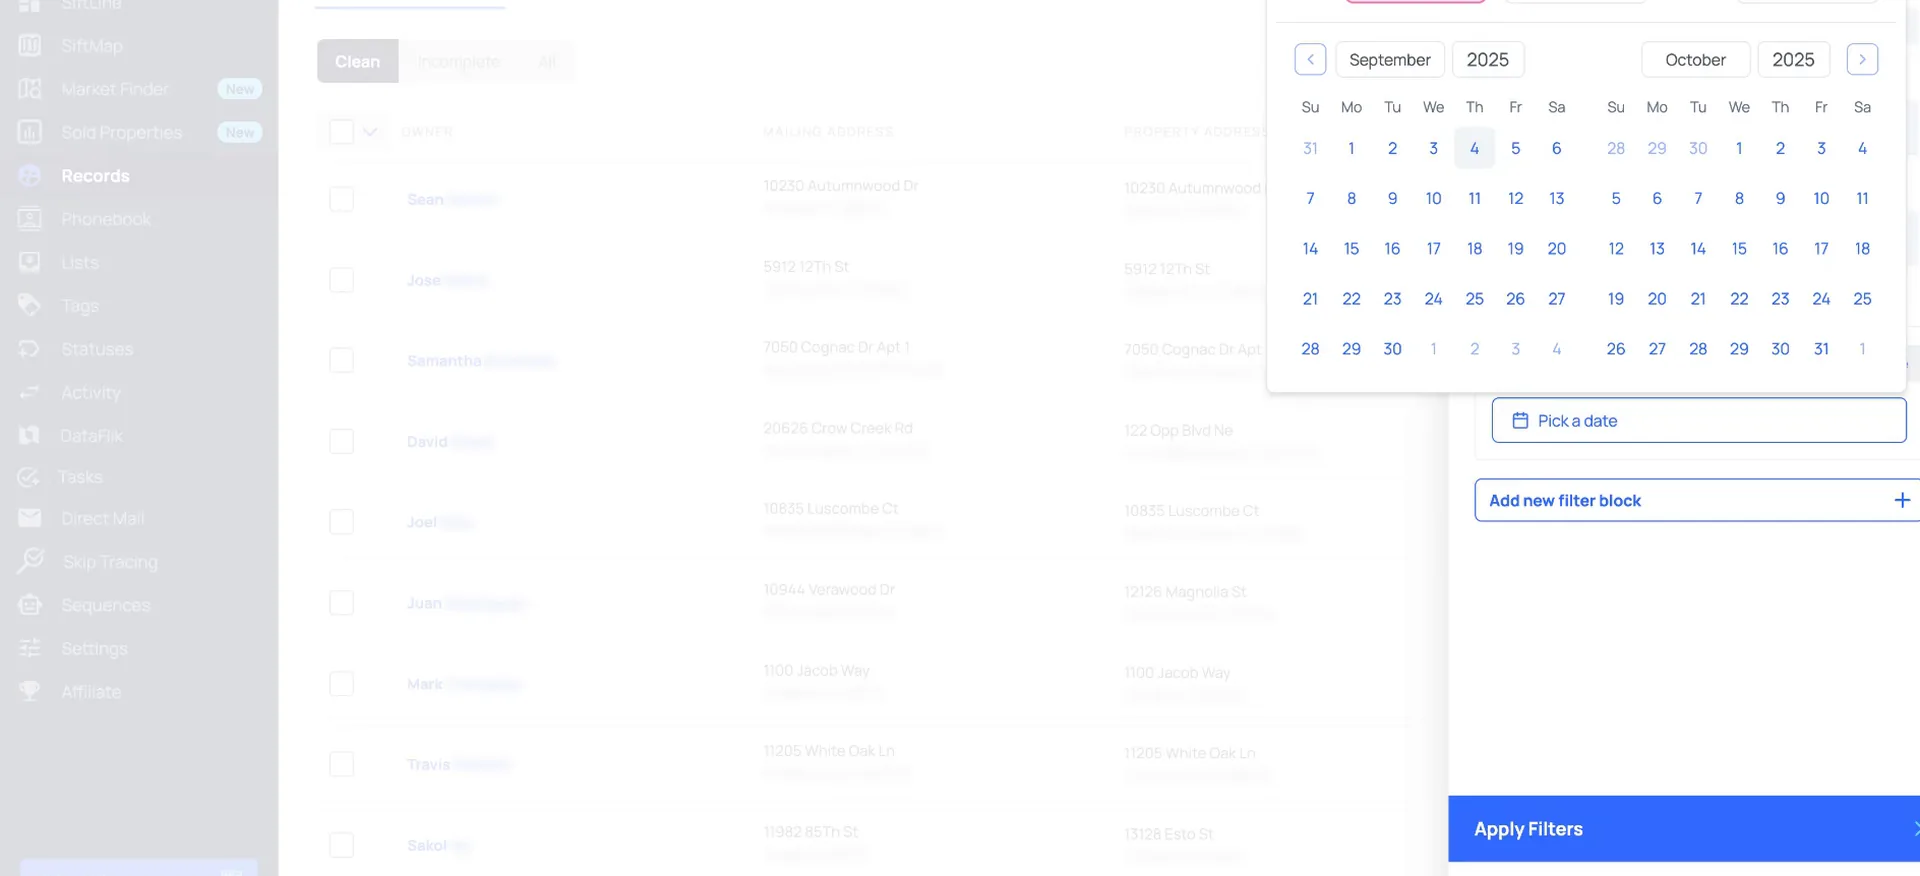
Use the last direct mail date, prior to one month ago.
When you send mail through REI Sift, we automatically track the mail attempts and the last direct mail date. So to see who needs to be mailed next, we can use this last direct mail date filter.
We want to see anybody that has been mailed from when we started the account up until one month ago. If you select the prior to date, you are able to select those options. If you mail weekly or quarterly, you can adjust the prior to options based on that.
Exclude return mail and save.
Exclude the last mail status of return, and tag those records.
We also want to exclude any return mail we may have received from when they were first mailed. When sending through REI Sift, we track that mail status, so you can exclude the last mail status of return.
You also want to tag the records that have come back as return mail. Whenever you receive return mail, it is a good idea to tag those and then do some deep research. That way you can find a better mailing address, or find some other contact info to reach that owner.
You can also use the tags filter and then exclude return mail here. This filter preset is going to be mail monthly, and I am going to save it in the direct mail folder.
Add separate presets for the statuses you want to mail.
Those are your two basic mail filters. From here, maybe you want to mail not interested records quarterly, and you could do that by including the not interested status.
Or maybe you want to mail some of your cold leads or ghosting leads, so you are following up by mail too.
So if you wanted to do that, you could create separate filter presets for each of those.
Open the help center from the arrow next to your name.
Be sure to check out our additional trainings in the help center. You can access it by clicking the arrow next to your name here and then help center.
If you have any questions, just select talk to us in your account, and that will open up our support chat.
BEFORE YOU MOVE ON