
PART 1
Creating and sending direct mail campaigns.
My name is Kylie, and in this one I'll show you how to create and send direct mail campaigns. Our templates are fully customizable, so you can build your own postcards and letters. You'll also see delivery status for every mailer without tagging anything by hand.
Create a template first.
Select direct mail, then open the mail design tab.
If this is your first time using direct mail, the first step is to create a template. Select direct mail from the left sidebar of your account, then the mail design tab. Now select create new custom design.
Name your template and select the mailer type you want to send. For this example I'm going to postcard and our four by six size.
So select direct mail from the left sidebar of your account here and then the mail design tab.
First time setup
Create a template before any campaign.
- 1Select direct mailOpen direct mail from the left sidebar of your account.
- 2Open mail design tabThe mail design tab is where your templates live.
- 3Create new custom designSelect create new custom design to start a template.
- 4Name it and pick typeName your template, then select the mailer type you want to send.
Build your mailer, then download a proof and save.
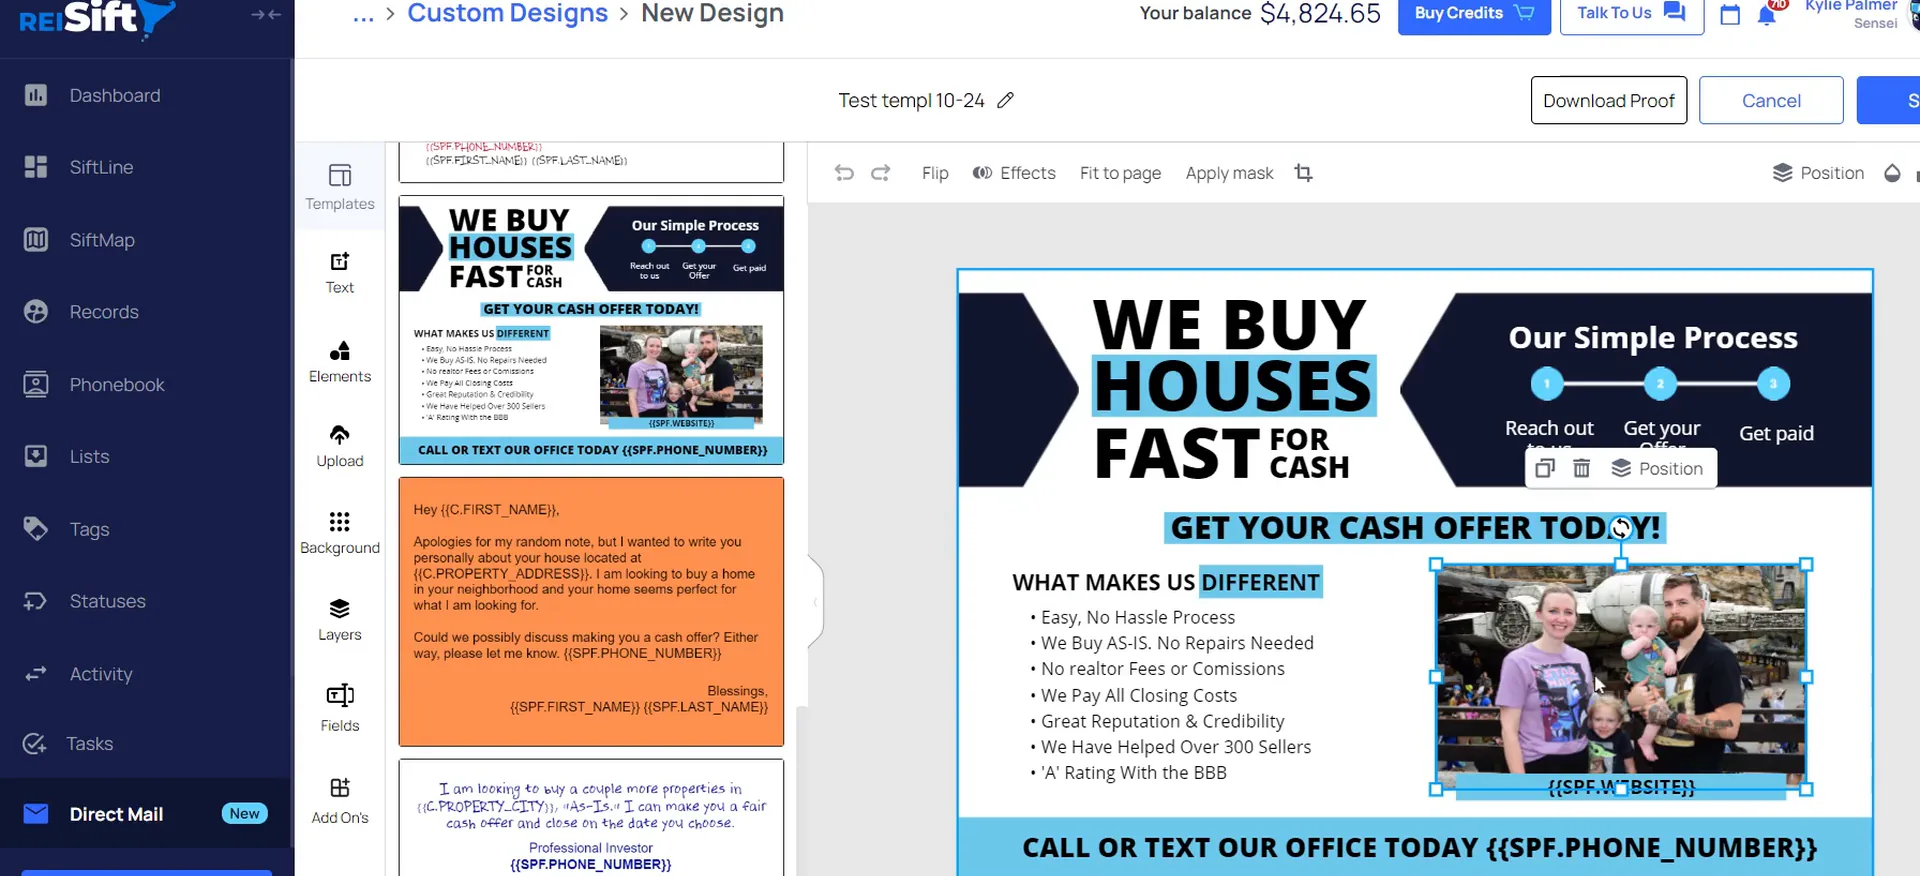
From the template editor you can create your mailer from scratch. There's a ton of background images to choose from, and different fonts. Under the upload section you can add your own images, logos and even QR codes.
You can also use one of our premade templates. Upload your own photo here, and download a proof, which gives you a PDF version so you can check any information.
The variable fields get populated with the information you include in your contact info. The return address prints automatically. Once you finish, save the template.
If you don't want to create a mailer from scratch, you can also use one of our premade templates.
Create new campaign from direct mail.
Filter your records and exclude vacant mailing addresses.
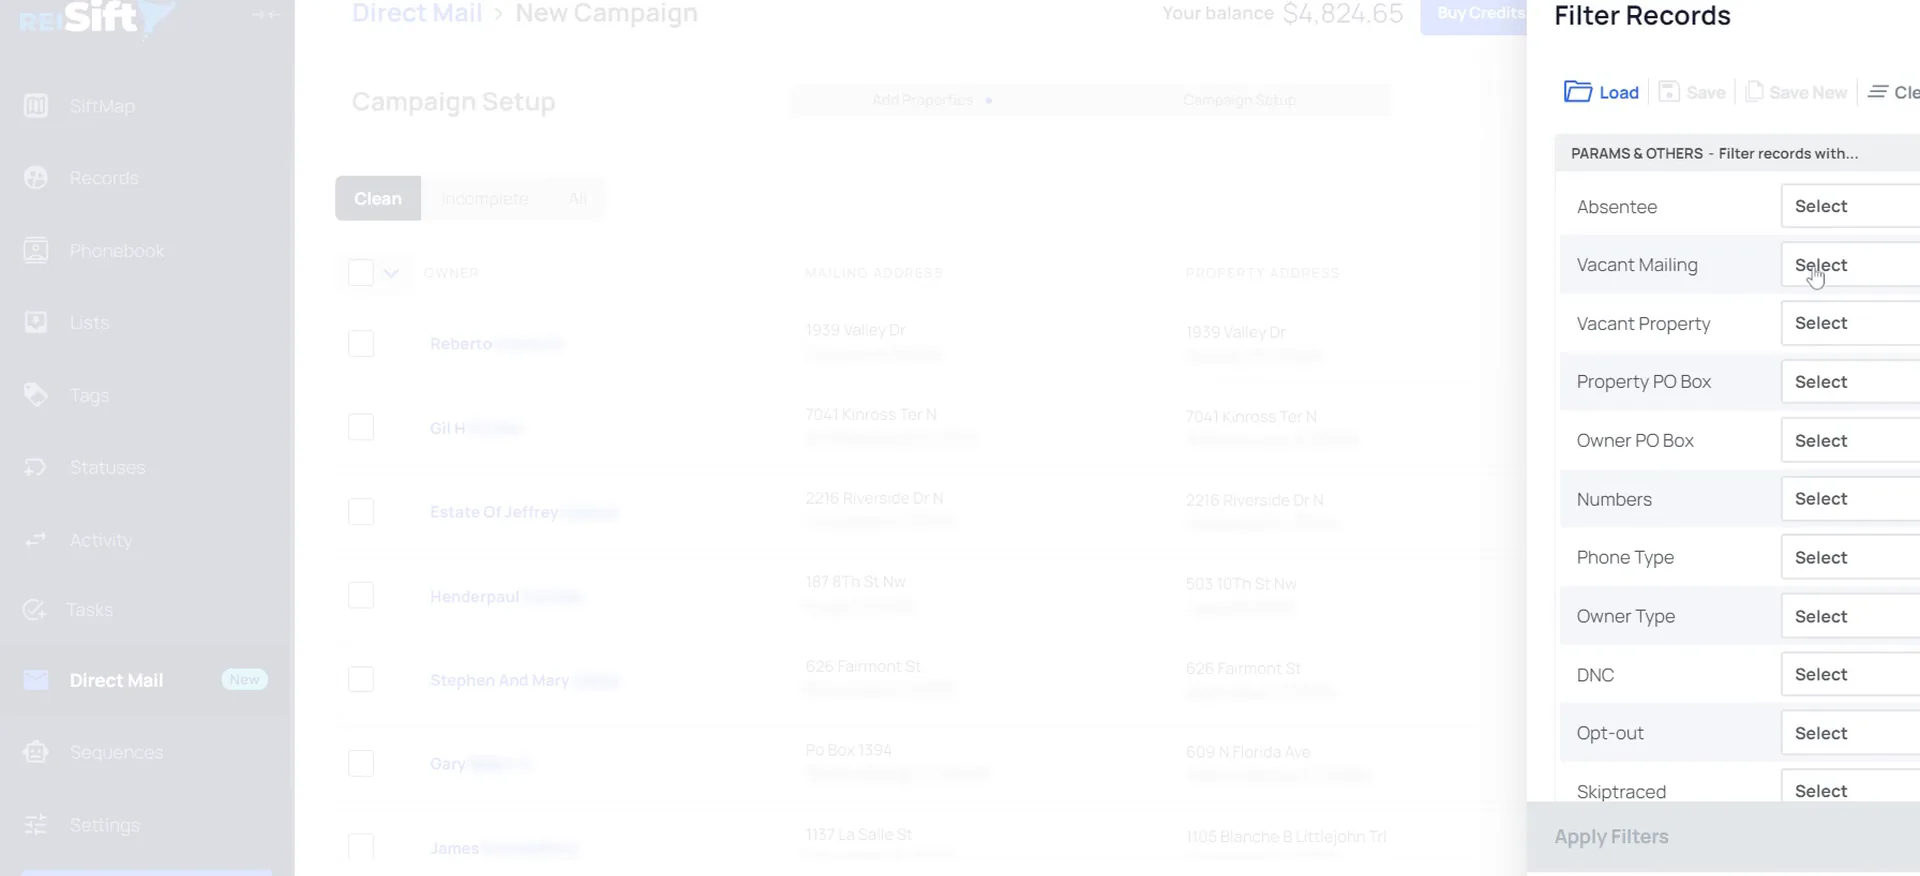
From the direct mail tab, select create new campaign, then filter for the records that you want to send. We recommend excluding any vacant mailing addresses.
You can also exclude any return mail tags if you've sent mail before. We update the return mail status for you, so once you start sending you can choose to leave the returned status out here.
If you sent mail before and you have records that are tagged as return mail, you can select to exclude any return mail tags.
Name the campaign and pick single or multi touch.
Once you've filtered for the records you want to include, select them and go to next step. Here you'll name your campaign and choose multi or single touch.
Multi touch means multiple postcards will be sent to the selected records. For now I'm just going to select to send a single touch.
With this option, you can select different templates to send for each touch and select the time between each touch or send.
Touch type
Single touch and multi touch are not the same.
Single touch
- How many mailers go outOne send
- Templates you can pickOne template
- Time between each sendSend date only
Multi touch
- How many mailers go outMultiple postcards
- Templates you can pickDifferent template per touch
- Time between each sendYou select it
Set return and contact info, then save mailer.
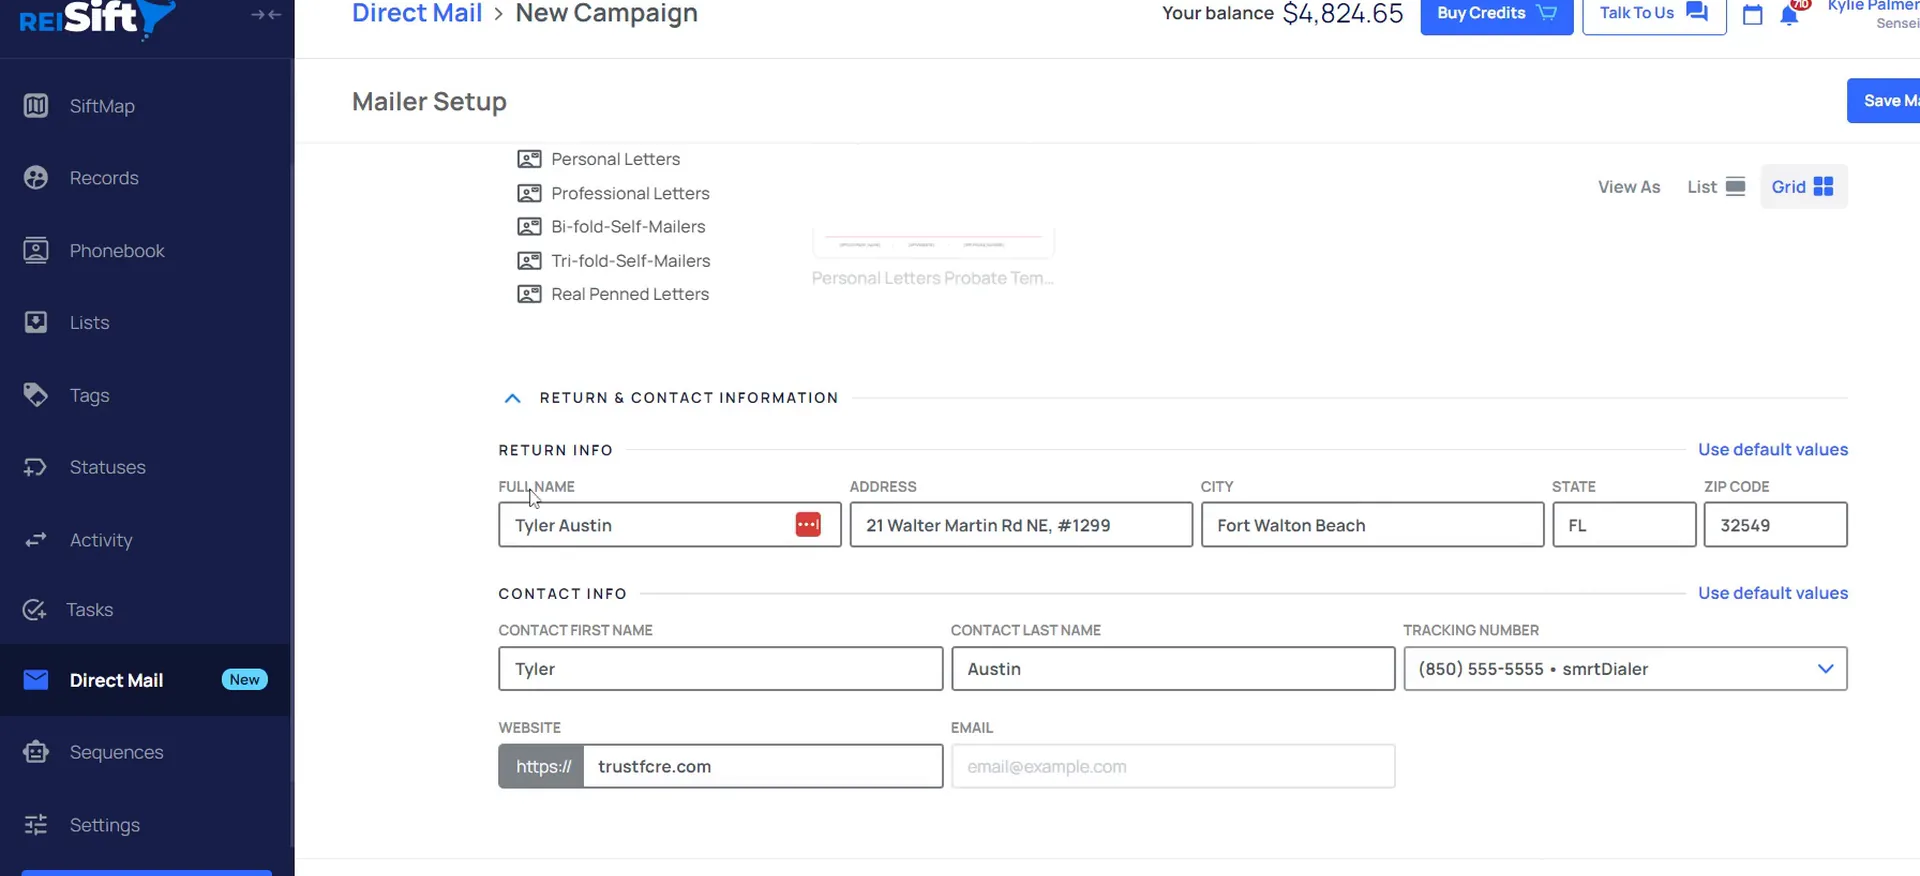
When configuring, select the template you want to send and set up your return and contact information. The return info is the return mailing address, so that's where any mail returned to sender is addressed to. The contact info is what populates the body of your mailer.
Once everything is set up, go to save mailer. You can also set the default return values, and we'll show you how in a separate video.
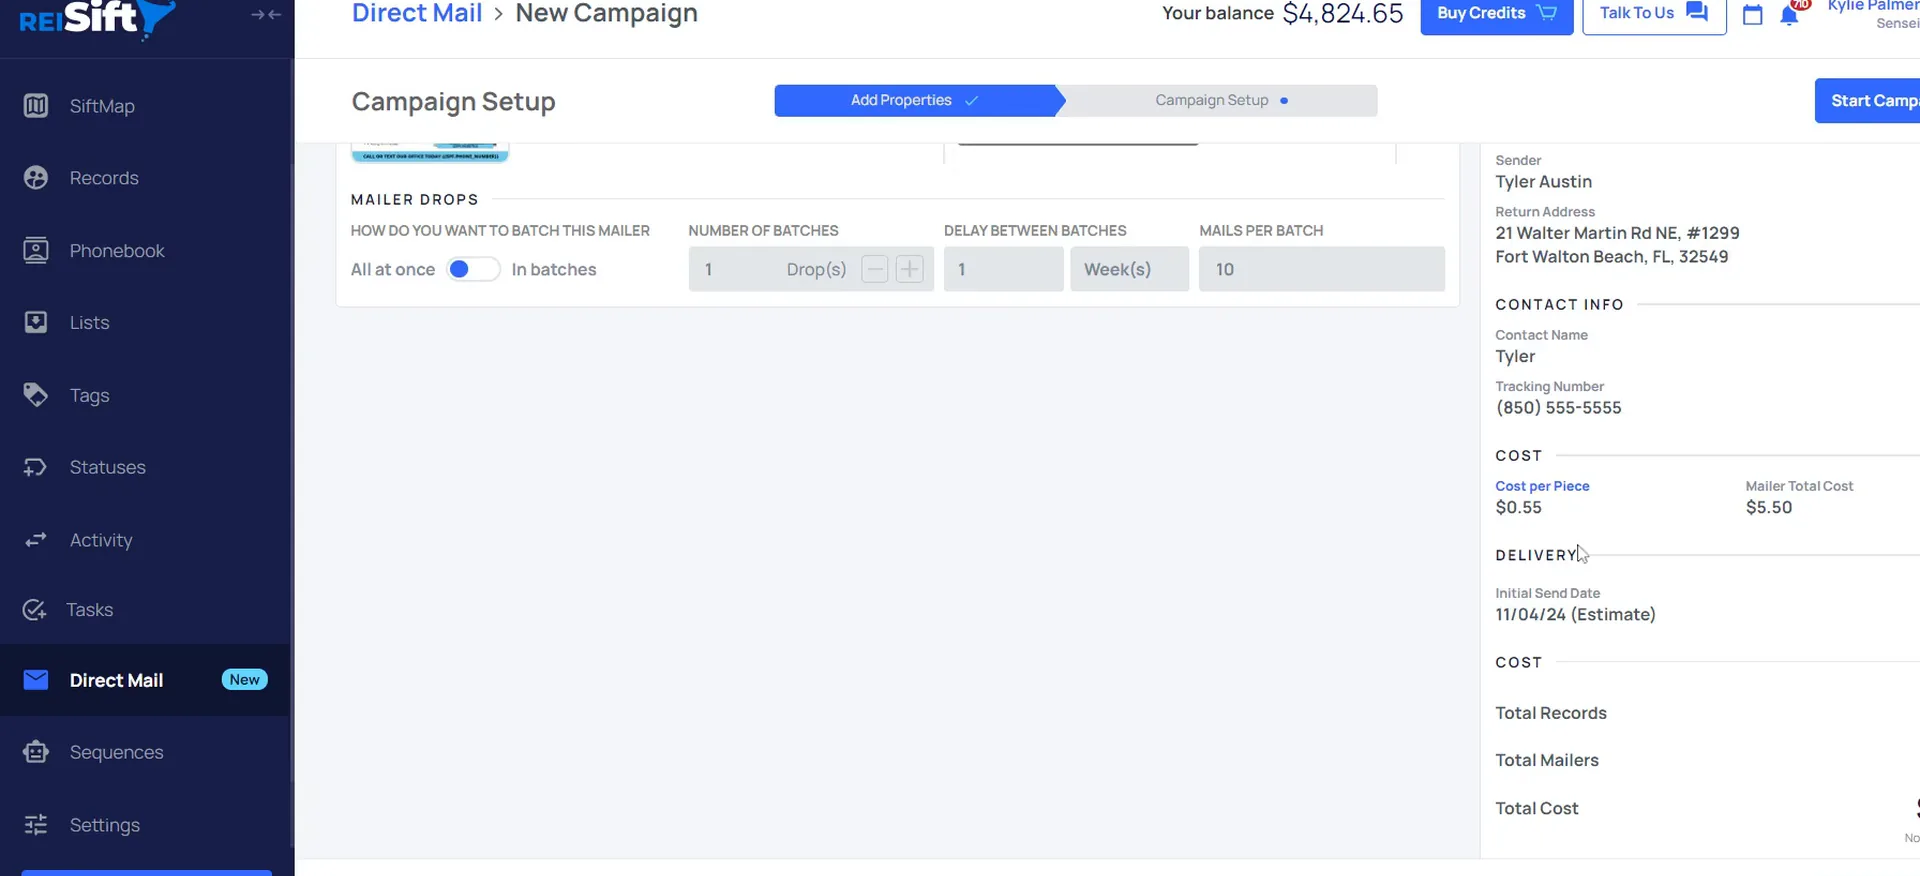
Now select your send date. Send ASAP goes out on the soonest possible date, and mail goes out Monday, Wednesday and Fridays. If you're sending a large campaign, send in batches and pick the number of drops and the delay between each drop.
Confirm the correct tracking number.
Confirm your tracking number, then start the campaign.
Once you've set everything up, confirm the information on the right side of your account, especially the tracking number. Make sure you have selected the correct tracking number that you want any leads calling into.
Once you've confirmed everything is correct, select that you confirm here and then start campaign. If you go to the batch, you can see the mailers have been scheduled to send.
Once you've set everything up here, be sure to confirm the information on the right side of your account, especially the tracking number.
Read the statuses on a campaign already mailed.
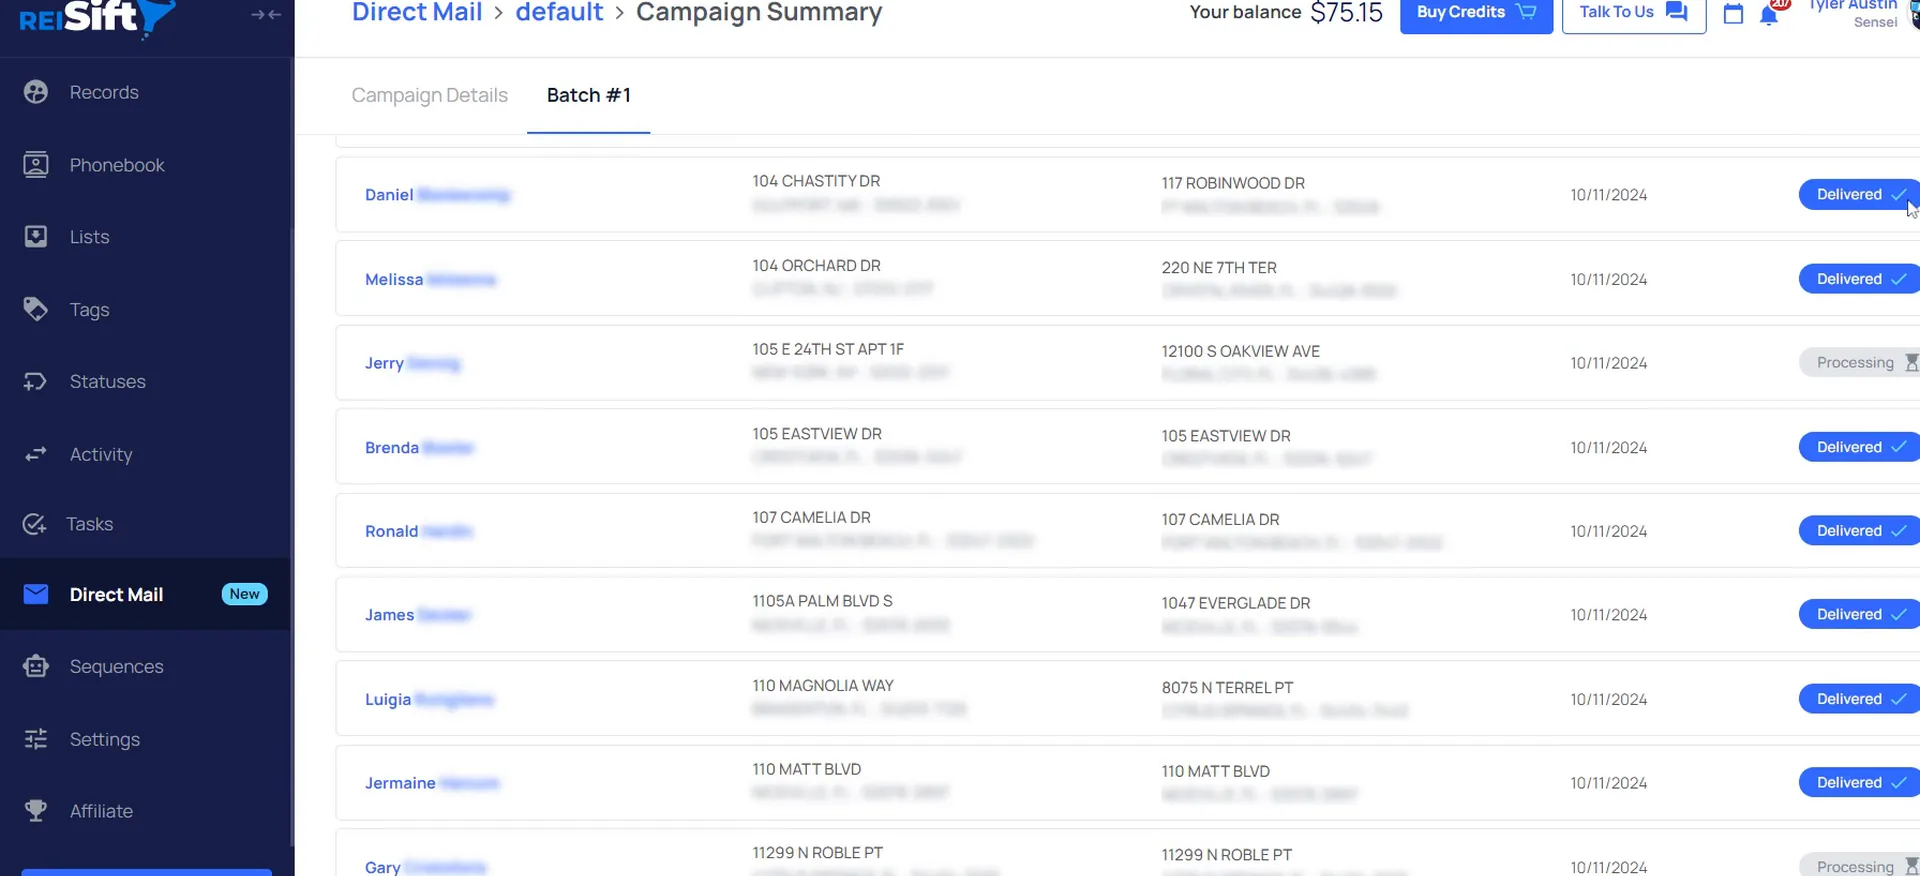
Here I switched to a different account to show a real campaign that has been sent out. The statuses are updated for you. Keep in mind that delivered does not mean it reached this person's mailbox. Delivered means it reached the local USPS office.
So this status may change to returned. Once it gets to the post office, it still has to be delivered to the owner or that mailing address. When the mail person picks up that return mail, the status switches to returned.
Some of these are still in processing, and that is totally normal. They're small four by six postcards, so they can get stuck in a machine or lost at the USPS. This one showing en route is on the way to the local post office.
And then if there's no mailbox or if the person that it's registered to does not live there, then it can be returned.
Mail statuses
Delivered does not mean it reached the mailbox.
- 1ProcessingStill working through the system, and that is totally normal on a big send.
- 2En routeThe mailer is on the way to the local post office.
- 3DeliveredIt reached the local USPS office to be delivered out to this person.
- 4ReturnedThe mail person picked up the return mail, so we set the record to do not mail ever.
Open a record to see its campaigns.
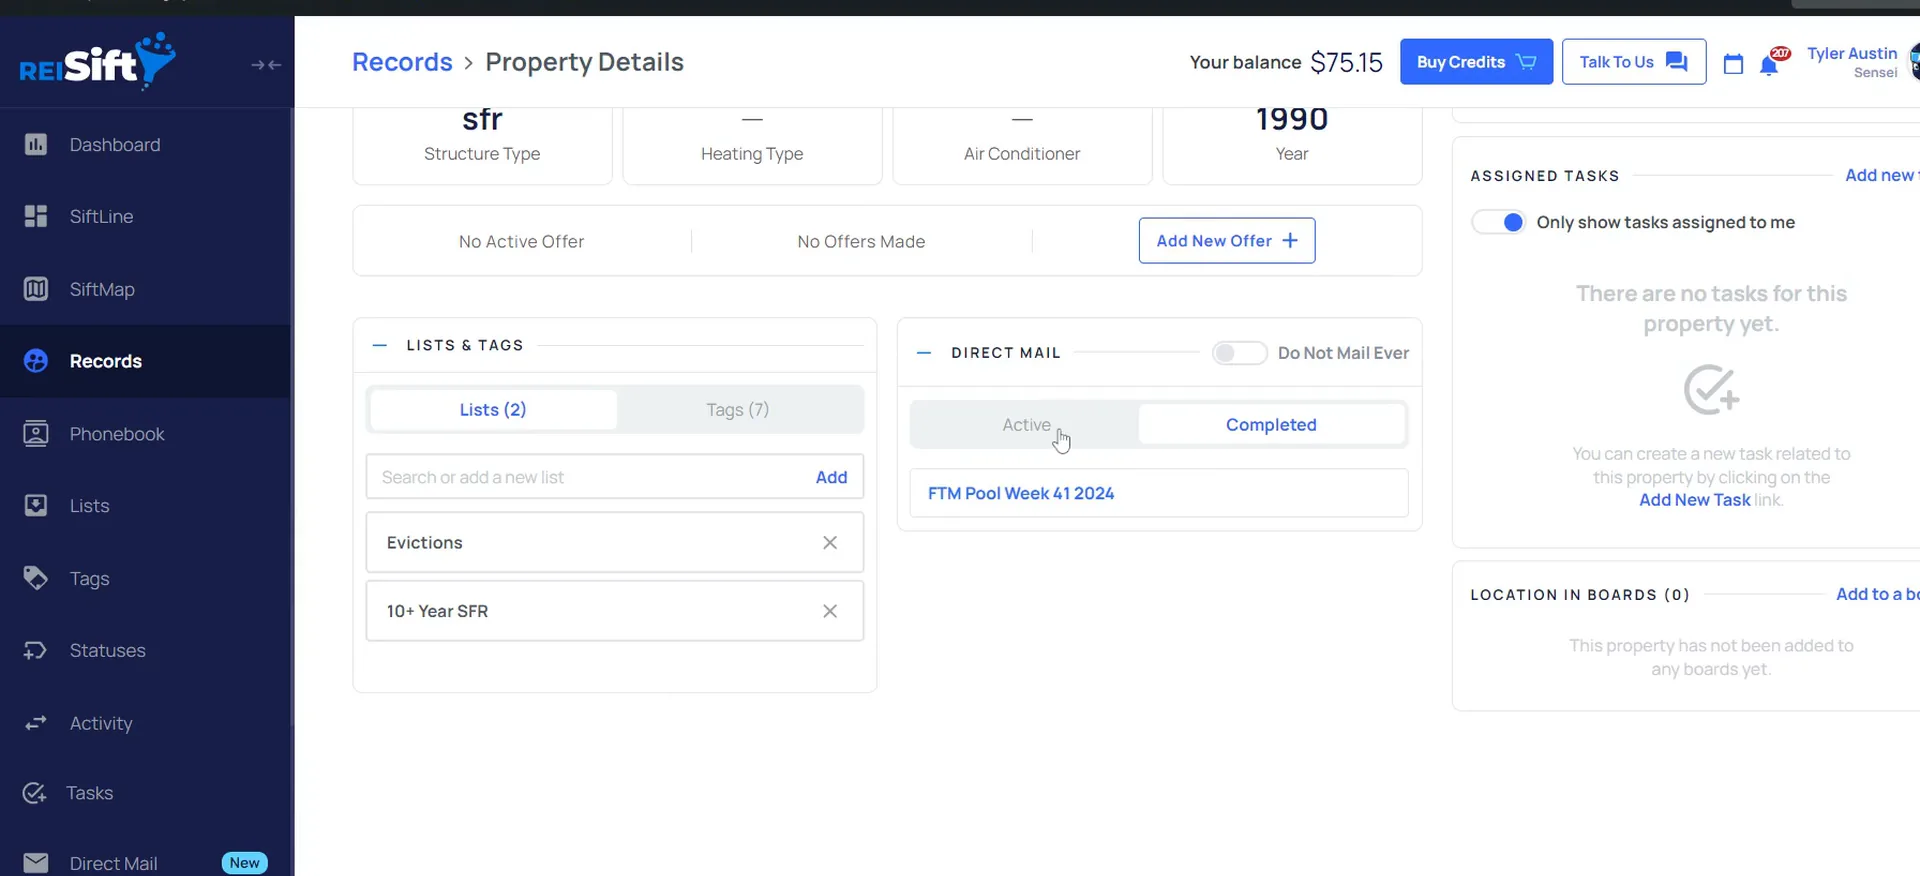
Within each record you can see exactly which campaigns that record is in. Open one of the property records that has been sent, and it'll be under a completed campaign, since this one is showing that delivered status. If the campaign was still scheduled, it would be under active.
If the mail status switches to returned, we automatically set that record to do not mail ever. That is how to create your own custom templates and set up your campaigns. Check out our additional direct mail trainings in the help center.
If you decide that you do not wanna send mail to a property, you can toggle this section on to do not mail ever.
BEFORE YOU MOVE ON